Free Shipping on Domestic Orders $75+

Acer AL1916 Display Replacement

What you need

  1. Acer AL1916 Display Replacement, Stand: step 1, image 1 of 1
    • Lay the monitor on a flat surface so that the back is facing up.

    Ask FixBot
    Add Comment

  2. Acer AL1916 Display Replacement: step 2, image 1 of 2 Acer AL1916 Display Replacement: step 2, image 2 of 2
    • Grab the hinge cover with both hands on either side of the stand.

    • Squeeze inwards with your thumbs and fingers and lift up to remove the hinge cover.

    Ask FixBot
    Add Comment

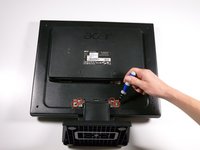
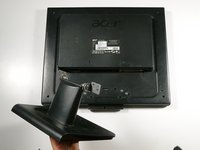
  3. Acer AL1916 Display Replacement: step 3, image 1 of 2 Acer AL1916 Display Replacement: step 3, image 2 of 2
    • Remove the four 12.1 mm Phillips #2 screws that hold the stand to the monitor.

    • Support the monitor while removing the screws to prevent the monitor from falling.

    • Lift up to detach the stand.

    Ask FixBot

    Add Comment

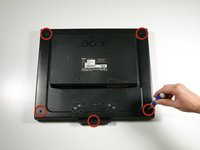
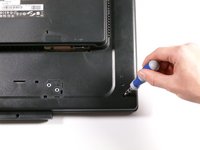
  4. Acer AL1916 Display Replacement, Outer Case: step 4, image 1 of 2 Acer AL1916 Display Replacement, Outer Case: step 4, image 2 of 2
    • Remove the five 9.5 mm Phillips #2 screws located around the perimeter of the monitor.

    Ask FixBot

    Add Comment

  5. Acer AL1916 Display Replacement: step 5, image 1 of 3 Acer AL1916 Display Replacement: step 5, image 2 of 3 Acer AL1916 Display Replacement: step 5, image 3 of 3
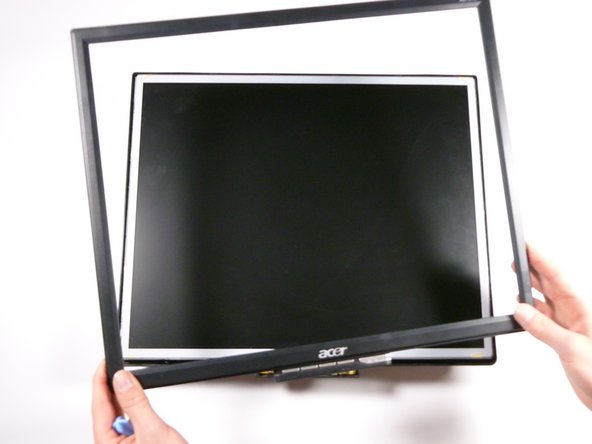
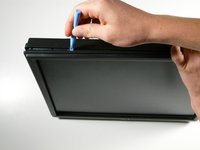
    • Starting at the corner of the monitor, wedge the small plastic opening tool between the back cover and the display bezel.

    • Tilt the plastic opening tool up to separate the back cover from the display bezel.

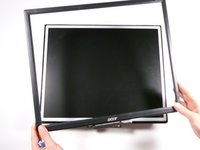
    • Continue around the perimeter of the monitor until the display bezel comes off.

    • A reasonable amount of force is necessary to detach the back cover from the display bezel.

    Ask FixBot

    Add Comment

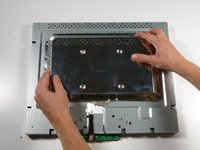
  6. Acer AL1916 Display Replacement: step 6, image 1 of 2 Acer AL1916 Display Replacement: step 6, image 2 of 2
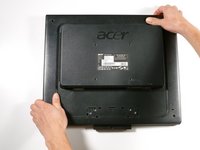
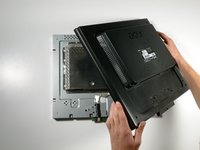
    • Reposition the monitor so that the back is facing up.

    • Grab the corners of the monitor and jiggle them upwards to detach the back cover from the inside of the monitor.

    • Lift the back cover up.

    Ask FixBot
    Add Comment

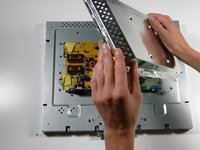
  7. Acer AL1916 Display Replacement, EMI Shield: step 7, image 1 of 2 Acer AL1916 Display Replacement, EMI Shield: step 7, image 2 of 2
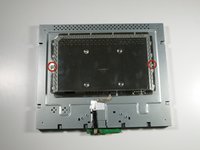
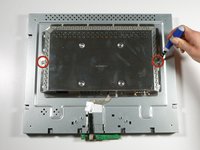
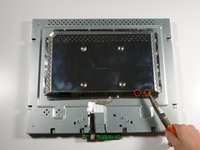
    • Remove the two 5.7 mm Phillips #2 screws located on either side of the EMI shield.

    Ask FixBot
    Add Comment

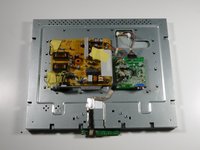
  8. Acer AL1916 Display Replacement: step 8, image 1 of 2 Acer AL1916 Display Replacement: step 8, image 2 of 2
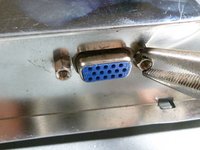
    • Using a nut driver (or if necessary, needle-nose pliers), remove the two nuts on either side of the VGA input.

    Ask FixBot
    Add Comment

  9. Acer AL1916 Display Replacement: step 9, image 1 of 3 Acer AL1916 Display Replacement: step 9, image 2 of 3 Acer AL1916 Display Replacement: step 9, image 3 of 3
    • Grab the metal casing by the sides and slide it down towards the bottom of the monitor.

    • Lift up to remove the metal casing.

    • Beware, metal casing is sharp!

    Ask FixBot

    Add Comment

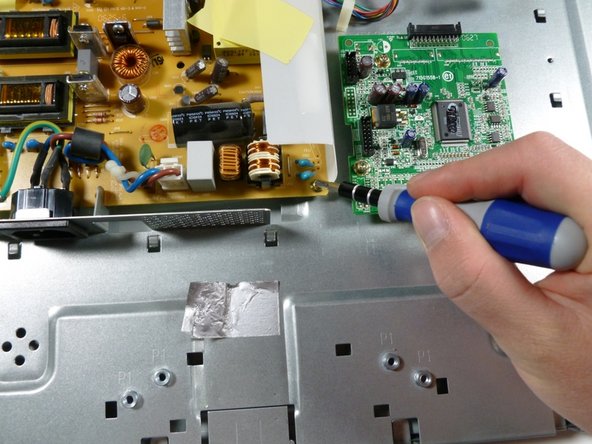
  10. Acer AL1916 Display Replacement, Display: step 10, image 1 of 2 Acer AL1916 Display Replacement, Display: step 10, image 2 of 2
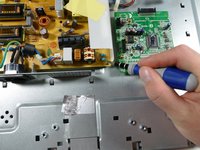
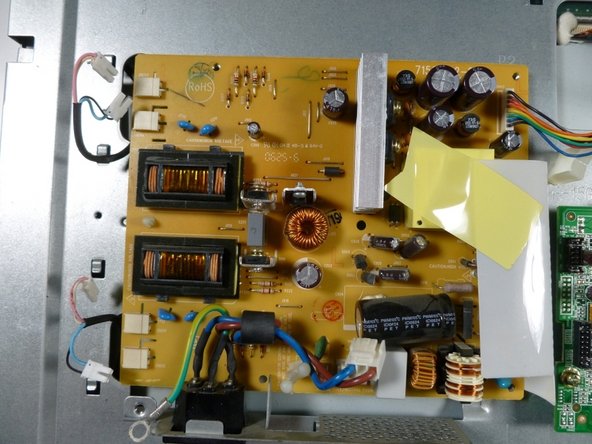
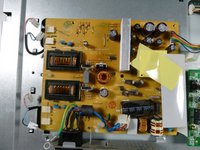
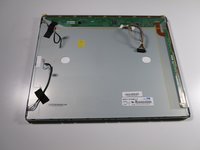
    • Remove the three gold 7.5 mm Phillips #2 screws and one silver 8.3 mm Phillips #2 screw from the power supply.

    Ask FixBot
    Add Comment
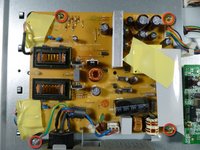
  11. Acer AL1916 Display Replacement: step 11, image 1 of 3 Acer AL1916 Display Replacement: step 11, image 2 of 3 Acer AL1916 Display Replacement: step 11, image 3 of 3
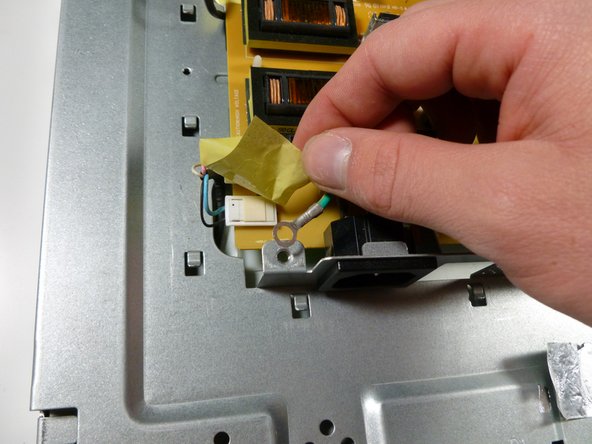
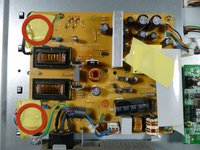
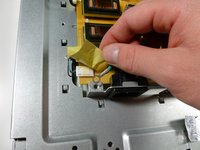
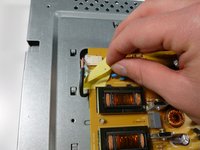
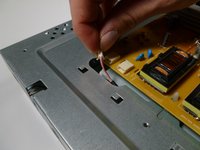
    • Remove the two pieces of yellow tape on the left side of the power supply.

    Ask FixBot

    Add Comment

  12. Acer AL1916 Display Replacement: step 12, image 1 of 2 Acer AL1916 Display Replacement: step 12, image 2 of 2
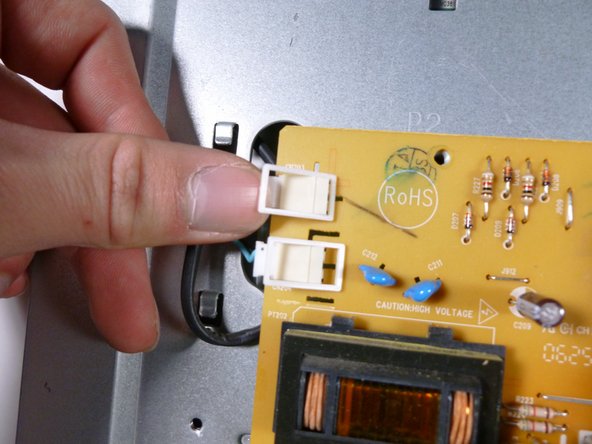
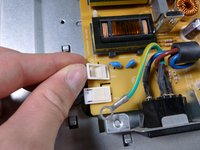
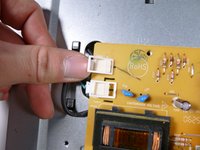
    • Remove the four little white clips located underneath the pieces of tape by lifting up on their left side.

    Ask FixBot

    Add Comment

  13. Acer AL1916 Display Replacement: step 13, image 1 of 3 Acer AL1916 Display Replacement: step 13, image 2 of 3 Acer AL1916 Display Replacement: step 13, image 3 of 3
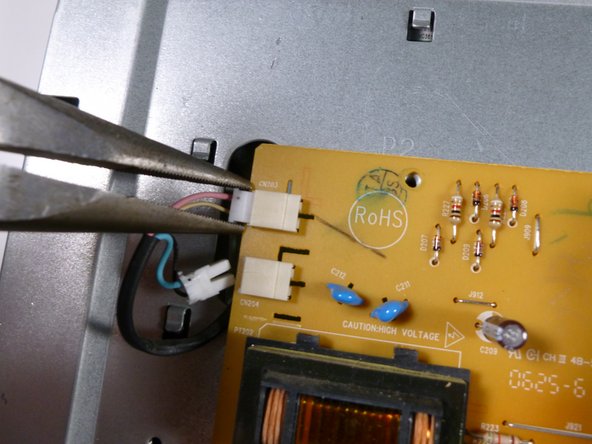
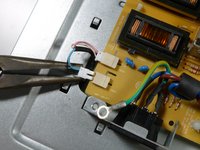
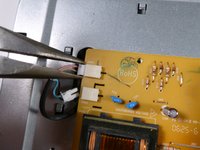
    • With the needle-nose pliers, remove the four display connectors by pulling directly left.

    Ask FixBot

    Add Comment

  14. Acer AL1916 Display Replacement: step 14, image 1 of 3 Acer AL1916 Display Replacement: step 14, image 2 of 3 Acer AL1916 Display Replacement: step 14, image 3 of 3
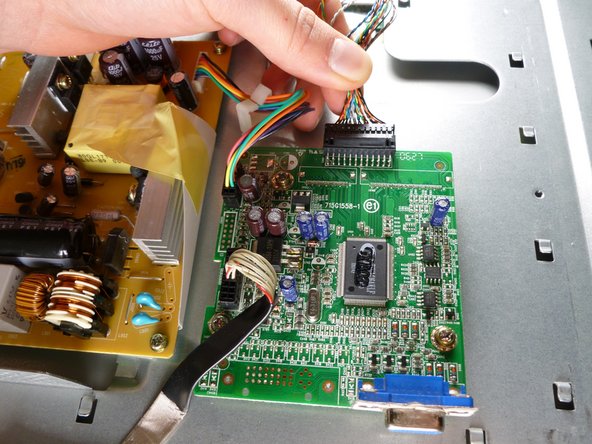
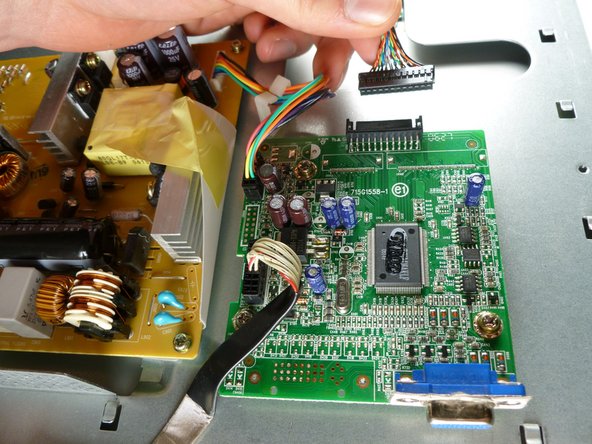
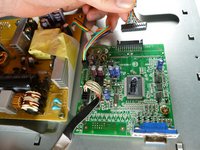
    • Remove the display cable located at the top of the circuit board by pulling it out towards the top of the monitor.

    Ask FixBot

    Add Comment

  15. Acer AL1916 Display Replacement: step 15, image 1 of 3 Acer AL1916 Display Replacement: step 15, image 2 of 3 Acer AL1916 Display Replacement: step 15, image 3 of 3
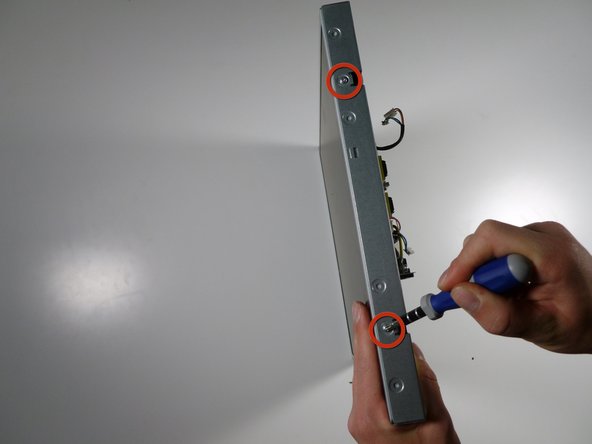
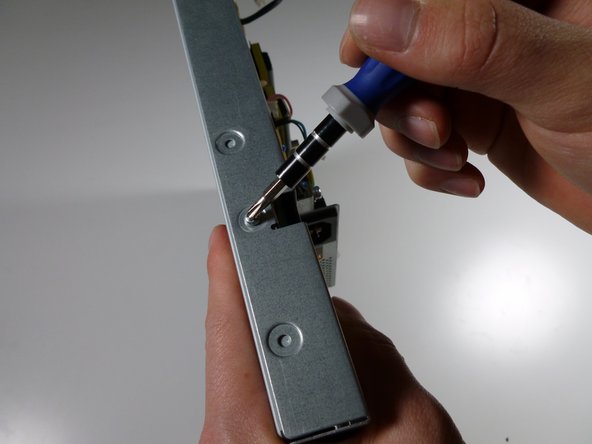
    • Turn the monitor on its side so that the power supply and circuit board are facing to the right

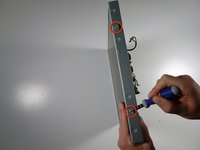
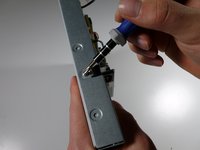
    • Remove the two 6.6 mm Phillips #2 screws located on both sides of the metal casing (four screws total).

    Ask FixBot

    Add Comment

  16. Acer AL1916 Display Replacement: step 16, image 1 of 2 Acer AL1916 Display Replacement: step 16, image 2 of 2
    • Set the monitor back down so that the power supply and circuit board are facing you.

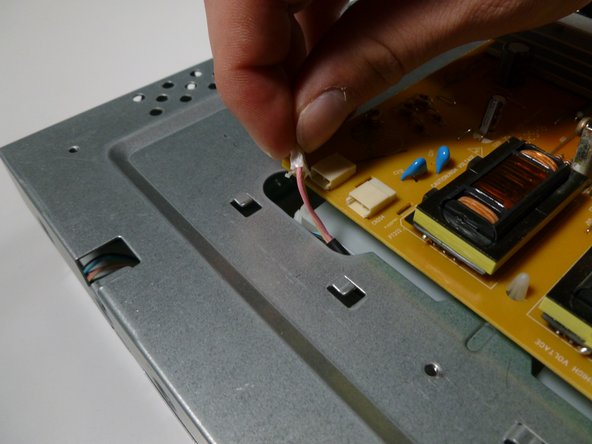
    • Feed all four of the connector wires down through the metal casing.

    Ask FixBot

    Add Comment

  17. Acer AL1916 Display Replacement: step 17, image 1 of 3 Acer AL1916 Display Replacement: step 17, image 2 of 3 Acer AL1916 Display Replacement: step 17, image 3 of 3
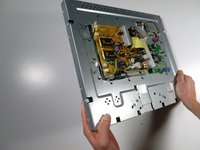
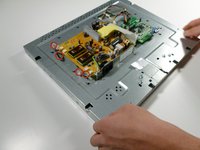
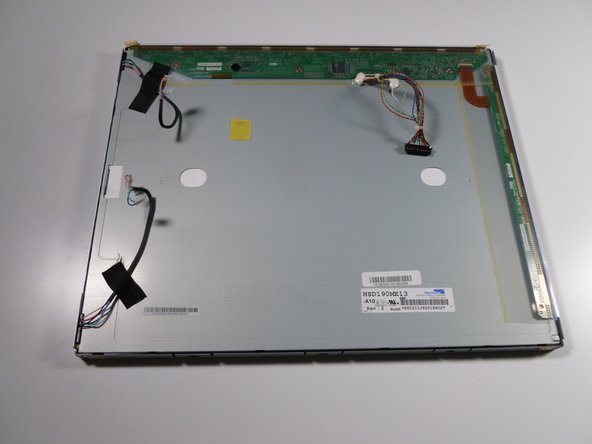
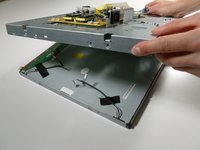
    • Grab the sides of the metal casing and lift up.

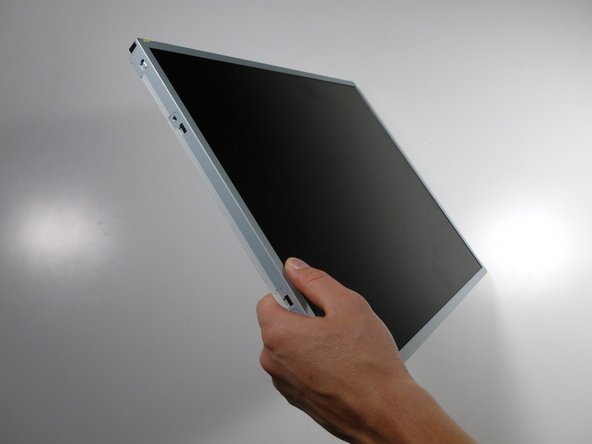
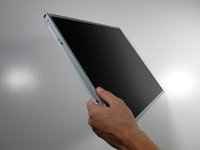
    • Turn the display over to see the front; you are ready replace the broken display with a new one!

    Ask FixBot

    Add Comment

Conclusion

To reassemble your device, follow these instructions in reverse order.

Cancel: I did not complete this guide.

7 other people completed this guide.

Keith

Member since: 10/06/11

375 Reputation

4 Guides authored

Team

Cal Poly, Team 20-26, Maness Fall 2011 Member of Cal Poly, Team 20-26, Maness Fall 2011

CPSU-MANESS-F11S20G26

4 Members

14 Guides authored

0 Guide Comments

Add Comment

View Statistics:

Past 24 Hours: 1

Past 7 Days: 9

Past 30 Days: 49

All Time: 9,936