Free Shipping on Domestic Orders $75+

Accessing Samsung ML2510 Circuit Board

What you need

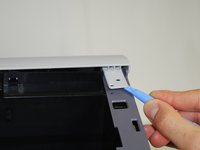
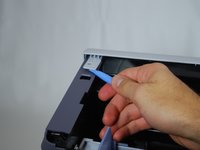
  1. Accessing Samsung ML2510 Circuit Board, Removing Samsung ML2510 Back Panel: step 1, image 1 of 3 Accessing Samsung ML2510 Circuit Board, Removing Samsung ML2510 Back Panel: step 1, image 2 of 3 Accessing Samsung ML2510 Circuit Board, Removing Samsung ML2510 Back Panel: step 1, image 3 of 3
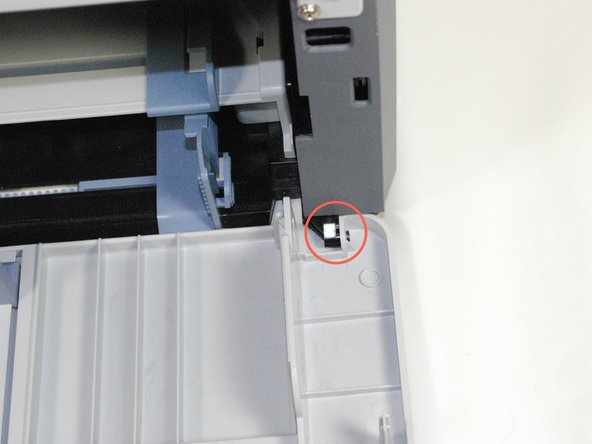
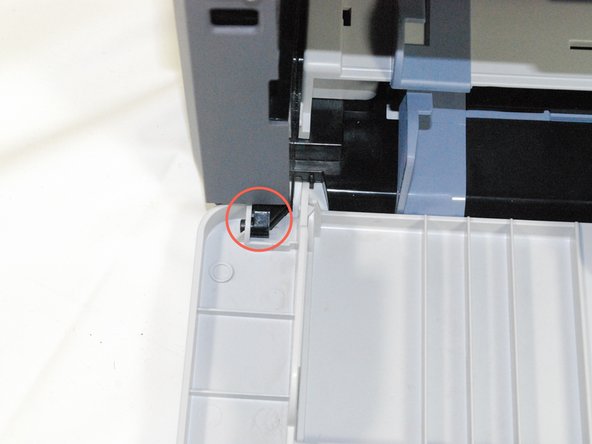
    • Remove the top hinged panel by taking out the pins at the bottom of this panel.

    Ask FixBot

    Add Comment

  2. Accessing Samsung ML2510 Circuit Board: step 2, image 1 of 1
    • Using a Phillips #2 screwdriver, remove the four screws on the back of the printer.

    Ask FixBot

    Add Comment

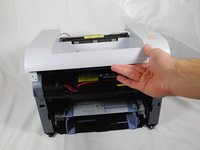
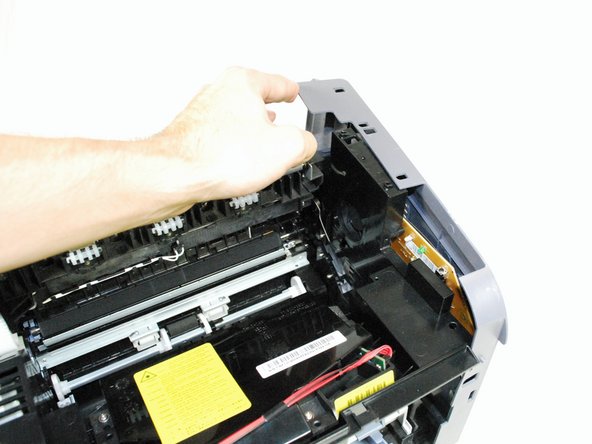
  3. Accessing Samsung ML2510 Circuit Board: step 3, image 1 of 3 Accessing Samsung ML2510 Circuit Board: step 3, image 2 of 3 Accessing Samsung ML2510 Circuit Board: step 3, image 3 of 3
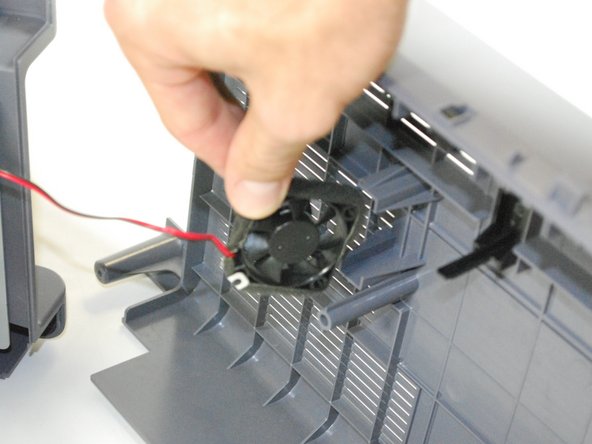
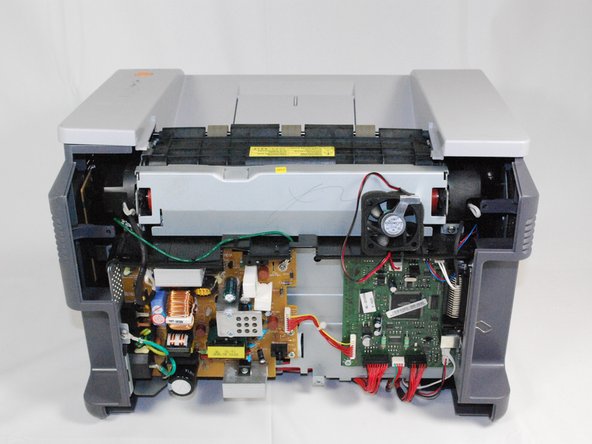
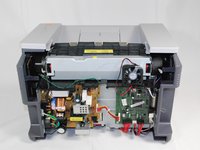
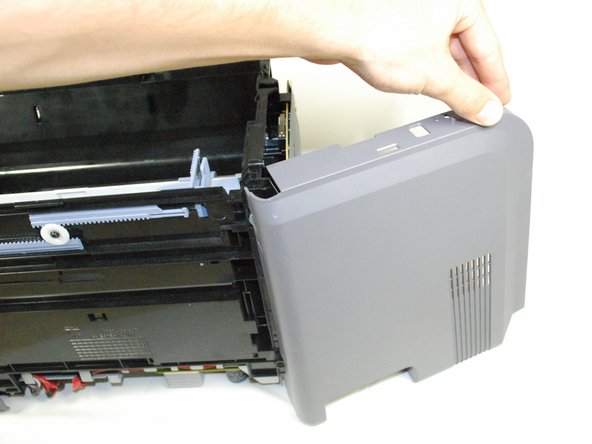
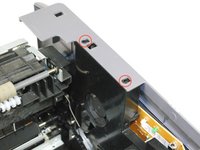
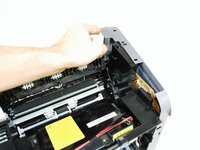
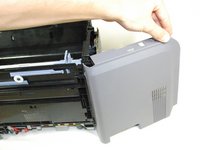
    • Gently lift the top panel while simultaneously pulling off the back panel.

    • Before pulling out the back panel entirely, make sure to remove the rear cooling fan from its slot.

    Ask FixBot

    Add Comment

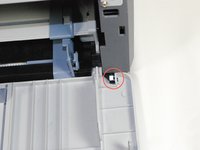
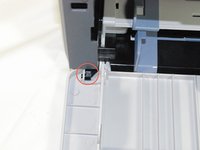
  4. Accessing Samsung ML2510 Circuit Board, Accessing Samsung ML2510 Circuit Board: step 4, image 1 of 3 Accessing Samsung ML2510 Circuit Board, Accessing Samsung ML2510 Circuit Board: step 4, image 2 of 3 Accessing Samsung ML2510 Circuit Board, Accessing Samsung ML2510 Circuit Board: step 4, image 3 of 3
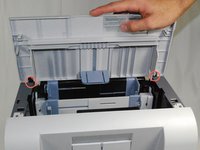
    • Remove the front panel by gently freeing the holes on the panel from the pegs attached to the main printer body one at a time. Make sure to remove the entire front panel, not just the flap on the paper tray.

    Ask FixBot

    Add Comment

  5. Accessing Samsung ML2510 Circuit Board: step 5, image 1 of 1
    • Using a Phillips #2 screwdriver, remove the two 1" screws on the front face of the printer.

    Ask FixBot

    Add Comment

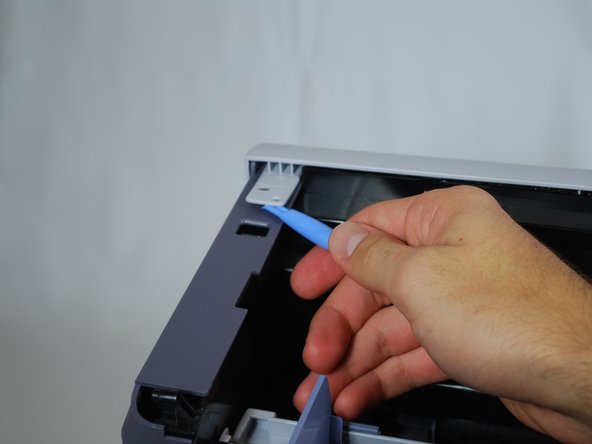
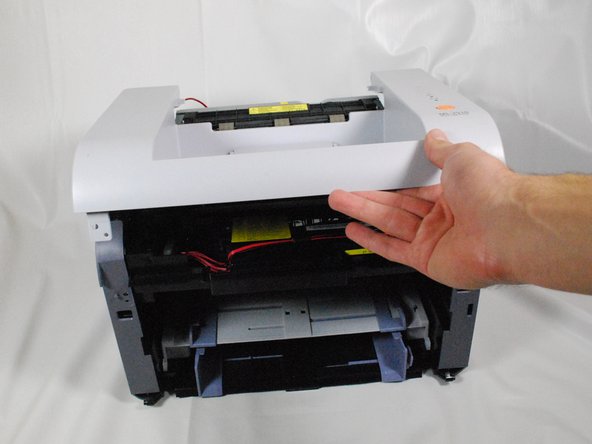
  6. Accessing Samsung ML2510 Circuit Board: step 6, image 1 of 3 Accessing Samsung ML2510 Circuit Board: step 6, image 2 of 3 Accessing Samsung ML2510 Circuit Board: step 6, image 3 of 3
    • Using a plastic opening tool, gently lift one side of the top panel from its peg.

    • Repeat the process for the other side.

    • Lift the top panel from the front to remove it entirely.

    Ask FixBot

    Add Comment

  7. Accessing Samsung ML2510 Circuit Board: step 7, image 1 of 3 Accessing Samsung ML2510 Circuit Board: step 7, image 2 of 3 Accessing Samsung ML2510 Circuit Board: step 7, image 3 of 3
    • Lift the right panel up from the raised stops.

    • Rotate the panel gently as indicated in the picture to remove the panel entirely.

    Ask FixBot

    Add Comment

  8. Accessing Samsung ML2510 Circuit Board: step 8, image 1 of 1
    • Using a Phillips #2 screwdriver, remove the four 1" screws attaching the gray plate to the printer.

    • Remove the plastic cover by sliding it carefully under the silver hinges on the right.

    Ask FixBot

    Add Comment

  9. Accessing Samsung ML2510 Circuit Board: step 9, image 1 of 1
    • Using a Phillips #2 screwdriver, remove the 1" screw attaching the circuit board to the printer.

    Ask FixBot

    Add Comment

  10. Accessing Samsung ML2510 Circuit Board: step 10, image 1 of 2 Accessing Samsung ML2510 Circuit Board: step 10, image 2 of 2
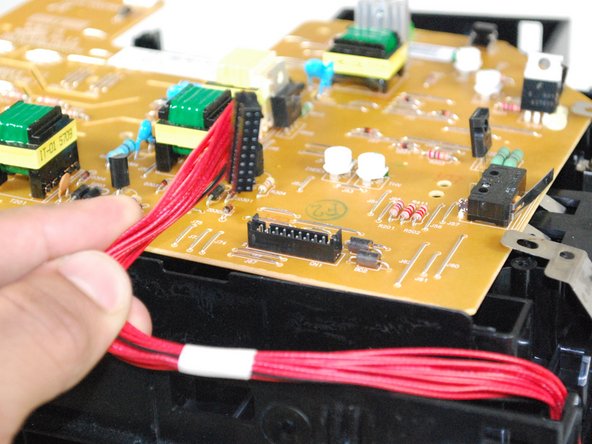
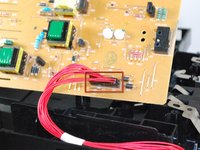
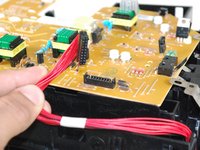
    • Turn over the circuit board to access main wiring.

    • Unplug the wiring from the circuit board gently.

    Ask FixBot

    Add Comment

Conclusion

To reassemble your device, follow these instructions in reverse order.

Cancel: I did not complete this guide.

3 other people completed this guide.

bbaustin

Member since: 10/12/11

268 Reputation

6 Guides authored

Team

Cal Poly, Team 17-18, Regan Fall 2011 Member of Cal Poly, Team 17-18, Regan Fall 2011

CPSU-REGAN-F11S17G18

4 Members

12 Guides authored

0 Guide Comments

Add Comment

View Statistics:

Past 24 Hours: 3

Past 7 Days: 6

Past 30 Days: 38

All Time: 3,350