
Access to RAM and CPU from why! W253EU

Felice Suglia and one other contributor
Last updated on Oct 11, 2022
Views: 724
View statistics:
- Past 24 Hours:
- 1
- Past 7 Days:
- 17
- Past 30 Days:
- 89
- All Time:
- 724
Comments: 0
No one has left comments on this guide. Will you be first?
Go to guide commentsCompleted: 0 1
No one has marked this guide "completed." Will you be the first?
1 person has marked this guide "completed." It's you — great job!
Favorites: 0 1
No one has favorited (and subscribed to) this guide. Will you be the first?
1 person has favorited (and subscribed to) this guide — and that's you!
Community-Contributed Guide
An awesome member of our community made this guide. It was not created by iFixit staff.
What you need
Tools

-
-
-
Turn off the computer.
-
Take the slide unlocked into position, remove the battery.
 Ask FixBot
-
-
-
-
-
Using a Philips #1 screwdriver, unscrew the 5 screws securing the cover.
-
-
-
Push the screwdriver a few millimeters under the cover so that it can be touched with your fingers.
-
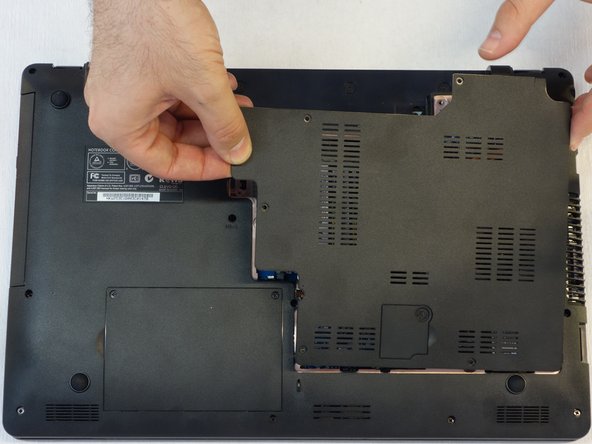
Now lift the cover carefully.
-
Attention! Disconnect the ventillator cable so that the cover can be completely removed (see next step).
-
-
-
-
Since the ventillator is mounted under the cover, its power supply cable must first be disconnected so that the cover can then be completely removed.
-
-




For reassembly, follow the instructions in reverse order.
Special thanks to these translators:
100%


These translators are helping us fix the world! Want to contribute?
Start translating ›

