
Abask J05 Front Case Replacement

Last updated on Dec 18, 2023
Views: 238
View statistics:
- Past 24 Hours:
- 0
- Past 7 Days:
- 14
- Past 30 Days:
- 67
- All Time:
- 238
Comments: 0
No one has left comments on this guide. Will you be first?
Go to guide commentsCompleted: 0 1
No one has marked this guide "completed." Will you be the first?
1 person has marked this guide "completed." It's you — great job!
Favorites: 0 1
No one has favorited (and subscribed to) this guide. Will you be the first?
1 person has favorited (and subscribed to) this guide — and that's you!
Better Introduction
Improve this guide by completing or revising its introduction.
Missing Details
Some of this guide's details are missing. Help users by adding tools, difficulty, or time.
What you need
Tools


-
-
-
Gently press on the SD card with a fingernail until it clicks.
-
Release, then remove the card.
 Ask FixBot
-
-
-
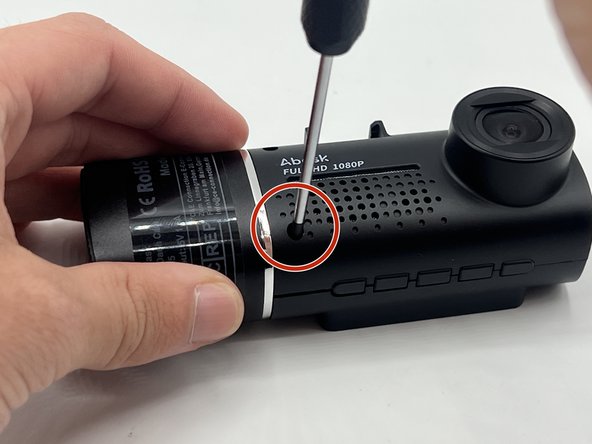
Remove the 5 mm screw from the side of the device next to the suction cup dock with a Phillips #00 screwdriver.
-
-
-
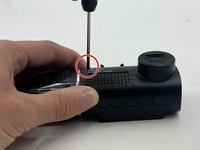
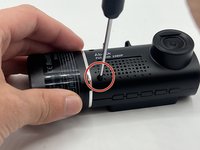
Remove the two 8 mm screws from opposite sides of the screen with a Phillips #00 precision screwdriver.
-
-
-
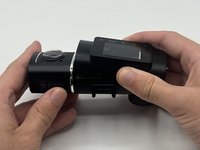
Gently lift the screen.
-
Push up on the interior camera portion of the device. It should pop out of the socket. Being careful to keep the wires attached, set it to the side.
-
-
-
-
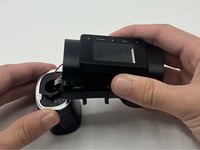
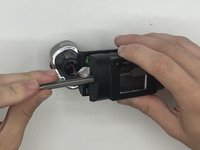
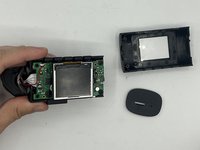
Reach into the device with a spudger to release the top two snap joints keeping the end cap attached one at a time until the front face lifts off.
-
Repeat the process with the two remaining snap joints.
-
-






To reassemble your device, follow these instructions in reverse order.


