Introduction
The photodiode, or light sensor, is an essential component of any dash cam. It converts incoming light into electrical signals, enabling the camera to capture clear digital video. It also plays a key role in features like night vision and automatic adjustments to brightness and exposure.
If the Abask A8 Dash Cam footage is producing blurry, distorted, or overly dark/light footage, the photodiode may be faulty and require replacement. Please follow this guide to replace the component.
Before you continue, please unplug the camera from its power source and hold the power button down for 10 seconds to avoid dispelling leftover energy. You may also wear an Anti-Static Wrist Strap to prevent electrostatic discharge.
While using this guide, please take caution when removing each component. There are thin silver ribbon cables and multi-colored wires throughout the camera that are fragile and should be handled with care. To identify the ribbon cable, look for a thin silver ribbon that looks like duct-tape.
What you need
-
-
-
Use a Phillips #00 screwdriver to remove the four 1.6 mm screws on the front plate.
-
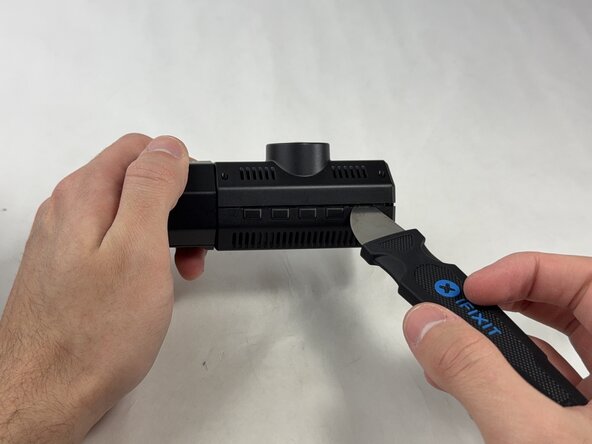
Gently insert a pry between the front panel and the main body, working around the edges to pop it off.
-
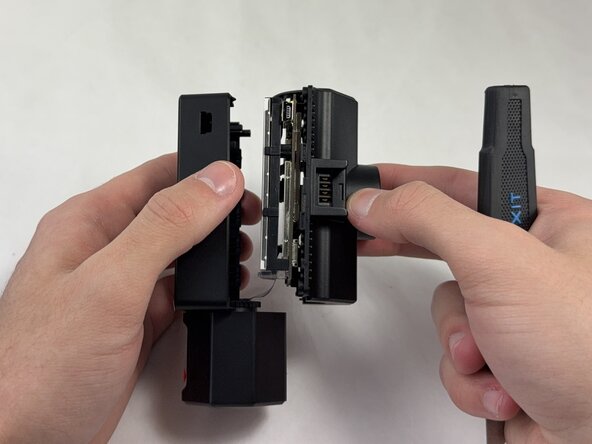
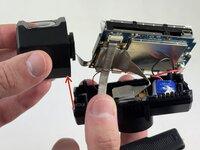
Pull the main body from the shell.
 Ask FixBot
-
-
-
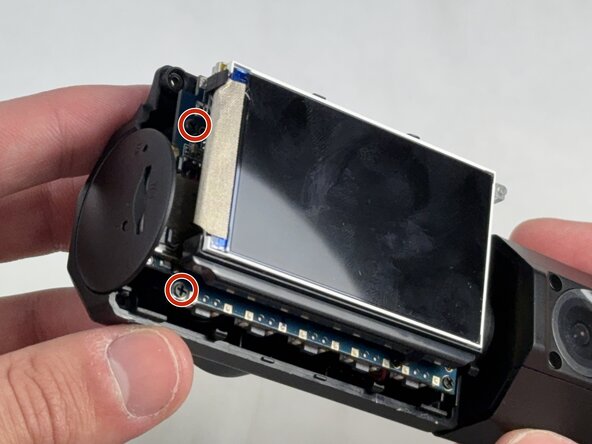
Use a Phillips #00 screwdriver to remove the four 1.6 mm screws that secure the screen.
-
-
-
Remove the internal facing camera with care not to strain the connected ribbon cable.
-
Lift up the black ZIF locking flap and disconnect the ribbon cable.
-
-
-
-
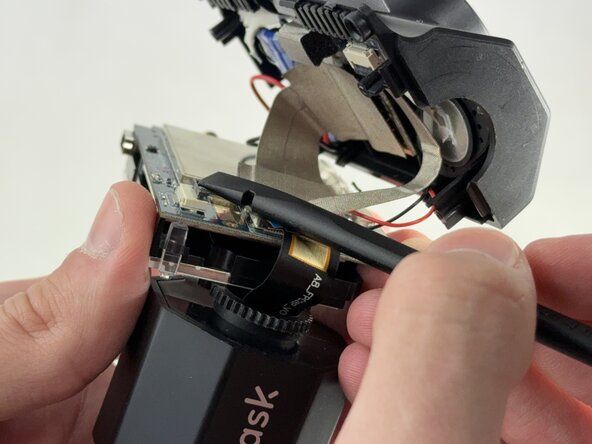
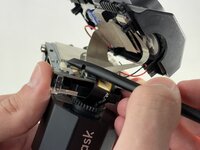
Lift the camera connector ZIF locking flap.
-
Gently remove the ribbon cable from the connector and fully remove the camera.
-
-
-
-
-
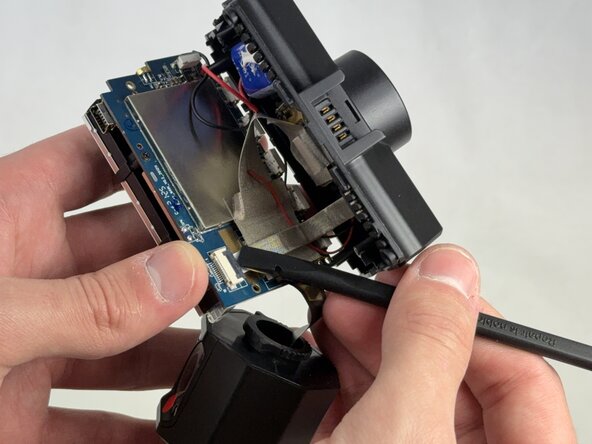
Lift the ZIF locking flap that is securing the ribbon cable connecting the motherboard to the shell.
-
-
-
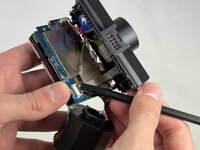
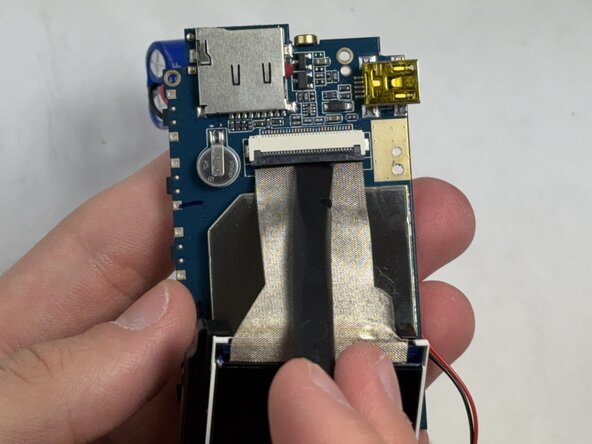
Gently lift the ribbon cable locking flap and disconnect the ribbon cable from the motherboard.
-
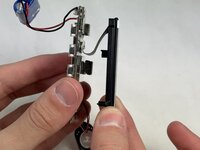
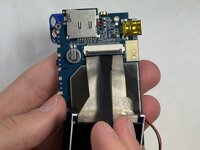
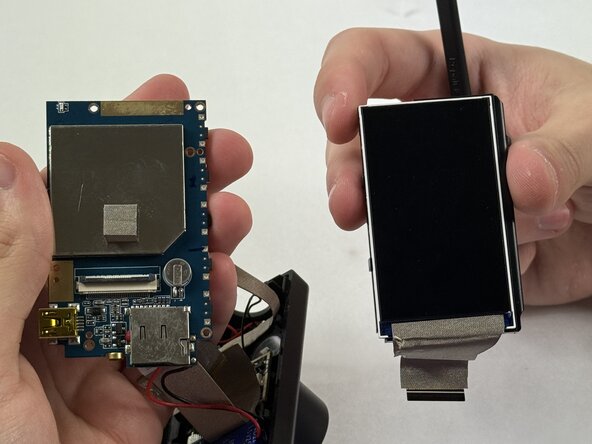
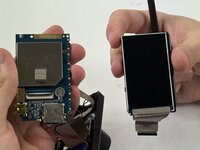
Carefully separate the motherboard from the screen.
-
-
-
-
-
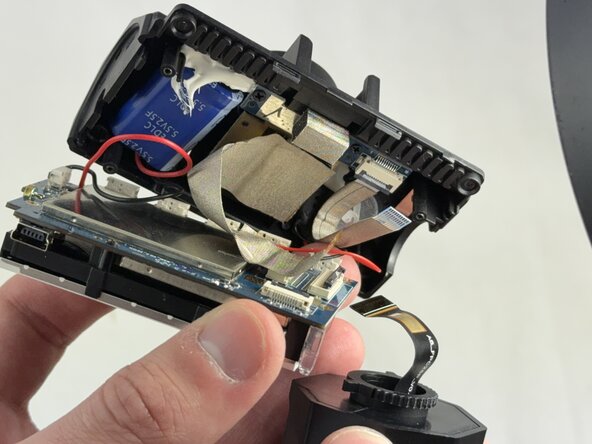
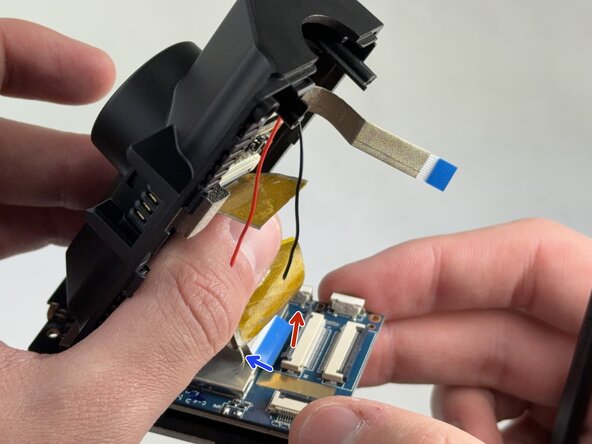
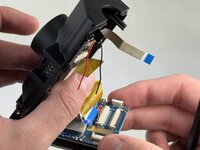
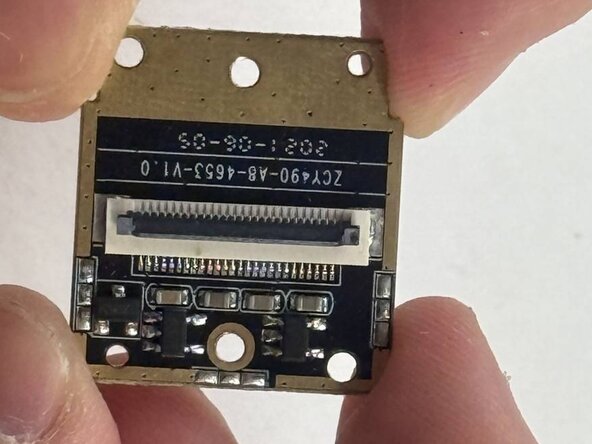
Gently release the silver locking flap that is holding the ribbon cable connecting the photodiode to the motherboard.
-
Carefully pull the flat ribbon cable out of the connector.
-
-
-
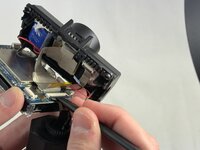
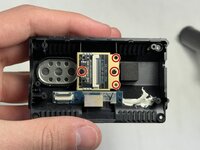
Use a Phillips #00 screwdriver to remove the four 1.6 mm screws that secure the photodiode.
-
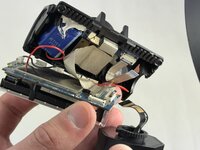
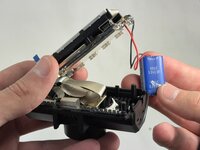
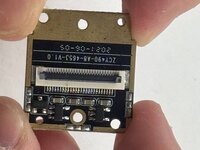
Carefully lift the old photodiode out of its base.
-
-







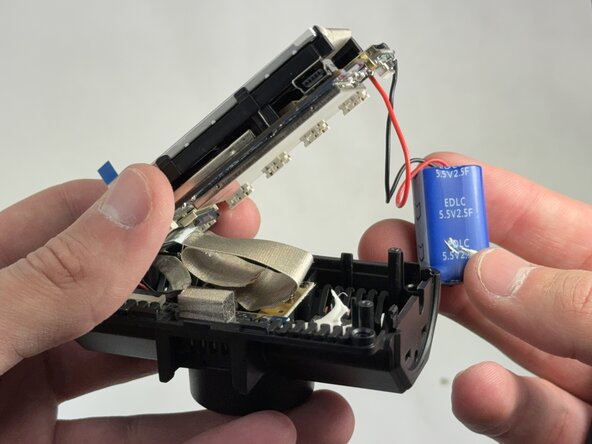





To reassemble your device, follow the above steps in reverse order.
Take your e-waste to an R2 or e-Stewards certified recycler.
Repair didn’t go as planned? Try some basic troubleshooting or ask our Answers community for help.

Team

UMass Dartmouth, Team 4-4, Konn Spring 2025 Member of UMass Dartmouth, Team 4-4, Konn Spring 2025
UMASSD-KONN-S25S4G4
4 Members
48 Guides authored
