
Abask A8 Internal Assembly Replacement

Logan B and 2 other contributors
Last updated on Jun 30, 2025
Views: 299
View statistics:
- Past 24 Hours:
- 1
- Past 7 Days:
- 11
- Past 30 Days:
- 69
- All Time:
- 299
Comments: 0
No one has left comments on this guide. Will you be first?
Go to guide commentsCompleted: 0 1
No one has marked this guide "completed." Will you be the first?
1 person has marked this guide "completed." It's you — great job!
Favorites: 0 1
No one has favorited (and subscribed to) this guide. Will you be the first?
1 person has favorited (and subscribed to) this guide — and that's you!
Introduction
Go to step 1 ↓Sometimes, the unexpected can happen. For example you may get into an accident and end up damaging your precious Abask A8 and it doesnt turn back on! This guide will teach you how to successfully remove Abask A8's Internal Assembly.
Before you continue, please unplug the Abask A8 from its power source and hold the power button down for 10 seconds to avoid dispelling leftover energy. You may also wear an Anti-Static Wrist Strap to prevent electrostatic discharge.
While using this guide, please take caution when removing each component. There are thin ribbon cables and multi-colored wires throughout the camera that are fragile and should be handled with care. To identify the ribbon cable, look for a thin silver ribbon that looks like duct-tape.
What you need
Tools
-
-
Spudger4.9


-
-
-
Use a Phillips #00 screwdriver to remove the four 1.6 mm screws on the front plate.
-
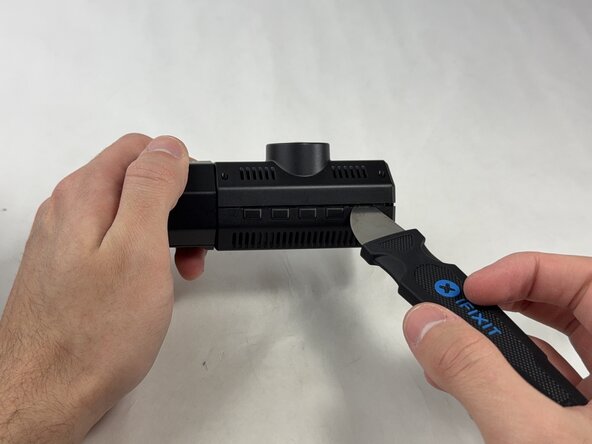
Gently insert a pry between the front panel and the main body, working around the edges to pop it off.
-
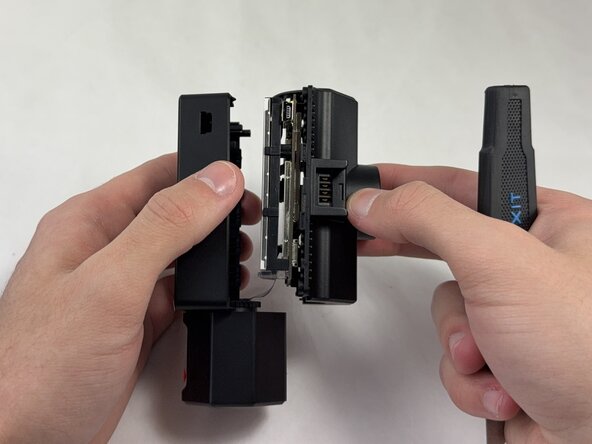
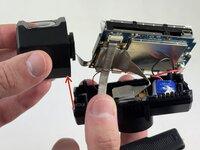
Pull the main body from the shell.
 Ask FixBot
-
-
-
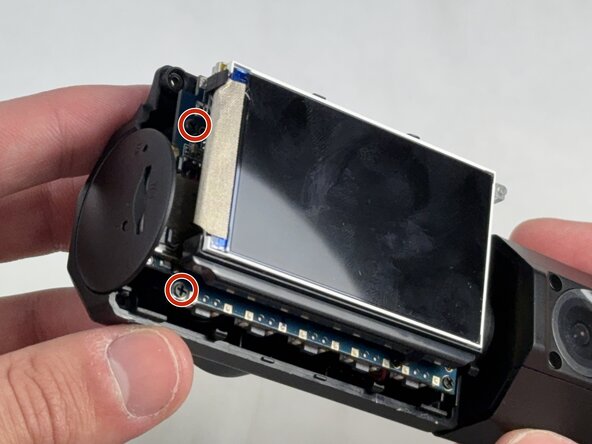
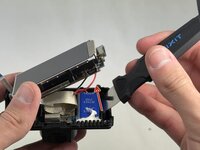
Use a Phillips #00 screwdriver to remove the four 1.6 mm screws that secure the screen.
-
-
-
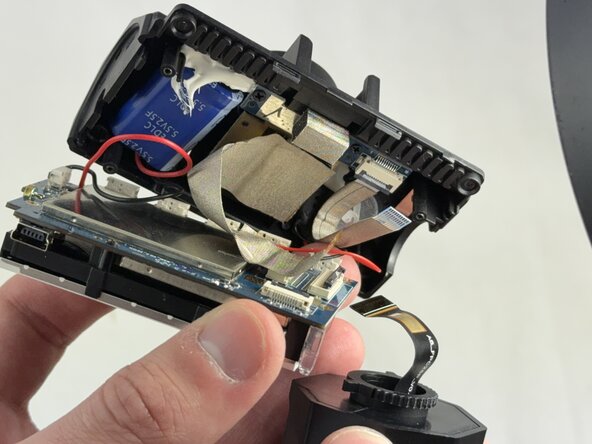
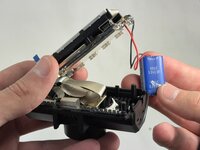
Remove the internal facing camera with care not to strain the connected ribbon cable.
-
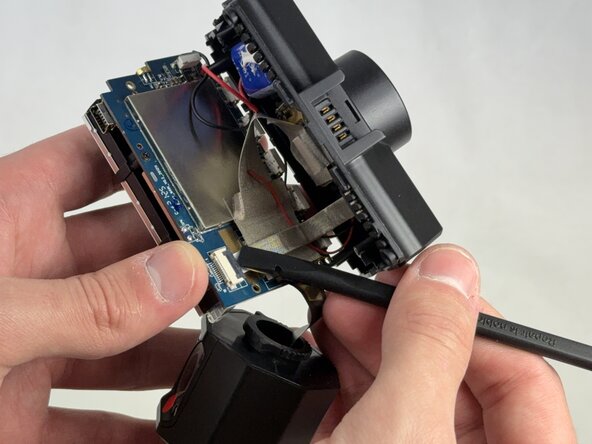
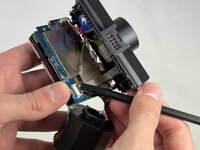
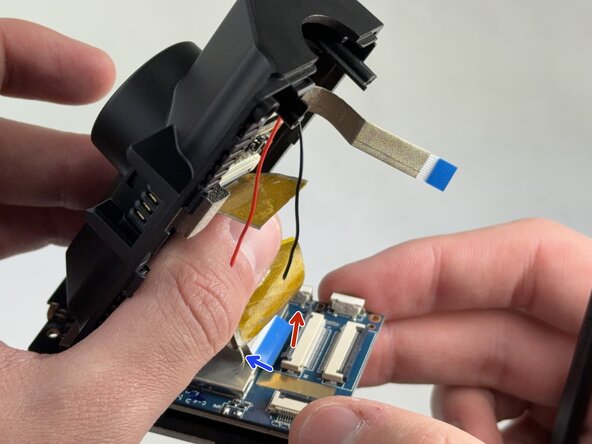
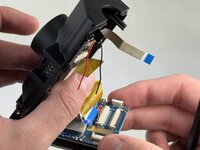
Lift up the black ZIF locking flap and disconnect the ribbon cable.
-
-
-
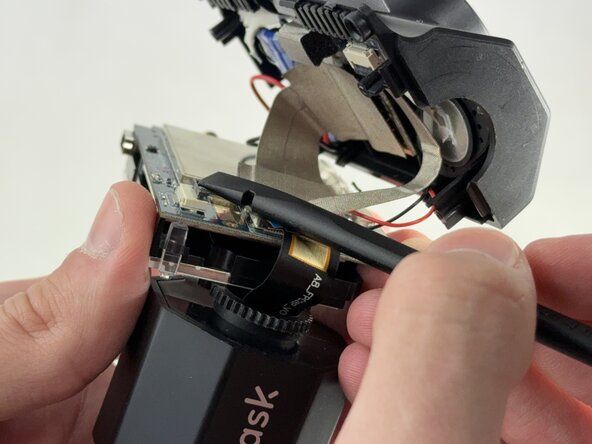
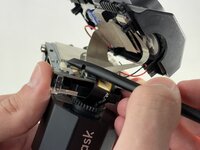
Lift the camera connector ZIF locking flap.
-
Gently remove the ribbon cable from the connector and fully remove the camera.
-
-
-







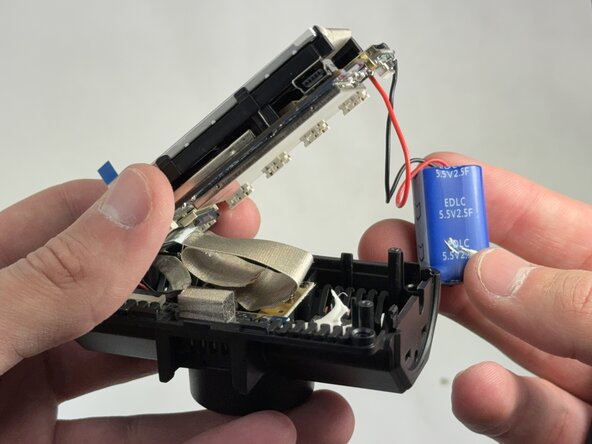
To reassemble your device, follow these instructions in reverse order.

Team

UMass Dartmouth, Team 4-4, Konn Spring 2025 Member of UMass Dartmouth, Team 4-4, Konn Spring 2025
UMASSD-KONN-S25S4G4
4 Members
48 Guides authored
