
AYL SoundFit Motherboard Replacement

Last updated on Jan 5, 2024
Views: 2.2K
View statistics:
- Past 24 Hours:
- 2
- Past 7 Days:
- 16
- Past 30 Days:
- 92
- All Time:
- 2,199
Comments: 5
2 comments on steps, 3 guide comments.
Go to guide commentsCompleted: 3 4
3 people have marked this guide "completed." Will you be next?
4 people have marked this guide "completed." Including you — great job!
Favorites: 1 2
1 person has favorited (and subscribed to) this guide. Will you be next?
2 people have favorited (and subscribed to) this guide — including you!
Slice and Dice
The steps in this guide should be split up and made into a series of prerequisite guides.
Introduction
Go to step 1 ↓This guide will help you replace the AYL SoundFit motherboard. If you're experiencing power problems, audio distortion, or connectivity glitches, a motherboard replacement may be necessary.
The motherboard is an essential component that controls the core functions of the AYL SoundFit speaker. It manages audio processing, power, and connectivity. Replacing the motherboard can resolve a variety of issues that make the speaker non-functional.
This motherboard replacement process involves soldering, which requires skill and caution. If you're not experienced with soldering, we highly recommend referring to the guide "Solder and Desolder Connections " before proceeding with this motherboard replacement.
Now that you understand the importance of the motherboard in your AYL SoundFit speaker and the caution regarding soldering, let's proceed to step 1 and get started on resolving your issues.
What you need
Tools


-
-
-
Unscrew the four hex screws on the top of the device using a 2.5mm hex screwdriver.
 Ask FixBot
-
-
-
Place a spudger between the black plastic cover and the green case.
-
Remove the black cover away from the main casing and remove the cover.
-
-
-
Place the spudger tool between the black housing, which contains the woofer, and the outer rubber casing.
-
Remove the housing away from the body to reveal the motherboard, speaker, and battery.
-
-
-
-
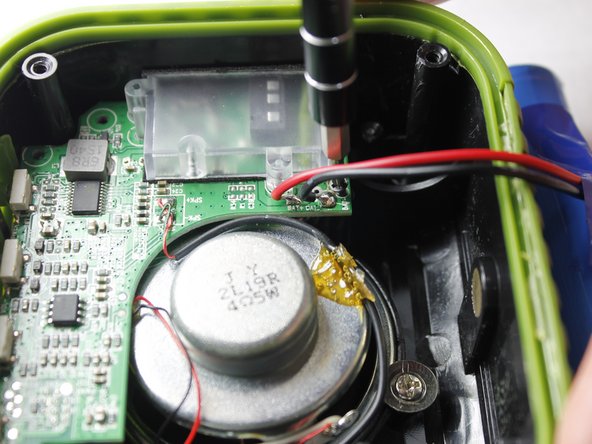
Using a soldering iron, heat up and remove both the positive and negative battery contacts from the motherboard.
-
-


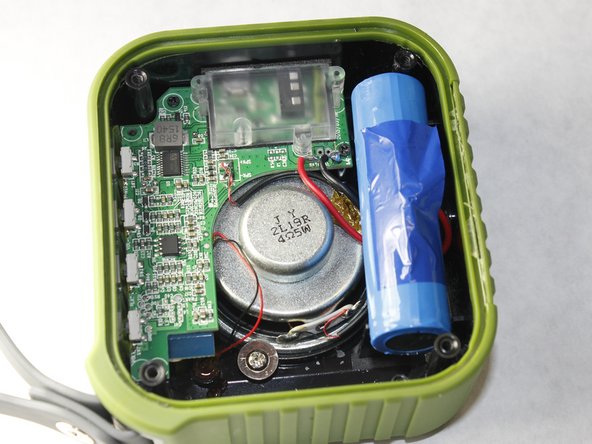


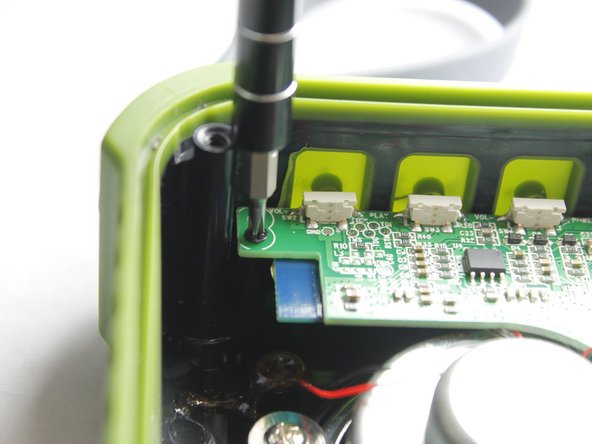
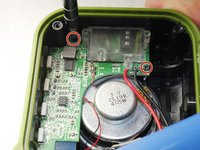
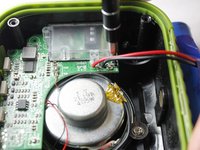
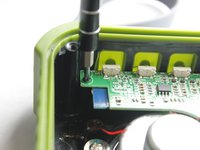
To reassemble your device, follow these instructions in reverse order.
Cancel: I did not complete this guide.
3 other people completed this guide.

Team

IUPUI, Team 3-3, Harley Spring 2016 Member of IUPUI, Team 3-3, Harley Spring 2016
IUPUI-HARLEY-S16S3G3
4 Members
60 Guides authored
3 Guide Comments
Where do u get a new motherboard at?
Anybody know where to get a motherboard?
Where do I get a motherboard?
