Introduction
This guide will show you how to replace the front camera in an ATT Trek HD tablet. The camera may need to be replaced, if it will no longer stay in focus or seems blurry. This part is moderately difficult to remove, and will require you to remove the motherboard from the device. This will require you to use a plastic opening tool, angled tweezers, and a PH00 screwdriver.
What you need
-
-
-
To separate the screen from the back panel, run the plastic opening tool along the outer edge of the device.
 Ask FixBot
-
-
-
-
-
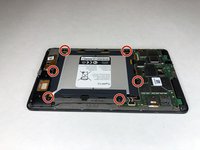
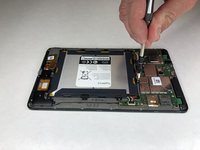
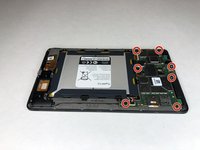
Use a Phillips #00 screwdriver to remove the six 2.5 mm screws located around the perimeter of the battery.
-
-
-
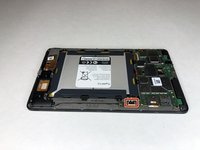
Use the plastic opening tool to disconnect the black battery connector.
-
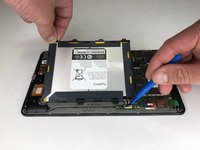
Gently lift the battery out of the device.
-
-
-
-
-
-
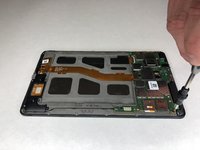
Using a Phillips #00 screwdriver, remove the seven 1 mm screws on the green perimeter of the motherboard.
-
-
-
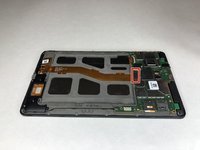
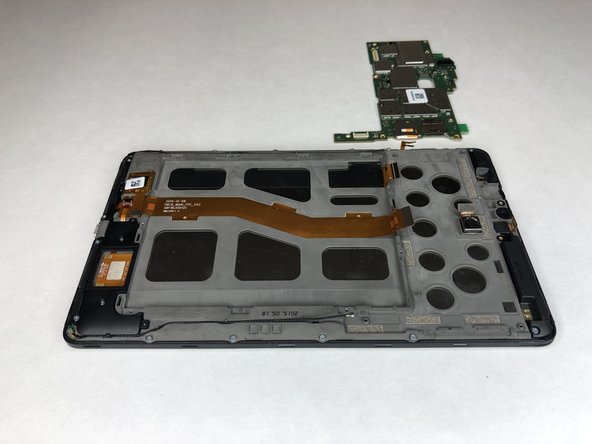
Use the plastic opening tool to disconnect the large gold strip underneath the metal plate from the motherboard.
-
-
-
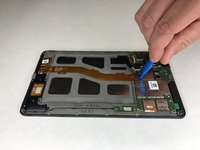
Use the plastic opening tool to disconnect the front and back cameras from motherboard.
-
-
Tool used on this step:Tweezers$3.99
-
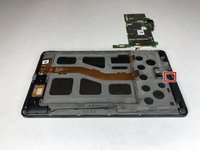
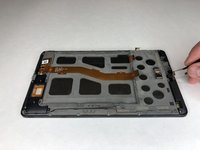
Use angled tweezers to pry up the black tab.
-
Use the angled tweezers to pull out the gold connector.
-
-
-
Use the plastic opening tool to disconnect the black connectors on each side of the motherboard.
-
-
-
-
Tool used on this step:Tweezers$3.99
-
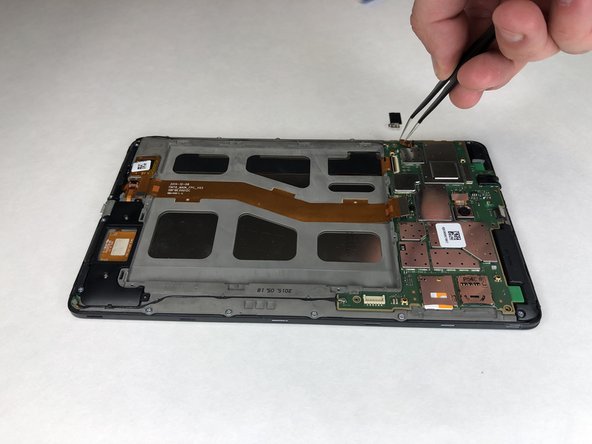
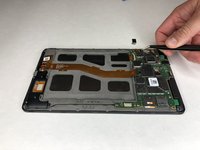
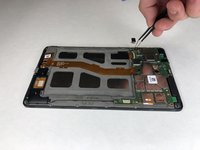
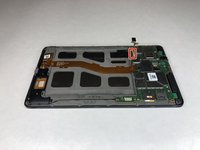
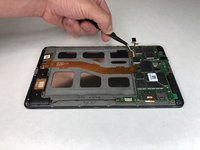
Use the angled tweezers to lift the camera out.
-
-

















To reassemble your device, follow these instructions in reverse order.

Team

University of Alabama, Team S1-G3, Bedsole Spring 2019 Member of University of Alabama, Team S1-G3, Bedsole Spring 2019
UA-BEDSOLE-S19S1G3
4 Members
72 Guides authored
