Free Shipping on Domestic Orders $75+

ATT Trek HD 9020A Screen Replacement

What you need

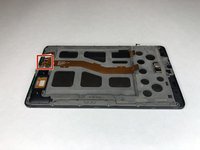
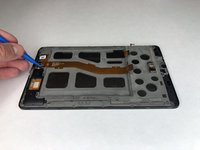
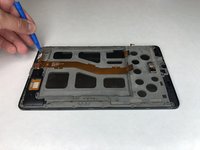
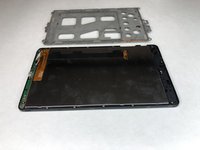
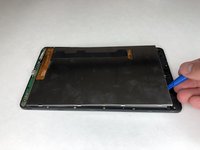
    1. ATT Trek HD 9020A Screen Replacement, Back Cover: step 1, image 1 of 1
      • To separate the screen from the back panel, run the plastic opening tool along the outer edge of the device.

      Ask FixBot

      Add Comment

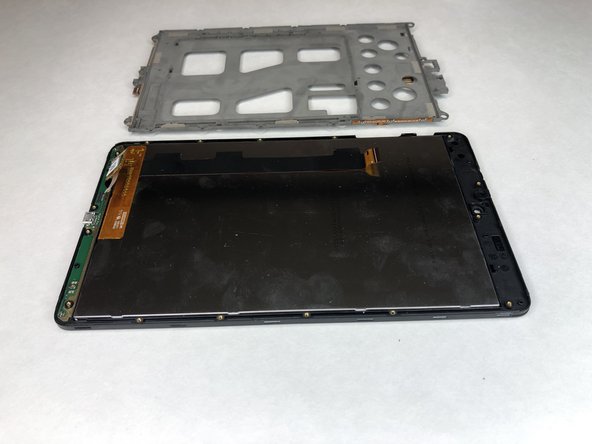
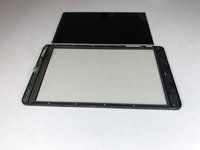
    2. ATT Trek HD 9020A Screen Replacement: step 2, image 1 of 1
      • Pull the screen away from the back panel.

      Ask FixBot

      Add Comment

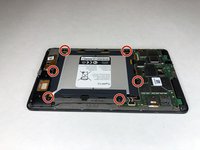
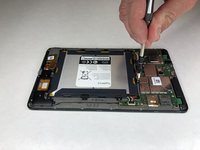
    1. ATT Trek HD 9020A Screen Replacement, Battery: step 3, image 1 of 2 ATT Trek HD 9020A Screen Replacement, Battery: step 3, image 2 of 2
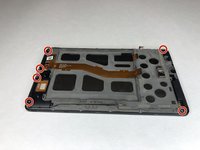
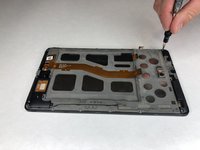
      • Use a Phillips #00 screwdriver to remove the six 2.5 mm screws located around the perimeter of the battery.

      Ask FixBot

      Add Comment

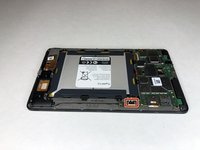
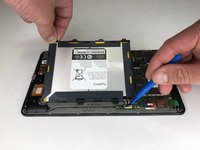
    2. ATT Trek HD 9020A Screen Replacement: step 4, image 1 of 2 ATT Trek HD 9020A Screen Replacement: step 4, image 2 of 2
      • Use the plastic opening tool to disconnect the black battery connector.

      • Gently lift the battery out of the device.

      Ask FixBot

      Add Comment

    1. ATT Trek HD 9020A Screen Replacement, Motherboard: step 5, image 1 of 2 ATT Trek HD 9020A Screen Replacement, Motherboard: step 5, image 2 of 2
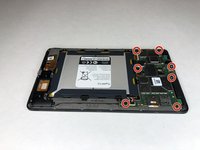
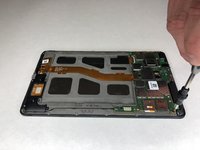
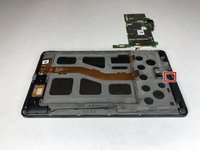
      • Using a Phillips #00 screwdriver, remove the seven 1 mm screws on the green perimeter of the motherboard.

      Ask FixBot

      Add Comment

    2. ATT Trek HD 9020A Screen Replacement: step 6, image 1 of 2 ATT Trek HD 9020A Screen Replacement: step 6, image 2 of 2
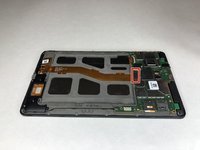
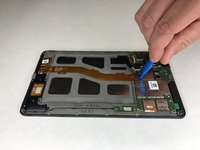
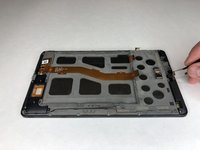
      • Use the plastic opening tool to disconnect the large gold strip underneath the metal plate from the motherboard.

      Ask FixBot

      Add Comment

    3. ATT Trek HD 9020A Screen Replacement: step 7, image 1 of 1
      • Use the plastic opening tool to disconnect the front and back cameras from motherboard.

      Ask FixBot

      Add Comment

    4. ATT Trek HD 9020A Screen Replacement: step 8, image 1 of 2 ATT Trek HD 9020A Screen Replacement: step 8, image 2 of 2
      Tool used on this step:
      Tweezers
      $3.99
      Buy
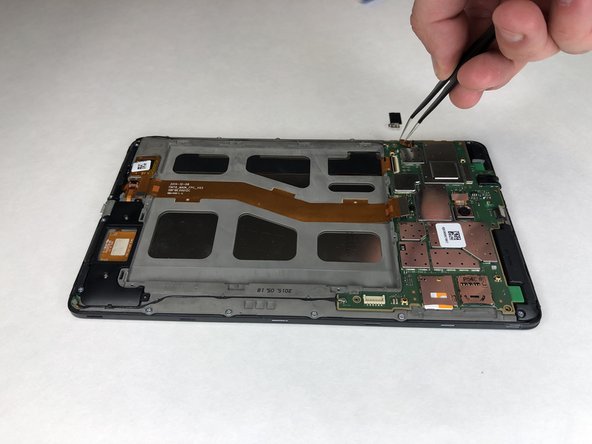
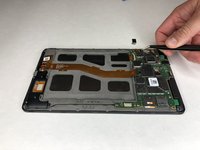
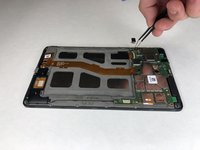
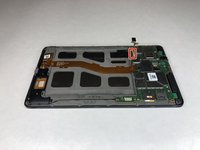
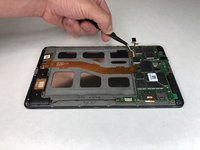
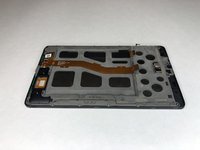
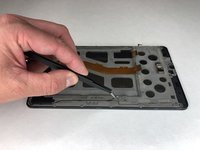
      • Use angled tweezers to pry up the black tab.

      • Use the angled tweezers to pull out the gold connector.

      Ask FixBot

      Add Comment

    5. ATT Trek HD 9020A Screen Replacement: step 9, image 1 of 2 ATT Trek HD 9020A Screen Replacement: step 9, image 2 of 2
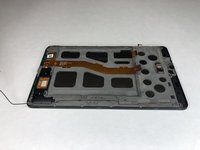
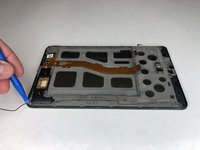
      • Use the angled tweezers to disconnect the gold connector.

      Ask FixBot

      Add Comment

    6. ATT Trek HD 9020A Screen Replacement: step 10, image 1 of 1
      • Use the plastic opening tool to disconnect the black connectors on each side of the motherboard.

      Ask FixBot

      Add Comment

    7. ATT Trek HD 9020A Screen Replacement: step 11, image 1 of 2 ATT Trek HD 9020A Screen Replacement: step 11, image 2 of 2
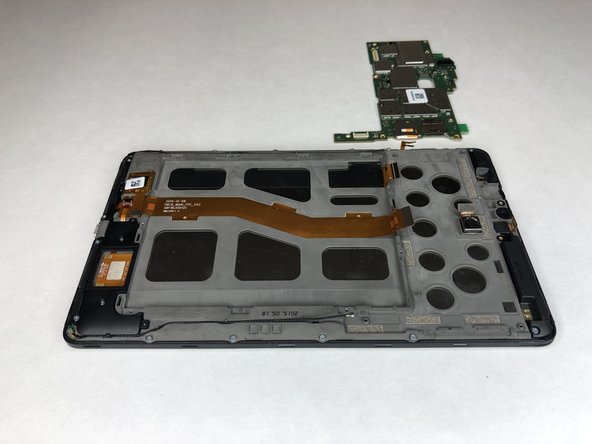
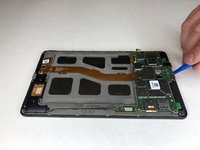
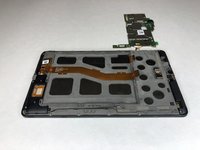
      • Use the plastic opening tool to lift the motherboard out of place.

      Ask FixBot

      Add Comment

    1. ATT Trek HD 9020A Screen Replacement, Front Camera: step 12, image 1 of 2 ATT Trek HD 9020A Screen Replacement, Front Camera: step 12, image 2 of 2
      Tool used on this step:
      Tweezers
      $3.99
      Buy
      Ask FixBot

      Add Comment

    1. ATT Trek HD 9020A Screen Replacement, Screen: step 13, image 1 of 3 ATT Trek HD 9020A Screen Replacement, Screen: step 13, image 2 of 3 ATT Trek HD 9020A Screen Replacement, Screen: step 13, image 3 of 3
      • Use the Phillips #00 screwdriver to remove the six 3 mm screws holding the black plastic corner pieces in place.

      • Gently lift the black corner pieces out of the device.

      Ask FixBot

      Add Comment

    2. ATT Trek HD 9020A Screen Replacement: step 14, image 1 of 2 ATT Trek HD 9020A Screen Replacement: step 14, image 2 of 2
      Tool used on this step:
      Tweezers
      $3.99
      Buy
      • Use the angled tweezers to remove the black cables on each side of the device from their groove.

      Ask FixBot

      Add Comment

    3. ATT Trek HD 9020A Screen Replacement: step 15, image 1 of 2 ATT Trek HD 9020A Screen Replacement: step 15, image 2 of 2
      • Use the plastic opening tool to disconnect the black cable connectors from each side of the device.

      Ask FixBot

      Add Comment

    4. ATT Trek HD 9020A Screen Replacement: step 16, image 1 of 2 ATT Trek HD 9020A Screen Replacement: step 16, image 2 of 2
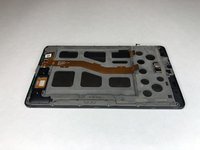
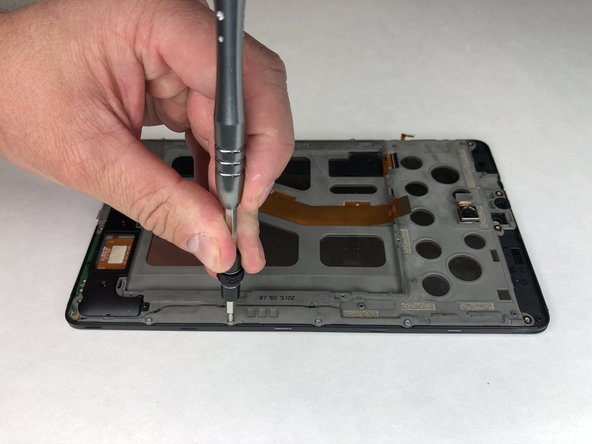
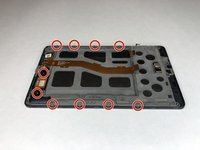
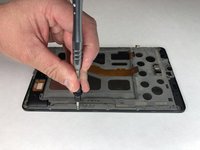
      • Remove the remaining ten 3 mm Phillips #00 screws.

      Ask FixBot

      Add Comment

    5. ATT Trek HD 9020A Screen Replacement: step 17, image 1 of 2 ATT Trek HD 9020A Screen Replacement: step 17, image 2 of 2
      • Use the plastic opening tool to disconnect the remaining three gold connectors at the bottom of the device.

      Ask FixBot

      Add Comment

    6. ATT Trek HD 9020A Screen Replacement: step 18, image 1 of 2 ATT Trek HD 9020A Screen Replacement: step 18, image 2 of 2
      • Use the plastic opening tool to pry up the grey plastic panel.

      Ask FixBot

      Add Comment

    7. ATT Trek HD 9020A Screen Replacement: step 19, image 1 of 2 ATT Trek HD 9020A Screen Replacement: step 19, image 2 of 2
      • Use the plastic opening tool to pry the screen out of the device.

      Ask FixBot

      Add Comment

Conclusion

To reassemble your device, follow these instructions in reverse order.

Cancel: I did not complete this guide.

One other person completed this guide.

0 Guide Comments

Add Comment

View Statistics:

Past 24 Hours: 0

Past 7 Days: 6

Past 30 Days: 20

All Time: 986