
ATT EL52300 Keypad/Plastic Display Screen Replacement

Katty and 3 other contributors
Last updated on May 9, 2016
Views: 997
View statistics:
- Past 24 Hours:
- 2
- Past 7 Days:
- 15
- Past 30 Days:
- 84
- All Time:
- 997
Comments: 0
No one has left comments on this guide. Will you be first?
Go to guide commentsCompleted: 0 1
No one has marked this guide "completed." Will you be the first?
1 person has marked this guide "completed." It's you — great job!
Favorites: 0 1
No one has favorited (and subscribed to) this guide. Will you be the first?
1 person has favorited (and subscribed to) this guide — and that's you!
Introduction
Go to step 1 ↓Use this keypad replacement guide if buttons are missing or damaged. A potential hazard would be affecting the motherboard through the charge that you internally carry, therefore you should use the anti-static wrist strap to prevent this. References to the other guides will be used.
What you need
Tools


-
-
-
Find the bump where the battery cover meets the phone. Put your thumb here, and push and slide the cover down.
 Ask FixBot
-
-
-
Unplug the battery by squeezing your hands on the small white plug and lifting it up.
-
The battery is now detached and ready to be removed by lifting it out.
-
-
-
-
Tool used on this step:Anti-Static Wrist Strap$7.95
-
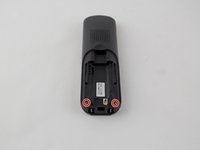
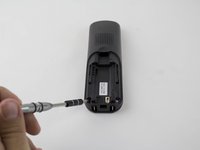
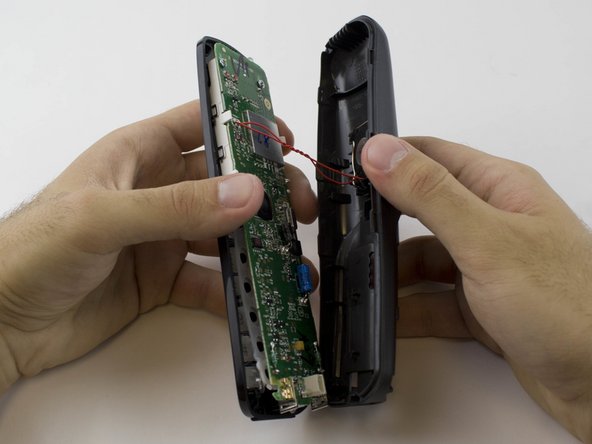
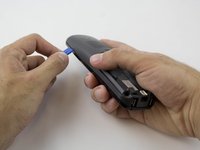
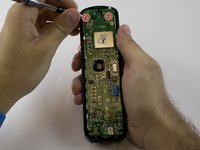
Remove the two 3.65 mm screws on the motherboard with a PH1 screwdriver.
-
-
-



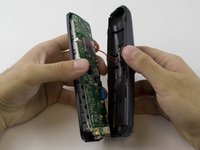

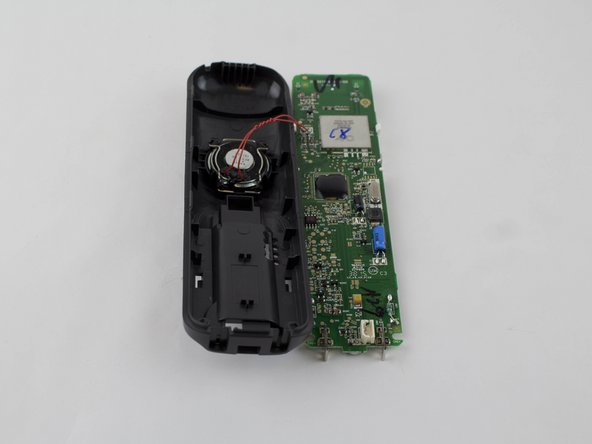
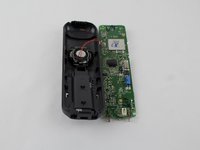

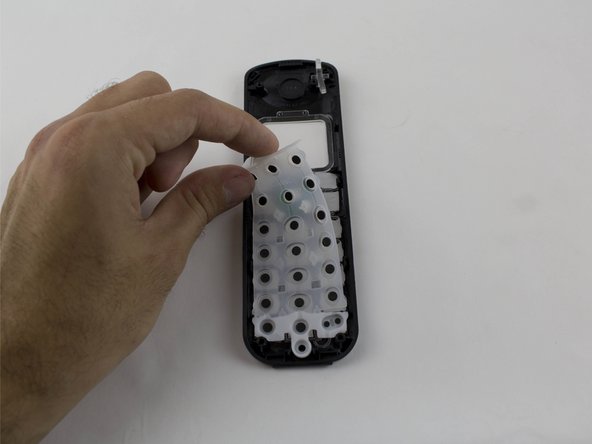

To reassemble your device, follow these instructions in reverse order.

Team

USF Tampa, Team 1-1, Sullivan Spring 2016 Member of USF Tampa, Team 1-1, Sullivan Spring 2016
USFT-SULLIVAN-S16S1G1
4 Members
60 Guides authored
