
AT-LP60X Cam Gear Assembly Replacement

Anthony @ ATUS and one other contributor
Last updated on Aug 3, 2026
Views: 2.6K
View statistics:
- Past 24 Hours:
- 4
- Past 7 Days:
- 58
- Past 30 Days:
- 278
- All Time:
- 2,568
Comments: 0
No one has left comments on this guide. Will you be first?
Go to guide commentsCompleted: 1 2
1 person has marked this guide "completed." Will you be next?
2 people have marked this guide "completed." Including you — great job!
Favorites: 0 1
No one has favorited (and subscribed to) this guide. Will you be the first?
1 person has favorited (and subscribed to) this guide — and that's you!
Community-Contributed Guide
An awesome member of our community made this guide. It was not created by iFixit staff.
Introduction
Go to step 1 ↓Step-By-Step Guide: Created By ATUS Service
This guide is used to provide step-by-step instructions for replacing or reseating the Cam Gear Assembly on all AT-LP60/LP60X, AT-LP3/LP3X, and AT-LP70X models. The part being replaced has a possible link to inconsistent functionality of the auto start/stop function of the automatic turntable.
The part number for the cam gear assembly is 701-SL24F-192, and can be purchased through the Audio-Technica parts department; (330)686-2600 ext.5002 || parts@atus.com
What you need

-
-
-
Unplug the power source located on the back of the turntable.
 Ask FixBot
-
-
-
Press the stop button located at the front of the turntable one time.
-
-
-
With your right hand, hold the tone arm in the rest so that it does not move.
-
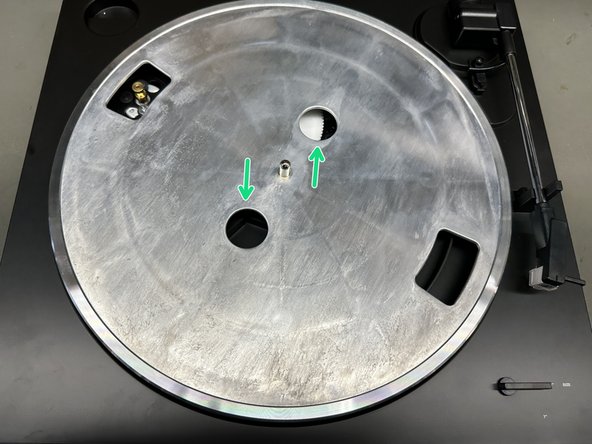
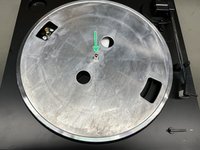
With your left hand, slowly rotate the platter clockwise until you hear a series of clicks.
-
Cam gear assembly - white gear visible through holes of the platter.
-
-
-
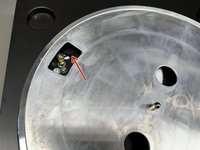
Gently pull the belt up and off of the gold pulley.
-
Remove the platter by grabbing the platter from the two circles, and pull straight up.
-
-
-
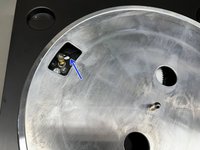
Once the screw is removed, pull the cam gear directly up to remove it.
-
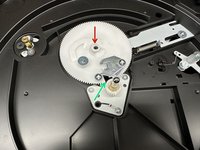
Flip the cam gear upside-down and adjust the curved metal piece to be inwards
-
-
-
Position the metal shaft against the metal bar.
-
Ensure brass bushing is lying flat in between the grooves.
-
Position the white plastic part such that it is touching the hole closest to the center post.
-
-
-
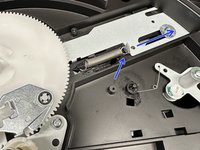
Place the new cam gear assembly on the center post, it will fall into place once the rest of this step is complete - DO NOT force the cam gear assembly down.
-
When the cam gear is placed, the open area of the cam gear should be facing the inner spindle as shown.
-
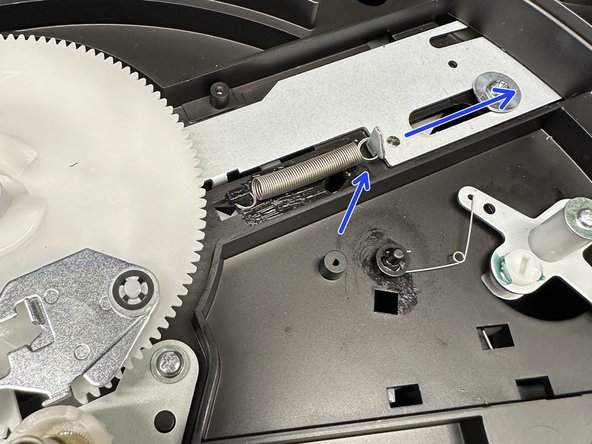
Locate the metal hook at the end of the spring, and gently slide it away from the cam gear until the cam gear drops into position.
-
-
-
-
Secure the cam gear assembly with the screw set aside from Step 5.
-
-
-
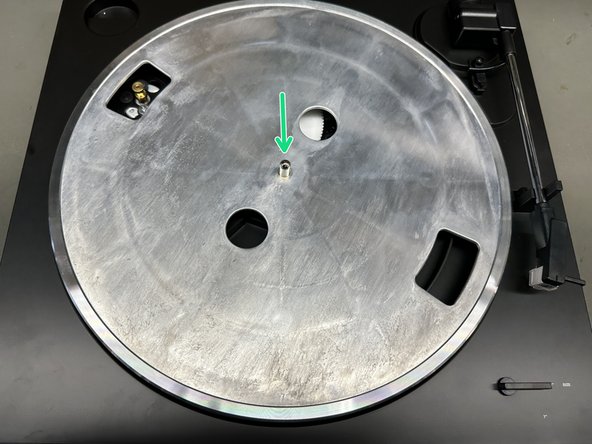
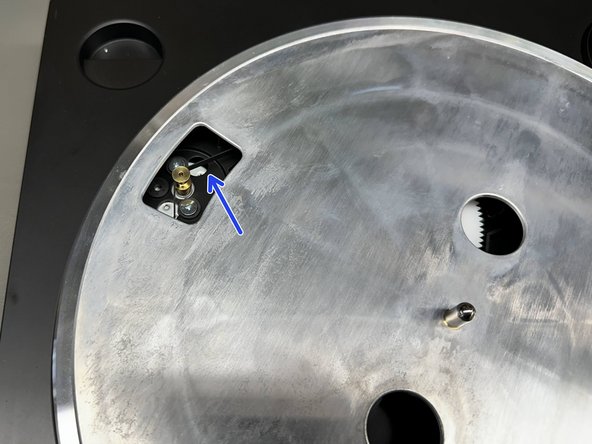
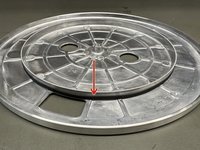
Flip the platter upside-down and ensure the belt is stretched around the inner ring.
-
Mount the platter back onto the center spindle.
-
Stretch the belt around the gold pulley.
-
-
-
Place the slipmat back onto the platter, and try a record.
-
-








Cancel: I did not complete this guide.
One other person completed this guide.

