
ASUS X552LAV-BBI5N08 Fan Replacement

Jason Vo and 2 other contributors
Last updated on May 21, 2018
Views: 992
View statistics:
- Past 24 Hours:
- 2
- Past 7 Days:
- 17
- Past 30 Days:
- 70
- All Time:
- 992
Comments: 0
No one has left comments on this guide. Will you be first?
Go to guide commentsCompleted: 0 1
No one has marked this guide "completed." Will you be the first?
1 person has marked this guide "completed." It's you — great job!
Favorites: 0 1
No one has favorited (and subscribed to) this guide. Will you be the first?
1 person has favorited (and subscribed to) this guide — and that's you!
Featured Student Guide
This guide has been the hard work of our awesome students and is found to be exceptionally cool by the iFixit staff.
Introduction
Go to step 1 ↓This is a guide that shows you how to replace the fan for a ASUS X552LAV-BBI5N08 laptop.
What you need
Tools


-
-
-
Slide the right button to the left.
-
Hold the left button to the right.
-
While you hold the left button in position, slide the battery out by pushing it away from you.
-
-
-
-
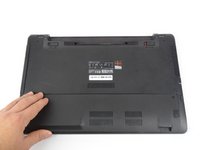
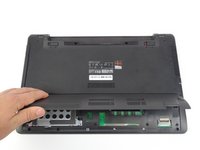
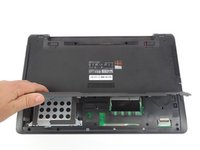
Locate the bottom panel. It is at the opposite end of the battery.
-
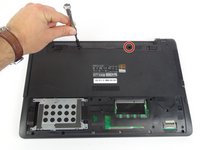
Remove the two 12mm screws at the bottom panel with a Tri-wing Y1 screwdriver.
-
-
-
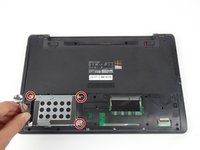
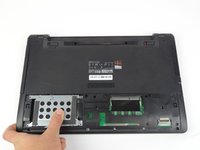
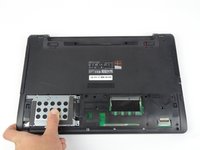
Remove the four 5.5mm screws located on the hard drive case using a Tri-wing Y1 screwdriver.
-
Slide the hard drive out to the left.
-
-
-
-
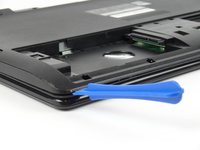
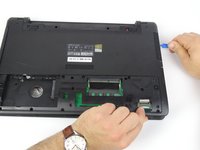
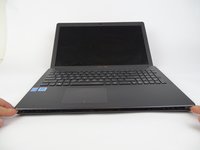
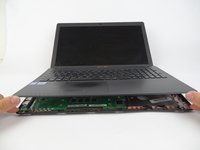
Use opening tool to split keyboard from base of the laptop.
-
Make sure to start from one end and go around the edges.
-
Use Tri-wing Y1 screwdriver to remove two 12mm screws from battery area.
-
-
-
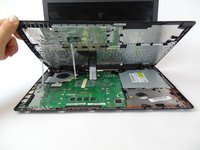
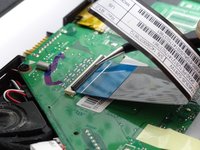
Flip up the small locking flap for the two ZIF connectors.
-
Unplug connectors that are keeping keyboard connected
-
-
-
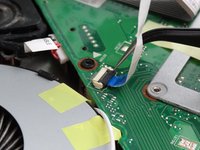
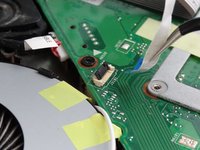
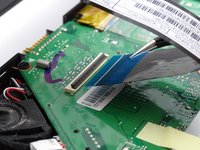
Flip up the locking flap for the ZIF connector.
-
Unplug the connector that is keeping the keyboard connected.
-
-
-
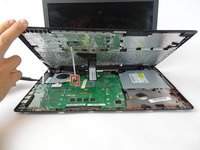
Remove keyboard from laptop.
-
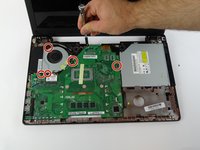
Remove the five 4mm screws (with a Tri-wing Y1 screwdriver) that are both connecting the fan and motherboard.
-
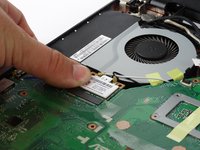
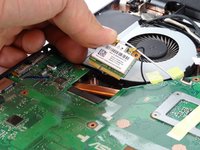
Pull out WiFi from below the cooling fan by lifting the edge nearest to the fan and sliding it towards the fan.
-
-
-
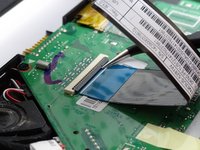
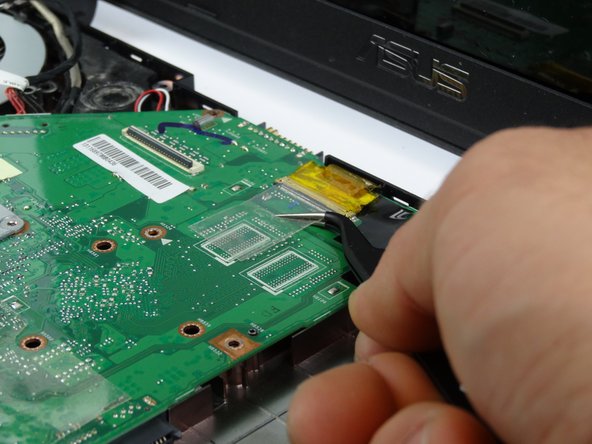
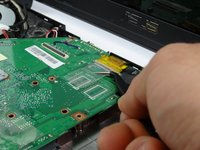
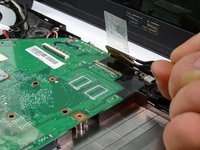
Lift yellow ZIF connector from the top of the motherboard to remove the connector.
-
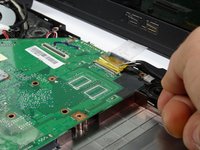
Lift up motherboard from bottom edge towards the screen.
-
-
-
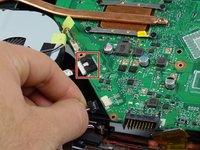
Unplug the two bundled cable connector from pin sockets below the fan.
-
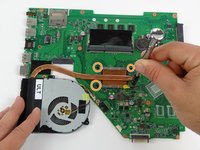
Remove the motherboard and place on a flat surface.
-
Remove four 4mm screws with a Tri-wing Y1 screwdriver from the CPU.
-
-
-
Disconnect bundled cable connector from the motherboard
-
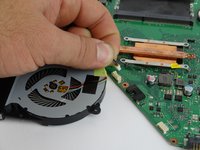
Remove fan part from the motherboard.
-
-
-
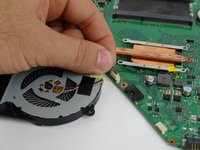
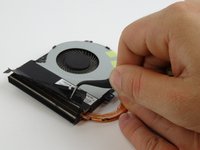
Remove the black tape from the top of the fan radiator.
-
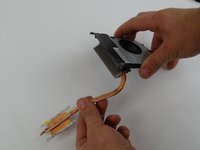
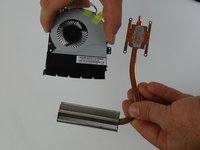
Remove radiator by tilting it down and pulling it out from the fan.
-
-

 Ask FixBot






















To reassemble your device, follow these instructions in reverse order.

Team

USF Tampa, Team S17-G1, Boczar Spring 2018 Member of USF Tampa, Team S17-G1, Boczar Spring 2018
USFT-BOCZAR-S18S17G1
4 Members
60 Guides authored
