Introduction
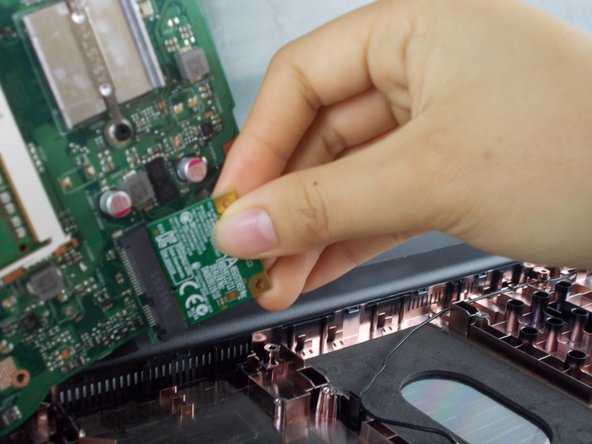
Has your wifi stopped working all together and no amount of trouble-shooting, software changes, or driver installations has fixed the issue? It most likely at this point is a faulty hardware issue. In this guide we will show you how to replace the Wifi card altogether. It is a little difficult to do, but with the help of this guide it should be doable. Follow this guy carefully and slowly to be sure of no mistakes or errors to prevent further problems.
What you need
-
-
-
Turn over the laptop on the back panel.
-
Use the Phillips #0 screwdriver to unscrew all ten screws visible on the back panel. There should be a total of ten screws: (4) four 5.5mm screws and (6) six 10.5mm screws.
 Ask FixBot
-
-
-
Turn over the laptop with the keyboard facing upwards.
-
Using a small prying or opening tool, stick the prying tool under the edge of the laptop.
-
-
-
After the laptop is completely pried open carefully remove the keyboard from the laptop.
-
There are two small keyboard cables connecting the keyboard to the laptop. Carefully remove these by popping up the white clips holding them in place and slide the connector out.
-
-
-
-
-
-
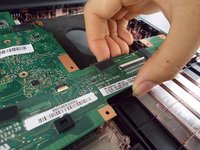
Remove the wire that's attached to the motherboard on top with a pop up motion.
-
-
-
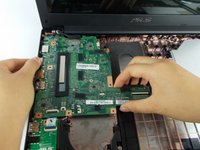
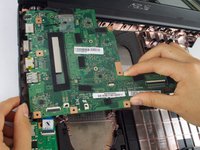
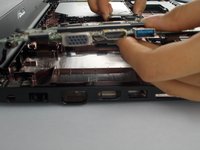
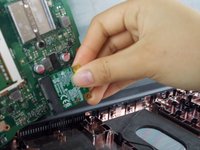
Lift the motherboard up carefully.
-
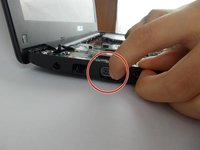
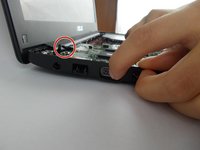
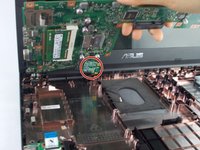
There is another wire securing the motherboard to the monitor from the bottom (DO NOT remove the wire) denoted by the red circle.
-


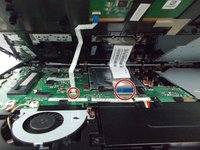
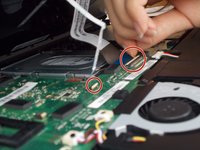

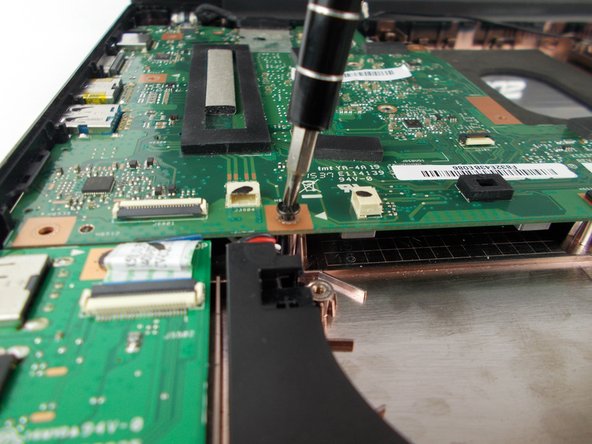
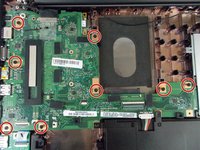
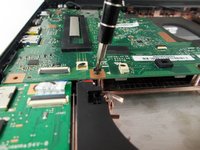

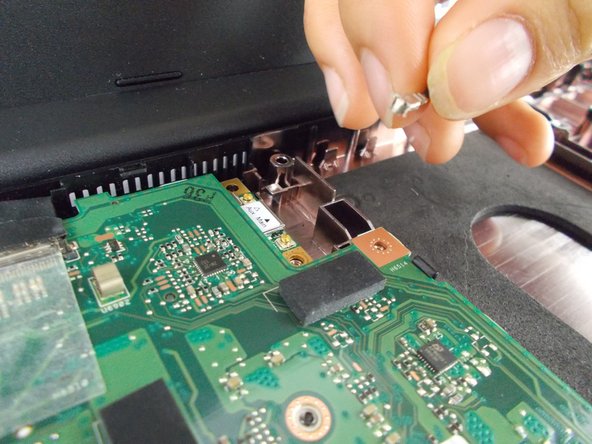
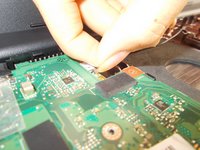
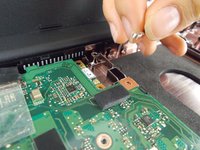





To reassemble your device, follow these instructions in reverse order.
Cancel: I did not complete this guide.
One other person completed this guide.

Team

USF Tampa, Team S13-G3, Boczar Fall 2017 Member of USF Tampa, Team S13-G3, Boczar Fall 2017
USFT-BOCZAR-F17S13G3
5 Members
55 Guides authored
