Free Shipping on Domestic Orders $75+

ASUS VivoBook S400C SSD Card Replacement

Views: 2.3K

View statistics:

Past 24 Hours:
2
Past 7 Days:
31
Past 30 Days:
90
All Time:
2,290
Comments: 0

No one has left comments on this guide. Will you be first?

Go to guide comments
Completed: 1

1 person has marked this guide "completed." Will you be next?

Favorites: 0

No one has favorited (and subscribed to) this guide. Will you be the first?

Time Required: No estimate
Difficulty: Easy
Community-Contributed Guide

An awesome member of our community made this guide. It was not created by iFixit staff.

ASUS VivoBook S400C SSD Card Replacement

Introduction

Go to step 1 ↓

The mSATA SSD is used as a cache for the HDD to substantially speed up disk operations and reduce boot time.

What you need

Parts

Tools

  • Phillips #0 Screwdriver
    5
  • Spudger
    4.9
    1. ASUS VivoBook S400C SSD Card Replacement, Remove the Bottom Cover: step 1, image 1 of 1
      • Flip the device over and remove the ten 5.7 mm screws with a Phillips #0 screwdriver.

      Ask FixBot

      Add Comment

    2. ASUS VivoBook S400C SSD Card Replacement: step 2, image 1 of 2 ASUS VivoBook S400C SSD Card Replacement: step 2, image 2 of 2
      • Use a spudger or your fingers to go around and lift the edges and release the back panel.

      Ask FixBot

      Add Comment

    3. ASUS VivoBook S400C SSD Card Replacement, Disconnect the Battery: step 3, image 1 of 1
      • Using a spudger, lift up the plug connecting the battery to the motherboard.

      Ask FixBot

      Add Comment

    1. ASUS VivoBook S400C SSD Card Replacement, SSD Card: step 4, image 1 of 3 ASUS VivoBook S400C SSD Card Replacement, SSD Card: step 4, image 2 of 3 ASUS VivoBook S400C SSD Card Replacement, SSD Card: step 4, image 3 of 3
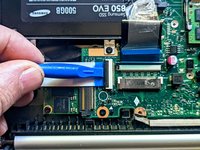
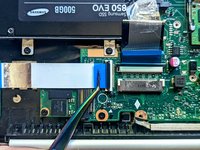
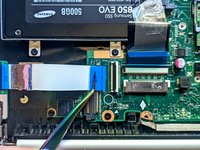
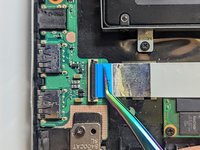
      • Disconnect the I/O Board ribbon cable from the motherboard.

      • Flip up the retaining latch with a spudger.

      Ask FixBot

      Add Comment

    2. ASUS VivoBook S400C SSD Card Replacement: step 5, image 1 of 2 ASUS VivoBook S400C SSD Card Replacement: step 5, image 2 of 2
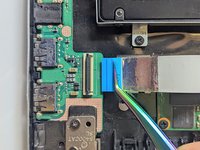
      • Grasp the ribbon cable by the blue tab and pull it straight out from the connector.

      Ask FixBot

      Add Comment

    3. ASUS VivoBook S400C SSD Card Replacement: step 6, image 1 of 3 ASUS VivoBook S400C SSD Card Replacement: step 6, image 2 of 3 ASUS VivoBook S400C SSD Card Replacement: step 6, image 3 of 3
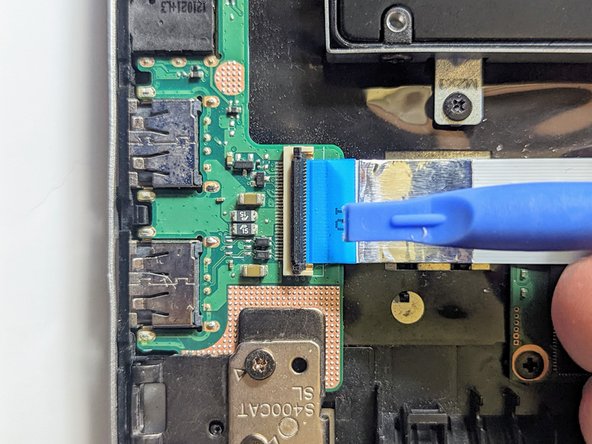
      • Disconnect the I/O Board ribbon cable from the I/O board.

      • Flip up the latch with a spudger.

      Ask FixBot

      Add Comment

    4. ASUS VivoBook S400C SSD Card Replacement: step 7, image 1 of 3 ASUS VivoBook S400C SSD Card Replacement: step 7, image 2 of 3 ASUS VivoBook S400C SSD Card Replacement: step 7, image 3 of 3
      • Grasp the ribbon cable by the blue tab and pull it straight out from the connector.

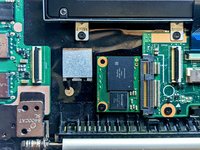
      • Remove the ribbon cable to expose the SSD device.

      Ask FixBot

      Add Comment

    5. ASUS VivoBook S400C SSD Card Replacement: step 8, image 1 of 1
      • If present, remove any insulating sheet covering the SSD.

      • Remove the single retaining screw.

      Ask FixBot

      Add Comment

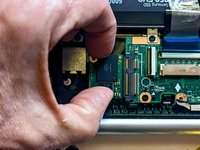
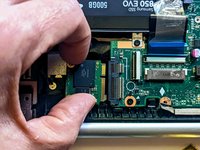
    6. ASUS VivoBook S400C SSD Card Replacement, Unplug the SSD from the motherboard: step 9, image 1 of 2 ASUS VivoBook S400C SSD Card Replacement, Unplug the SSD from the motherboard: step 9, image 2 of 2
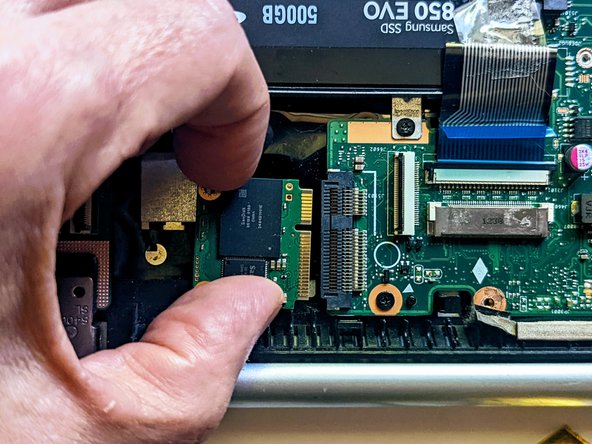
      • Grasp the SSD by the sides and slide it out of the connector.

      Ask FixBot

      Add Comment

Conclusion

To reassemble your device, follow these instructions in reverse order.

Cancel: I did not complete this guide.

One other person completed this guide.

Jerry Wheeler

Member since: 03/21/22

101,605 Reputation

92 Guides authored

0 Guide Comments

Add Comment

View Statistics:

Past 24 Hours: 2

Past 7 Days: 31

Past 30 Days: 90

All Time: 2,290