
ASUS VivoBook S400C LED Board Replacement

Jerry Wheeler and one other contributor
Last updated on Jun 23, 2022
Views: 411
View statistics:
- Past 24 Hours:
- 3
- Past 7 Days:
- 18
- Past 30 Days:
- 68
- All Time:
- 411
Comments: 0
No one has left comments on this guide. Will you be first?
Go to guide commentsCompleted: 0 1
No one has marked this guide "completed." Will you be the first?
1 person has marked this guide "completed." It's you — great job!
Favorites: 0 1
No one has favorited (and subscribed to) this guide. Will you be the first?
1 person has favorited (and subscribed to) this guide — and that's you!
Community-Contributed Guide
An awesome member of our community made this guide. It was not created by iFixit staff.
Introduction
Go to step 1 ↓It is rare for LED boards to fail, so be sure to check that the function that is supposed to be lighting the LED is working correctly before suspecting a faulty LED.
Note that the battery has been removed for the purpose of visual clarity in this guide, but it is not necessary in order to replace the LED board. Doing so does make removing the ribbon cable slightly easier.
What you need
Tools
-
Spudger4.9


-
-
-
Flip the device over and remove the ten 5.7 mm screws with a Phillips #0 screwdriver.
 Ask FixBot
-
-
-
Use a spudger or your fingers to go around and lift the edges and release the back panel.
-
-
-
Using a spudger, lift up the plug connecting the battery to the motherboard.
-
-
-
-
-
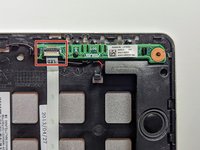
Disconnect the ribbon cable connecting the LED daughterboard and the motherboard by lifting the white tab on the LED side of the cable.
-
-
-
-
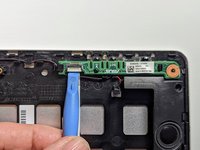
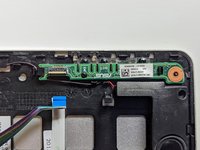
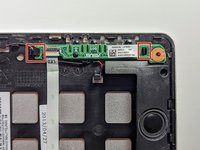
The LED board is held in place by a hook on the left end and a latch on the right.
-
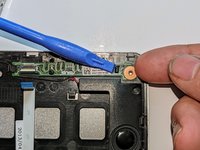
Press the latch with a spudger while lifting with a fingernail.
-
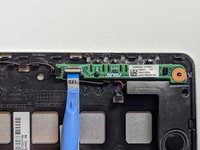
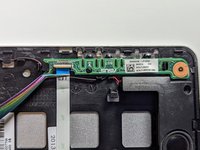
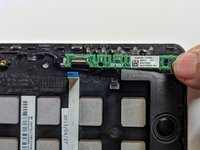
Pull the LED board to the right to clear the left-hand hook.
-
-






To reassemble your device, follow these instructions in reverse order.

