Free Shipping on Domestic Orders $75+

ASUS VivoBook S400C CPU Fan Replacement

Views: 1K

View statistics:

Past 24 Hours:
2
Past 7 Days:
21
Past 30 Days:
77
All Time:
1,039
Comments: 0

No one has left comments on this guide. Will you be first?

Go to guide comments
Completed: 0

No one has marked this guide "completed." Will you be the first?

Favorites: 0

No one has favorited (and subscribed to) this guide. Will you be the first?

Time Required: No estimate
Difficulty: Easy
Community-Contributed Guide

An awesome member of our community made this guide. It was not created by iFixit staff.

ASUS VivoBook S400C CPU Fan Replacement

Introduction

Go to step 1 ↓

The CPU fan blows cool air across the fins of the heatsink to remove the heat generated by the processor from the computer.

Since the fan runs at all times when the computer is turned on, it is expected that it may eventually fail. The fan's lifetime can be extended by an occasional cleaning.

What you need

Fix Kit

This kit contains all the parts and tools needed to complete this guide.

Parts

Tools

  • Phillips #0 Screwdriver
    5
  • Spudger
    4.9
    1. ASUS VivoBook S400C CPU Fan Replacement, Remove the Bottom Cover: step 1, image 1 of 1
      • Flip the device over and remove the ten 5.7 mm screws with a Phillips #0 screwdriver.

      Ask FixBot

      Add Comment

    2. ASUS VivoBook S400C CPU Fan Replacement: step 2, image 1 of 2 ASUS VivoBook S400C CPU Fan Replacement: step 2, image 2 of 2
      • Use a spudger or your fingers to go around and lift the edges and release the back panel.

      Ask FixBot

      Add Comment

    3. ASUS VivoBook S400C CPU Fan Replacement, Disconnect the Battery: step 3, image 1 of 1
      • Using a spudger, lift up the plug connecting the battery to the motherboard.

      Ask FixBot

      Add Comment

    1. ASUS VivoBook S400C CPU Fan Replacement, Heat Shield: step 4, image 1 of 2 ASUS VivoBook S400C CPU Fan Replacement, Heat Shield: step 4, image 2 of 2
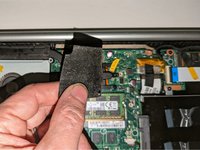
      • Remove the black shield covering the display connector and the heat sink.

      • You may need to use double-sided adhesive tape to resecure the shield.

      Ask FixBot

      Add Comment

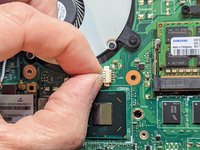
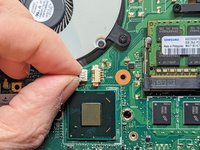
    1. ASUS VivoBook S400C CPU Fan Replacement, CPU Fan / Heat Sink Assembly: step 5, image 1 of 3 ASUS VivoBook S400C CPU Fan Replacement, CPU Fan / Heat Sink Assembly: step 5, image 2 of 3 ASUS VivoBook S400C CPU Fan Replacement, CPU Fan / Heat Sink Assembly: step 5, image 3 of 3
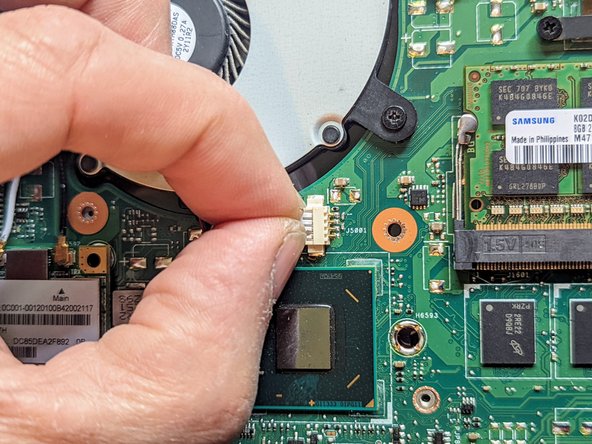
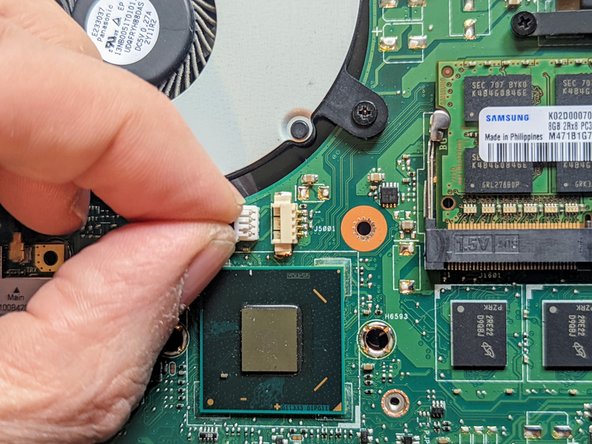
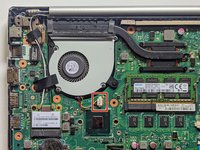
      • Unplug the fan.

      • Grasp the plug with a fingernail on either side and pull it straight out from the connector.

      Ask FixBot

      Add Comment

    2. ASUS VivoBook S400C CPU Fan Replacement, Remove the Fan and Heatsink Screws: step 6, image 1 of 1
      • Remove the two 5 mm screws securing the fan.

      • Remove the four 3 mm screws securing the heat sink.

      • Removing the screw covered by the warning label will void your warranty.

      Ask FixBot

      Add Comment

    3. ASUS VivoBook S400C CPU Fan Replacement, Remove the Fan and Heatsink: step 7, image 1 of 1
      • Lift the fan and heatsink straight up to remove it.

      • Before reassembly it is essential to clean off the old thermal paste from the processor and the heatsink and to apply new. How to apply thermal paste explains how.

      Ask FixBot

      Add Comment

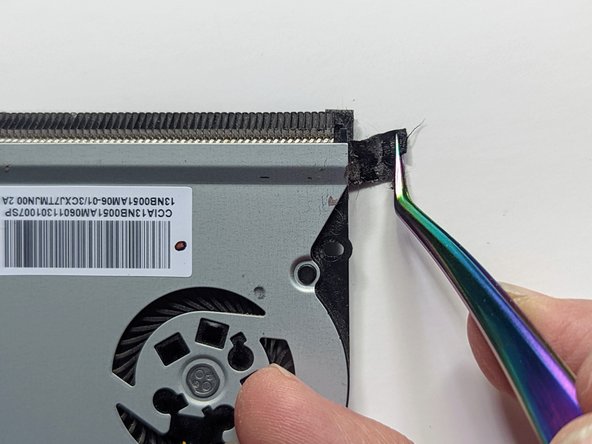
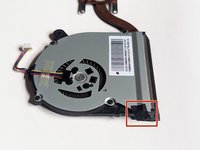
    1. ASUS VivoBook S400C CPU Fan Replacement, CPU Fan: step 8, image 1 of 2 ASUS VivoBook S400C CPU Fan Replacement, CPU Fan: step 8, image 2 of 2
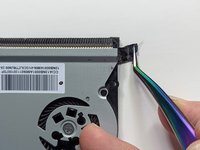
      • Flip the assembly over and peel off the tape wrapped around the edge of the fan.

      Ask FixBot

      Add Comment

    2. ASUS VivoBook S400C CPU Fan Replacement: step 9, image 1 of 3 ASUS VivoBook S400C CPU Fan Replacement: step 9, image 2 of 3 ASUS VivoBook S400C CPU Fan Replacement: step 9, image 3 of 3
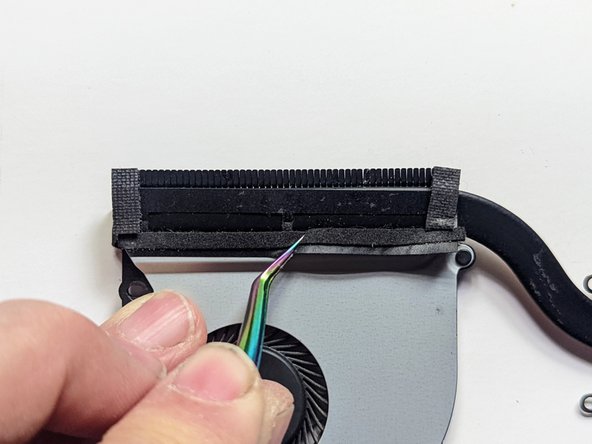
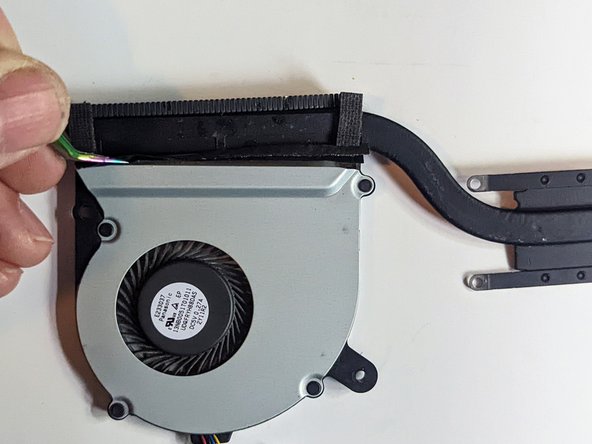
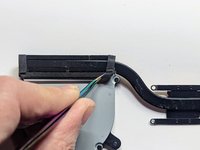
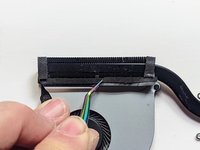
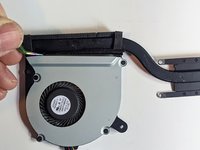
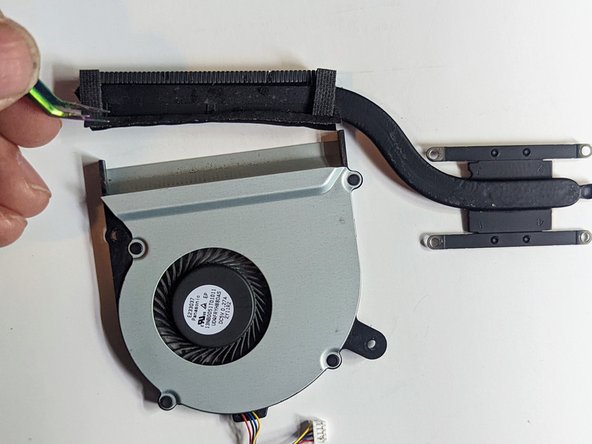
      • Starting at one end, carefully peel off the tape securing the heatsink to the lip of the fan.

      Ask FixBot

      Add Comment

    3. ASUS VivoBook S400C CPU Fan Replacement: step 10, image 1 of 1
      • Separate the fan from the heatsink.

      Ask FixBot

      Add Comment

    4. ASUS VivoBook S400C CPU Fan Replacement, Clean the Heatsink: step 11, image 1 of 2 ASUS VivoBook S400C CPU Fan Replacement, Clean the Heatsink: step 11, image 2 of 2
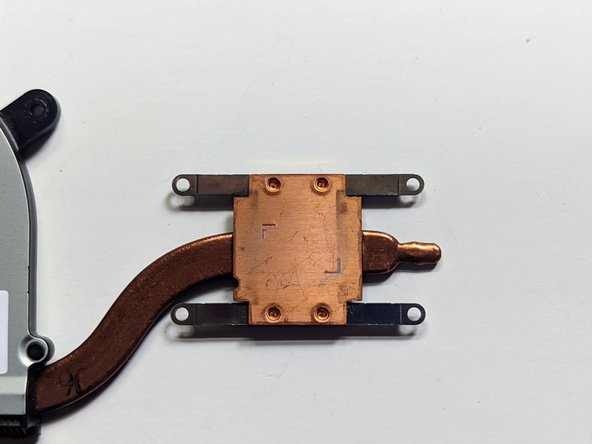
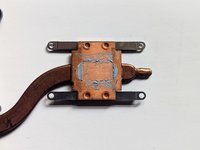
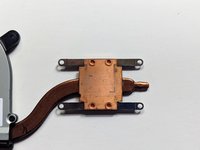
      • Clean the old thermal paste off the heatsink until it is spotless.

      Ask FixBot

      Add Comment

    5. ASUS VivoBook S400C CPU Fan Replacement, Clean the CPU: step 12, image 1 of 2 ASUS VivoBook S400C CPU Fan Replacement, Clean the CPU: step 12, image 2 of 2
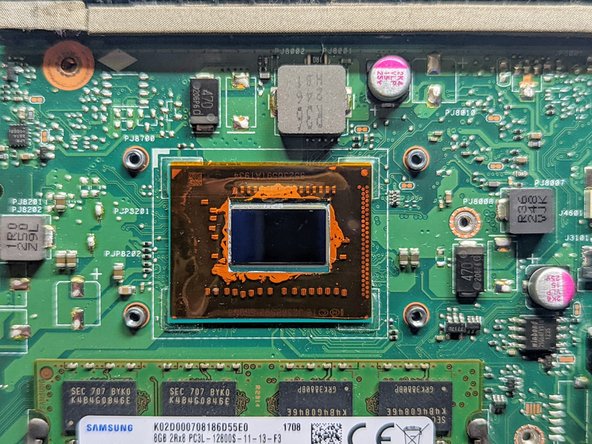
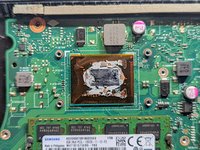
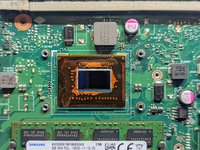
      • Carefully remove the old thermal paste from the CPU. It is not vital to get the old paste off the parts of the chip under the Kapton tape, but be obsessive about cleaning the silicon chip itself and the area immediately next to it.

      • Do not fail to apply new thermal paste to the processor before reinstalling the heatsink. Failure to do so could lead to overheating and the possible death of your processor.

      Ask FixBot

      Add Comment

Conclusion

To reassemble your device, follow these instructions in reverse order.

Cancel: I did not complete this guide.

Jerry Wheeler

Member since: 03/21/22

101,605 Reputation

92 Guides authored

0 Guide Comments

Add Comment

View Statistics:

Past 24 Hours: 2

Past 7 Days: 21

Past 30 Days: 77

All Time: 1,039