Free Shipping on Domestic Orders $75+

ASUS UX50V-RX05 Motherboard Replacement

What you need

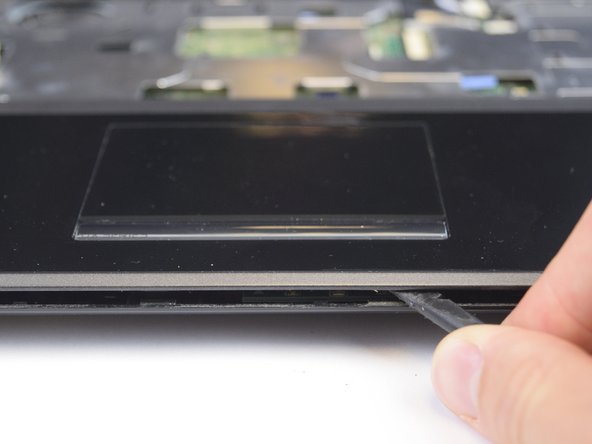
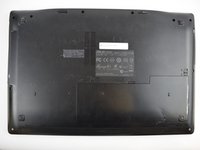
    1. ASUS UX50V-RX05 Motherboard Replacement, Keyboard: step 1, image 1 of 3 ASUS UX50V-RX05 Motherboard Replacement, Keyboard: step 1, image 2 of 3 ASUS UX50V-RX05 Motherboard Replacement, Keyboard: step 1, image 3 of 3
      • Make sure the device is powered off and the battery is removed before beginning.

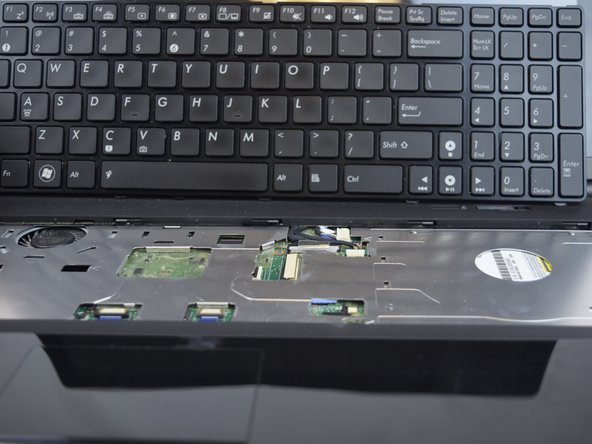
      • Use the Plastic Opening tool to pry the five slots up at the top of the keyboard.

      Ask FixBot

      Add Comment

    2. ASUS UX50V-RX05 Motherboard Replacement: step 2, image 1 of 2 ASUS UX50V-RX05 Motherboard Replacement: step 2, image 2 of 2
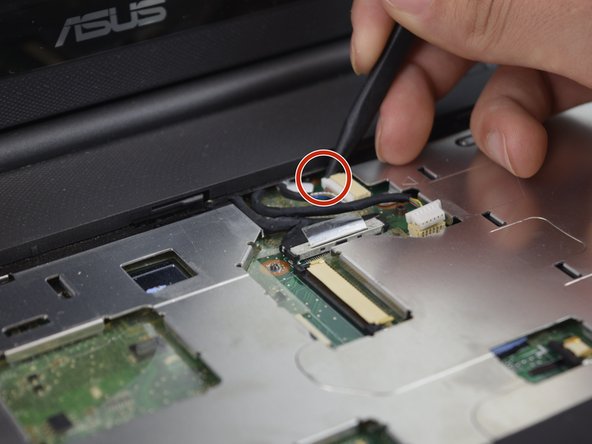
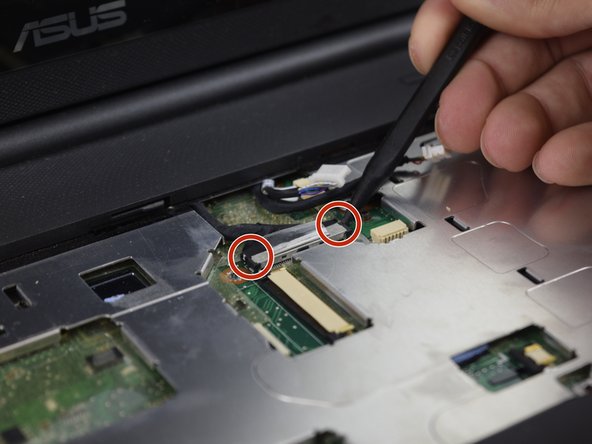
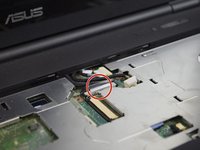
      • Lift the keyboard enough to expose the two ribbon connectors (LCD flex cable and flex band).

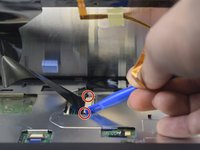
      • Use the Plastic Opening tool to push open the two black clips on each side of the connecting cords.

      • Remove the cable after pushing out the two black clips.

      Ask FixBot

      Add Comment

    3. ASUS UX50V-RX05 Motherboard Replacement: step 3, image 1 of 2 ASUS UX50V-RX05 Motherboard Replacement: step 3, image 2 of 2
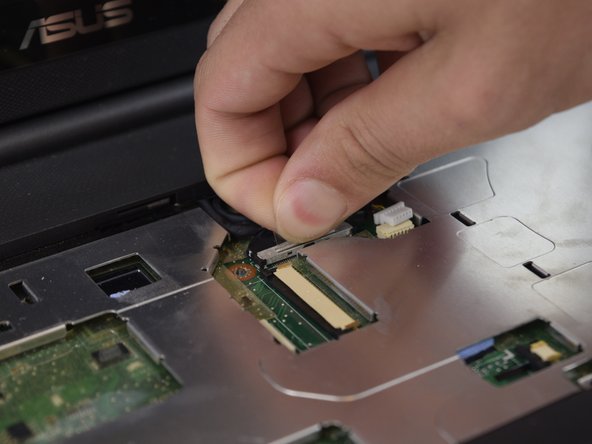
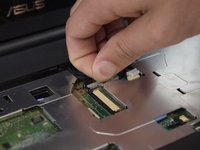
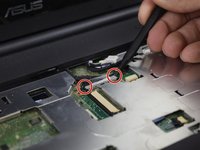
      • Push out each end of the black clip with a plastic opening tool or nylon spudger to remove the ribbon cable.

      • Remove the cable after pushing out both black clips.

      • Remove the keyboard.

      Ask FixBot

      Add Comment

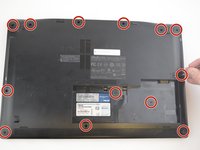
    1. ASUS UX50V-RX05 Motherboard Replacement, Case Removal: step 4, image 1 of 3 ASUS UX50V-RX05 Motherboard Replacement, Case Removal: step 4, image 2 of 3 ASUS UX50V-RX05 Motherboard Replacement, Case Removal: step 4, image 3 of 3
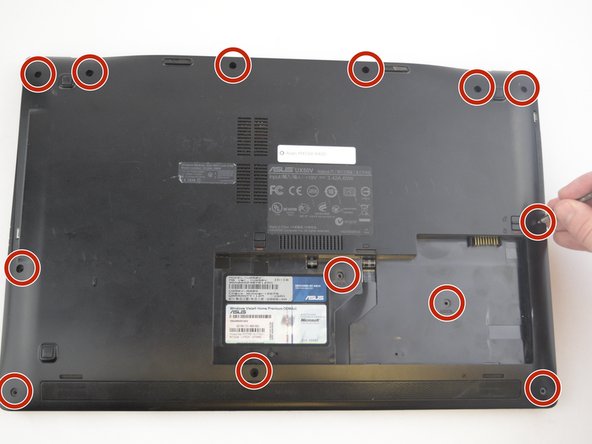
      • Remove the thirteen 5 mm J0 screws from the back of the laptop.

      • With the keyboard removed, use the spudger tool to pry around the edge of the laptop until it is free.

      Ask FixBot

      Add Comment

    2. ASUS UX50V-RX05 Motherboard Replacement: step 5, image 1 of 2 ASUS UX50V-RX05 Motherboard Replacement: step 5, image 2 of 2
      • Use the spudger tool to unplug the two cords from the body by pushing on the tabs on both sides of the plug.

      Ask FixBot

      Add Comment

    3. ASUS UX50V-RX05 Motherboard Replacement: step 6, image 1 of 3 ASUS UX50V-RX05 Motherboard Replacement: step 6, image 2 of 3 ASUS UX50V-RX05 Motherboard Replacement: step 6, image 3 of 3
      • With the previous two cords unplugged and out of the way, you can work on unplugging the black cord.

      • Use your fingers to pull up on the clear tab, or use the spudger tool to push out both sides of the connector.

      Ask FixBot

      Add Comment

    4. ASUS UX50V-RX05 Motherboard Replacement: step 7, image 1 of 1
      • Carefully lift and remove the plastic cover to avoid damaging anything.

      Ask FixBot

      Add Comment

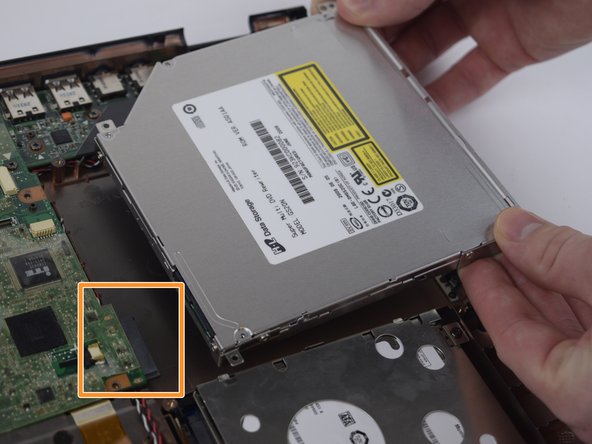
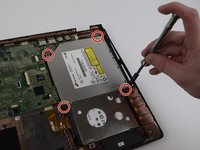
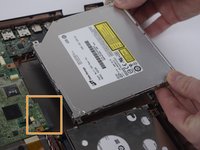
    1. ASUS UX50V-RX05 Motherboard Replacement, Optical Drive: step 8, image 1 of 2 ASUS UX50V-RX05 Motherboard Replacement, Optical Drive: step 8, image 2 of 2
      • Remove the four 5 mm J0 screws surrounding the Optical Drive.

      • Remove the optical drive by pulling it out and away from the connector.

      Ask FixBot

      Add Comment

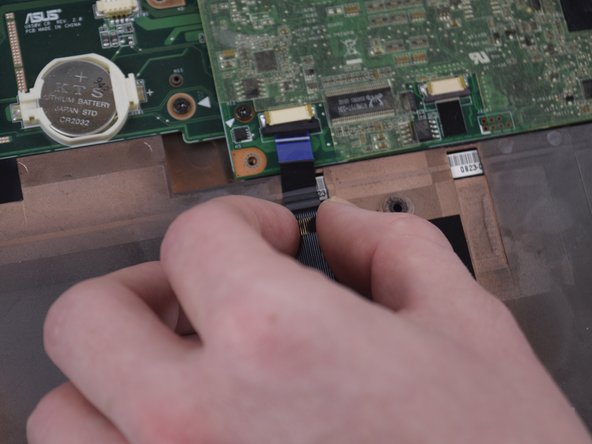
    1. ASUS UX50V-RX05 Motherboard Replacement, Motherboard: step 9, image 1 of 3 ASUS UX50V-RX05 Motherboard Replacement, Motherboard: step 9, image 2 of 3 ASUS UX50V-RX05 Motherboard Replacement, Motherboard: step 9, image 3 of 3
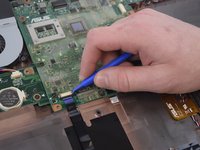
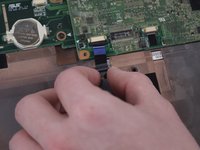
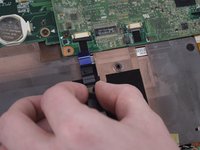
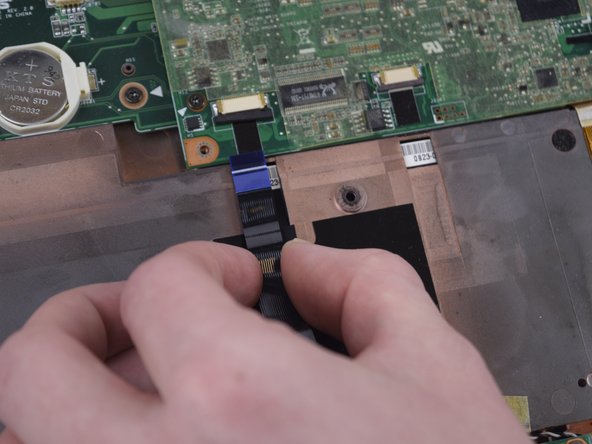
      • Use the Plastic Opening Tool to unplug the blue cord on the Motherboard.

      Ask FixBot

      Add Comment

    2. ASUS UX50V-RX05 Motherboard Replacement: step 10, image 1 of 2 ASUS UX50V-RX05 Motherboard Replacement: step 10, image 2 of 2
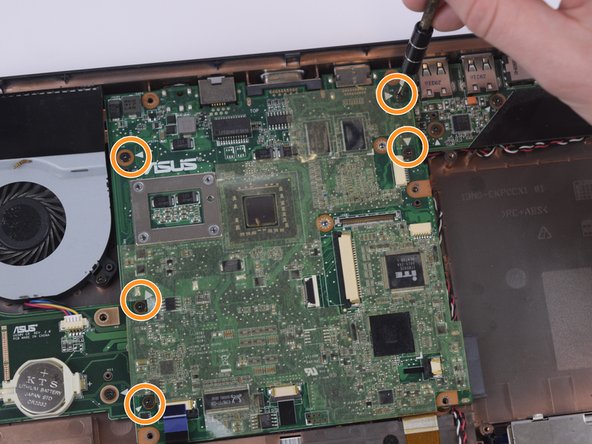
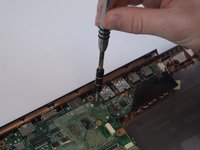
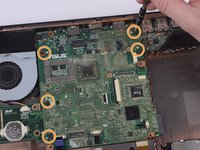
      • Remove the five 4 mm Phillips head 5 mm long screws that have white arrows pointing to them with the screwdriver.

      Ask FixBot

      Add Comment

    3. ASUS UX50V-RX05 Motherboard Replacement: step 11, image 1 of 3 ASUS UX50V-RX05 Motherboard Replacement: step 11, image 2 of 3 ASUS UX50V-RX05 Motherboard Replacement: step 11, image 3 of 3
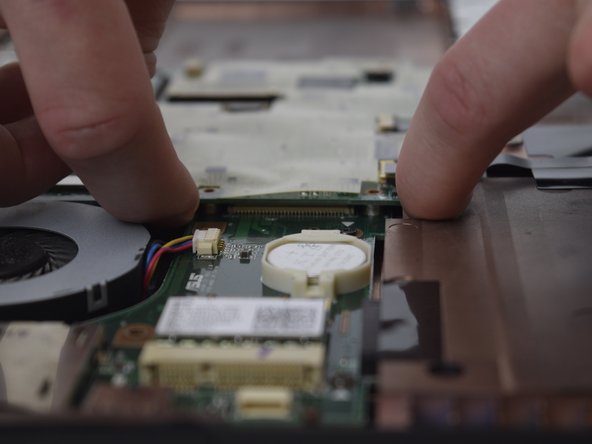
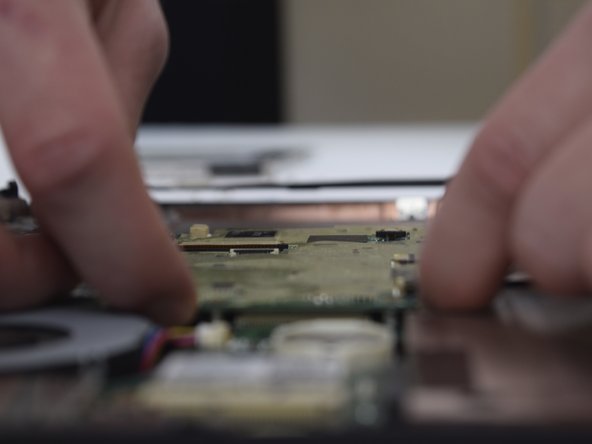
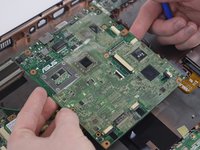
      • Lift the Motherboard with your fingers by reaching underneath the Motherboard and prying.

      Ask FixBot

      Add Comment

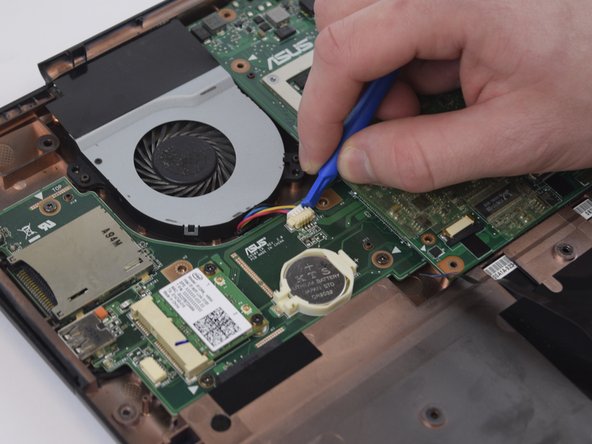
    4. ASUS UX50V-RX05 Motherboard Replacement: step 12, image 1 of 3 ASUS UX50V-RX05 Motherboard Replacement: step 12, image 2 of 3 ASUS UX50V-RX05 Motherboard Replacement: step 12, image 3 of 3
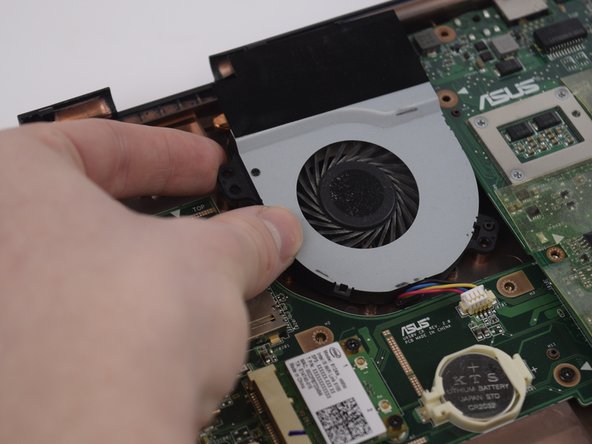
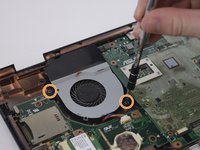
      • Remove the two 4 mm Phillips head 5 mm long screws from the fan using the screwdriver.

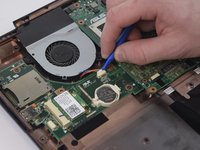
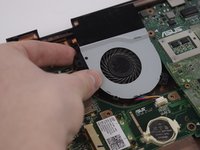
      • Using the Spudger, carefully remove the white connector and lift the fan out of the casing.

      Ask FixBot

      Add Comment

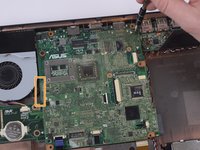
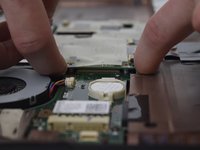
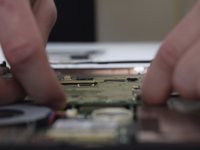
    5. ASUS UX50V-RX05 Motherboard Replacement: step 13, image 1 of 3 ASUS UX50V-RX05 Motherboard Replacement: step 13, image 2 of 3 ASUS UX50V-RX05 Motherboard Replacement: step 13, image 3 of 3
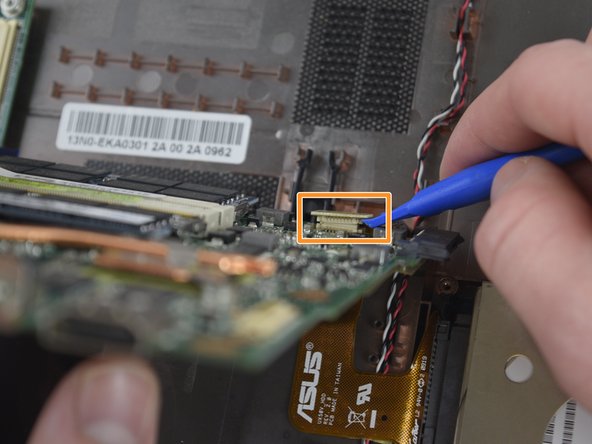
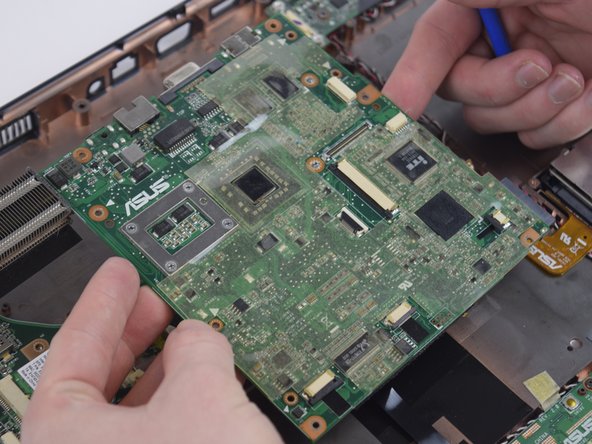
      • Slowly lift the motherboard up towards you being careful as to not rip any cords out of the bottom.

      • Using the Spudger, remove the connector towards the bottom of the motherboard.

      • Remove the motherboard from the casing.

      Ask FixBot

      Add Comment

Conclusion

To reassemble your device, follow these instructions in reverse order.

Cancel: I did not complete this guide.

2 other people completed this guide.

James

Member since: 02/14/17

663 Reputation

6 Guides authored

Team

USF Tampa, Team 20-2, Remmell Spring 2017 Member of USF Tampa, Team 20-2, Remmell Spring 2017

USFT-REMMELL-S17S20G2

4 Members

72 Guides authored

1 Guide Comment

From your knowledge is that mother board from the asus ux50v upgrade-able? is the processor integrated into the board?

A Snow - Reply Share
Add Comment

View Statistics:

Past 24 Hours: 2

Past 7 Days: 6

Past 30 Days: 76

All Time: 982