Introduction
If your laptop does not start (e.g., the power button light turns on, but the screen remains black), there might be a problem with your motherboard. The following guide will help you to replace the motherboard.
What you need
-
-
-
-
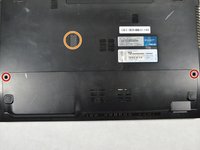
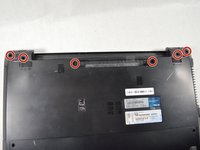
Remove the two 2 mm Phillips head screws on each side on the bottom using PH00 screw driver.
-
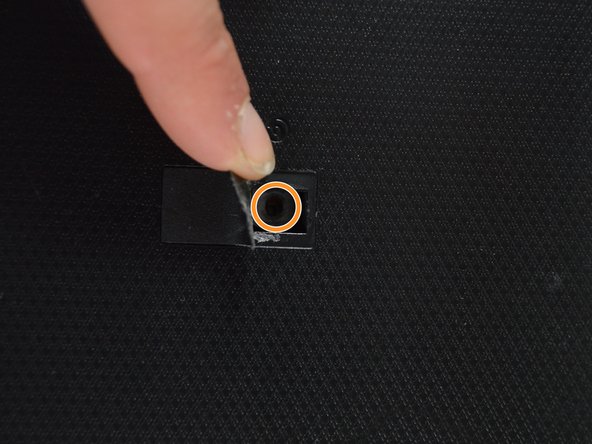
Remove the one 2 mm screw underneath the black cover in the middle using the same screw driver.
-
-
-
Remove the RAM by lifting up with your fingers and sliding it out towards you.
-
-
-
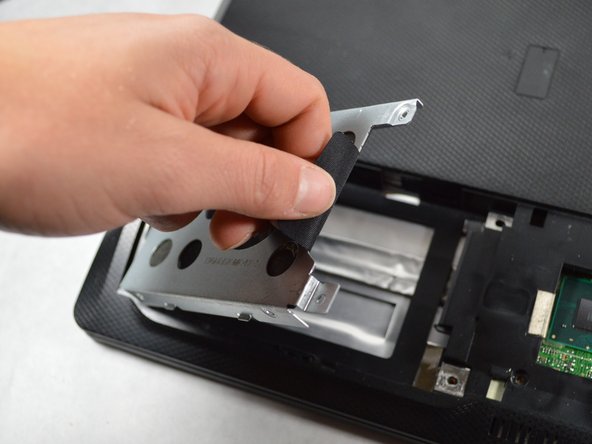
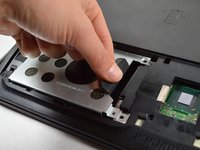
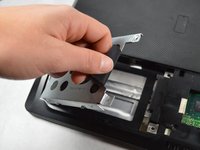
Remove the three 2 mm Phillips head screws on the hard drive using PH00 screw driver.
-
Remove the remaining seven 1.8 mm Phillips head screws using the same screw driver.
-
-
-
-
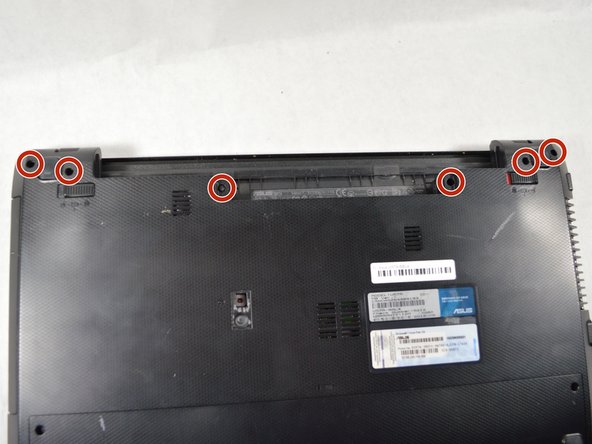
Remove the six 2 mm Phillips head screws on the top edge of the laptop using PH00 screw driver.
-
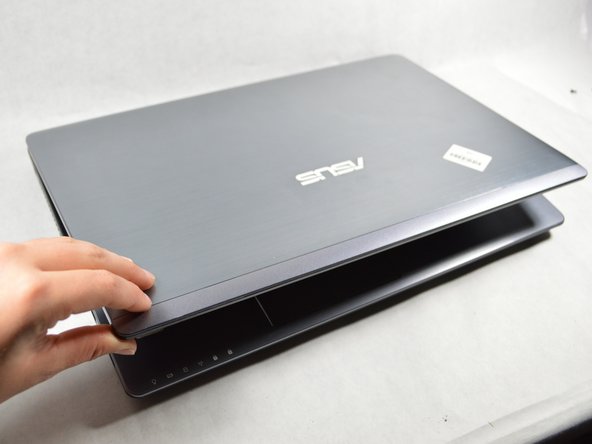
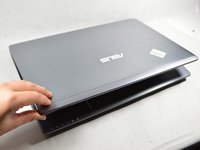
Flip the laptop right-side up and open the screen.
-
-
-
Starting in a corner of the keyboard, pry the keyboard from the laptop using a plastic opening tool.
-
Remove the ribbon cable on the bottom of the keyboard by lifting up on the tape and pulling up.
-
-
-
-
-
-
Remove the four 2 mm Phillips head screws from the top of the motherboard and fan using PH #1 screwdriver.
-
-
-
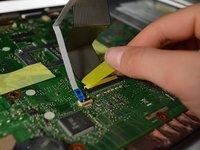
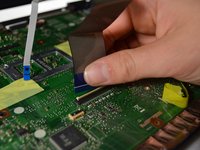
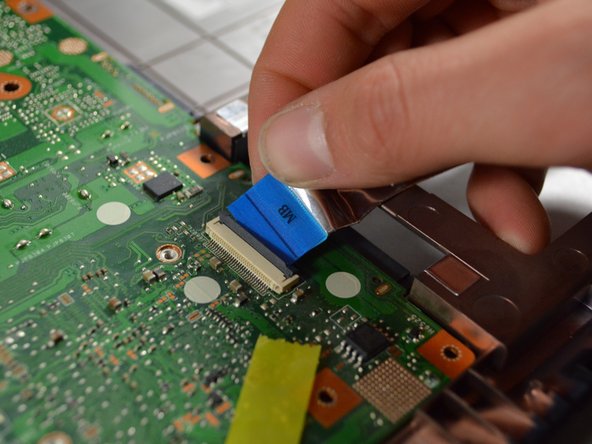
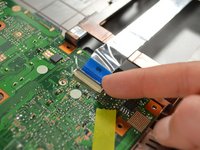
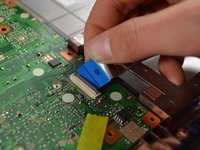
Remove the blue cable on the bottom right by lifting up on the tab and pulling the cable out.
-
-
-
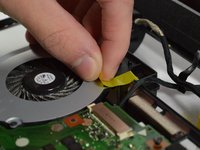
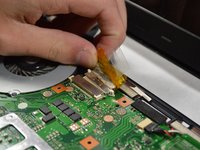
Peel off the black and yellow tape attaching the fan to the base.
-
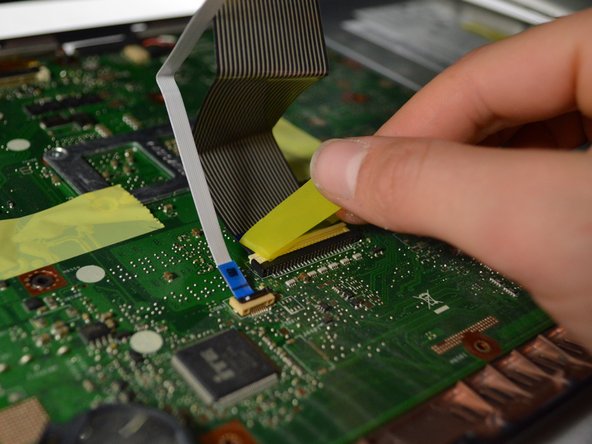
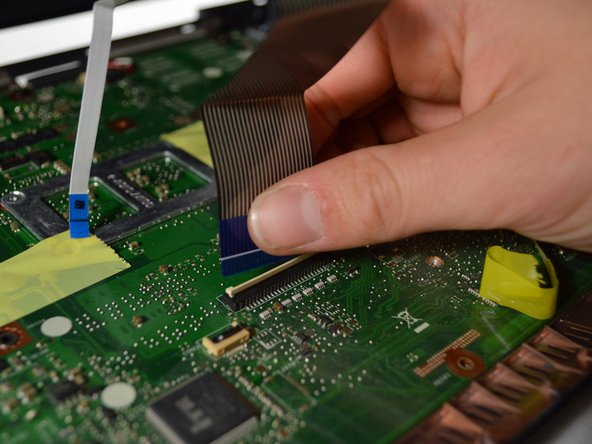
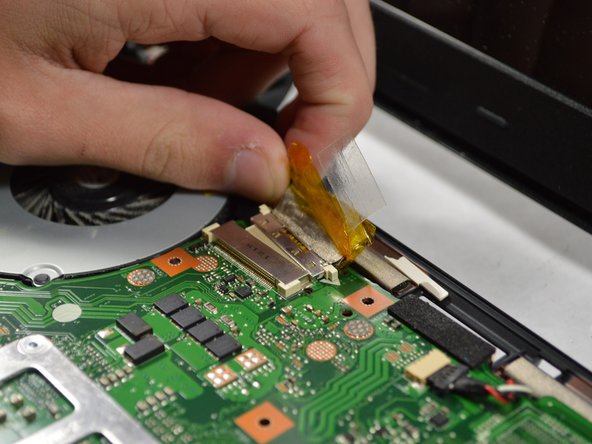
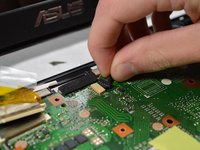
Peel the tape off the yellow cable and pull out to remove the cable.
-
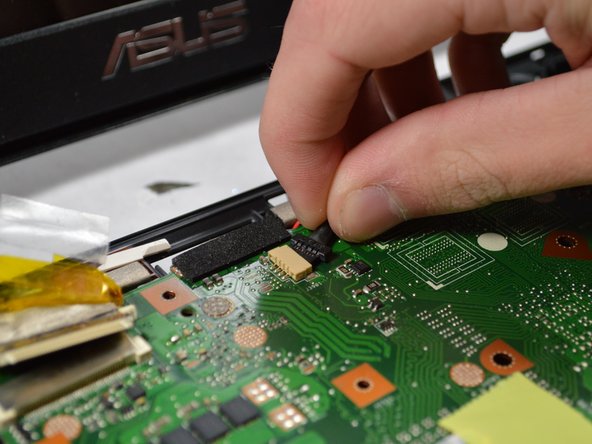
Remove the small black, white and red cable next to the yellow cable at the top.
-
-
-
Carefully and slowly lift up the motherboard from the base and remove the red and black cable underneath the motherboard in the top left corner near the fan.
-
-
-
Remove the four 2 mm Phillips head screws surrounding the copper rod using PH1 screw driver.
-
-
-
Remove the red, blue, black and yellow cable attaching the fan and motherboard together with your fingers.
-
Now the motherboard and fan are completely separate from each other.
-
-

 Ask FixBot











To reassemble your device, follow these instructions in reverse order.
Cancel: I did not complete this guide.
One other person completed this guide.

Team

UMass Dartmouth, Team S2-G4, Julie Fall 2017 Member of UMass Dartmouth, Team S2-G4, Julie Fall 2017
UMASSD-JULIE-F17S2G4
3 Members
72 Guides authored
2 Guide Comments
Awesome! I have this exact computer mentioned (u57a bbL4) and am having the same problems you've mentioned, so I'm considering buying and replacing the motherboard. I noticed that there is a U57A k554 motherboard, not sure but is this an upgrade? Is there a motherboard that is an upgrade all the while fitting all of the other specifications for the elements? cpu, ram, hd etc? I am going to get a motherboard and a ssd .
Thanks for the info!
I am not sure about the U57A K554 being the upgrade to the previous one but since it has the same series it should not be a problem.
Welcome
