Introduction
You can now move on to replacing your keyboard assembly, keep in mind it will take a lot of effort when removing the back panel.
What you need
-
-
-
Flip the laptop over to the back.
-
Slide the right latch to unlock, then simultaneously slide the left latch outward while pulling the battery out.
 Ask FixBot
-
-
-
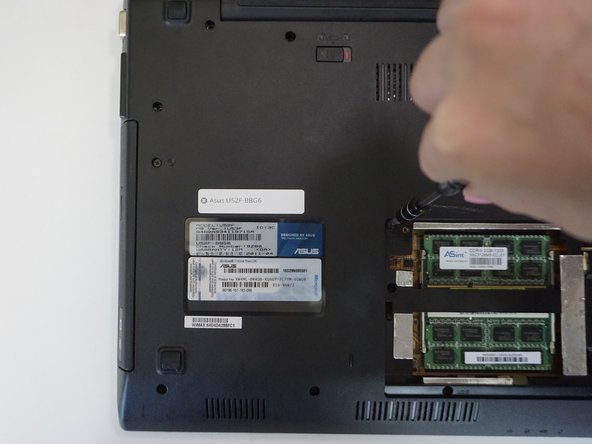
Unscrew all twelve 3mm Phillips screws with the J1 screwdriver.
-
Unscrew two 3mm Phillips screws on the black panel using the PH0 screwdriver.
-
Lift the black panel upward by inserting your fingernail in the space provided.
-
-
-
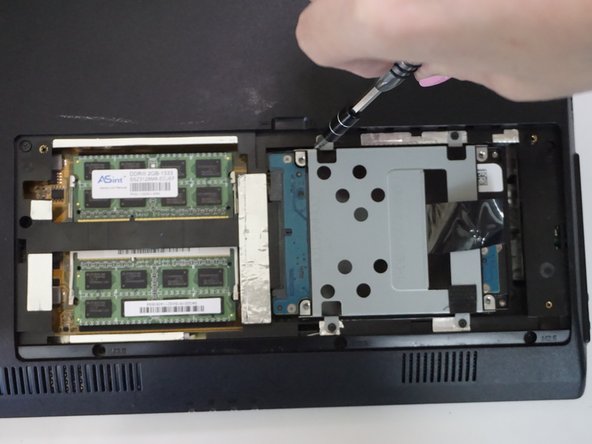
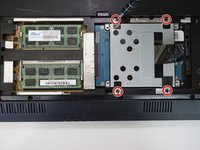
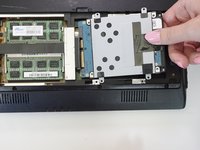
In the RAM and hard drive compartment, unscrew the four 3mm Phillips screws using the J1 screwdriver.
-
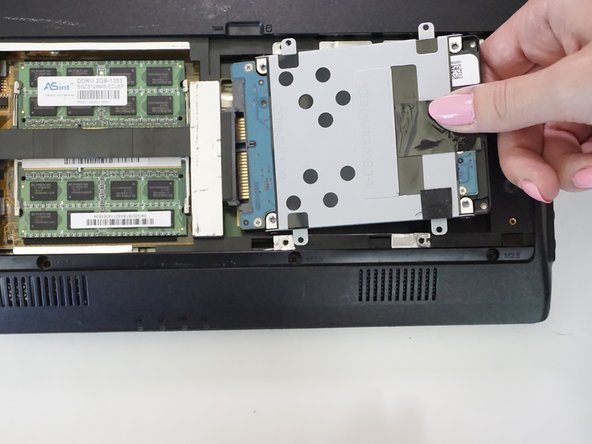
Gently pull out the hard drive.
-
-
-
-
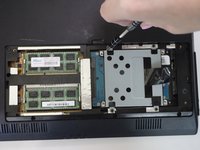
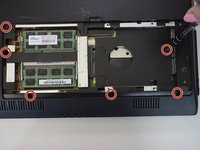
Unscrew six 3mm Phillips screws in the RAM and hard drive compartment with the J1 screwdriver.
-
-
-
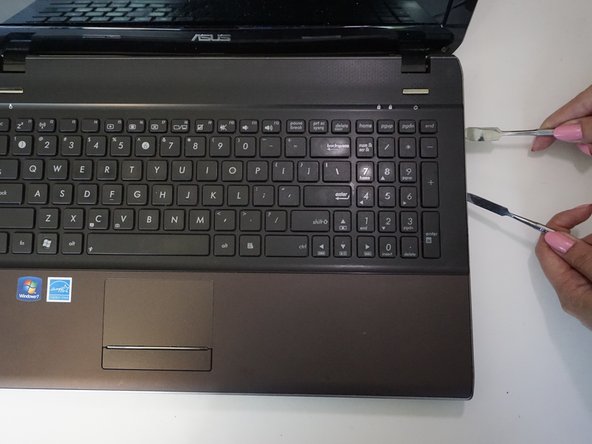
Insert and gently twist the flat metal spudger between the keyboard assembly and the bottom plastic cover so that a small seam is opened.
-
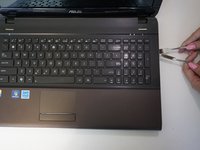
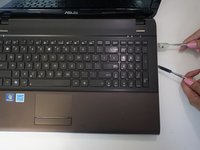
Put in the metal spudger in the seam to hold its place while twisting and levering the flat metal spudger along the whole keyboard.
-
Slowly pry off the back
-
-
-
-
-
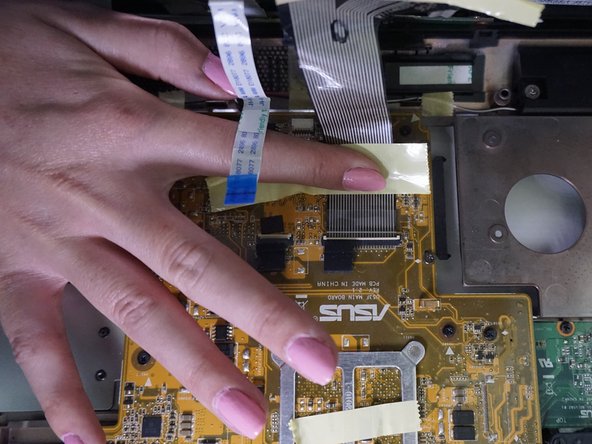
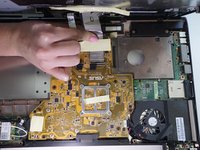
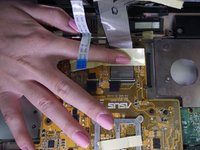
Unlatch the clip attaching the white flattened flexible cord with a blue tip to the circuit board with your thumb.
-
Pull out the white flattened cord.
-
-
-
Pull back yellow tape attaching the metal colored flexible flattened cord to the circuit board.
-
Lift up the latch at the end of the cord.
-
Pull out the cord to release the keyboard.
-
-







To reassemble your device, follow these instructions in reverse order.
Cancel: I did not complete this guide.
One other person completed this guide.

Team

CSU Fullerton, Team 1-3, Bruce Fall 2016 Member of CSU Fullerton, Team 1-3, Bruce Fall 2016
CSUF-BRUCE-F16S1G3
4 Members
108 Guides authored
1 Guide Comment
How do you remove the keyboard from the palm rest is what I'd like to know...what a goofy design
