Introduction
In this guide, the user will be able to follow step-by-step instructions for replacing the back panel of the ASUS U46E-RAL7 Laptop.
What you need
-
-
-
Remove two (2) 9mm x 4mm screws from the back panel with the size 0 Phillips head screwdriver.
-
Remove two (2) 7mm x 4mm screws from the back panel with the size 0 Phillips head screwdriver.
-
Remove six (6) 7mm x 4mm screws with the size 0 Phillips head screwdriver.
-
Remove three (3) 3mm x 3mm screws with the size 0 Phillips head screwdriver.
-
Remove one (1) 4mm x 4mm screws with the size 0 Phillips head screwdriver.
 Ask FixBot
-
-
Tool used on this step:Tweezers$4.99
-
Remove the rubber caps (4) with the tweezers. If the rubber caps are not removed easily, pull gently. The caps are glued down.
-
Remove four (4) 7mm x 4mm screws with the size 0 Phillips head screwdriver.
-
-
-
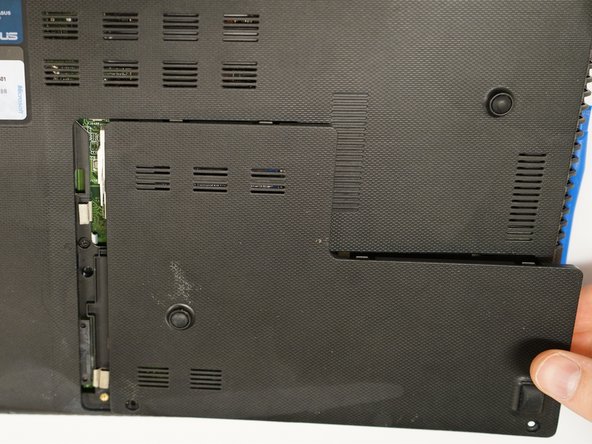
Remove the L shaped panel with the plastic opening tool by inserting it into the indent along the USB port side of the laptop.
-
Push down gently on the plastic opening tool until part of the panel pops up.
-
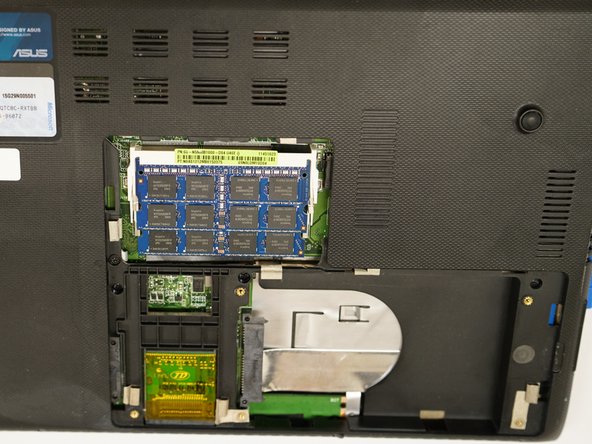
Use your fingers to pop the panel off.
-
-
-
-
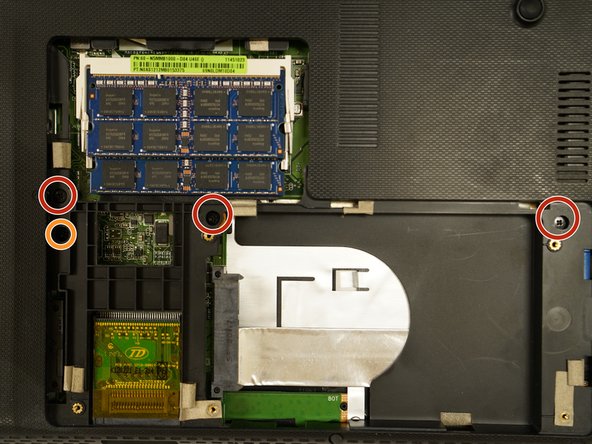
Remove three (3) 5mm x 4mm screws with the size 0 Phillips head screwdriver.
-
Remove one (1) 4mm x 4mm (closest to the battery) screw with the size 0 Phillips head screwdriver.
-
-
-
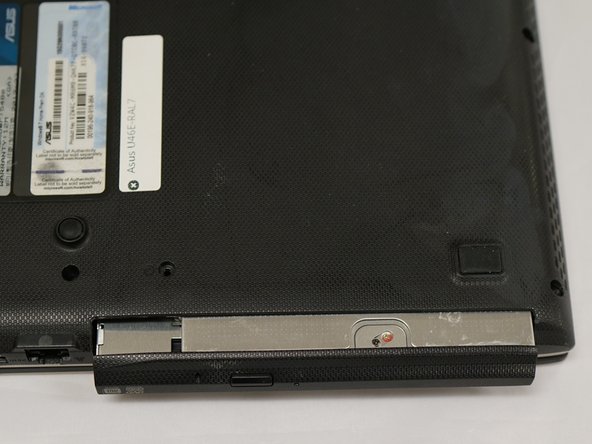
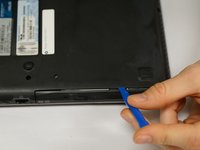
Remove the CD ROM drive by inserting the plastic opening tool between the drive and the laptop's side.
-
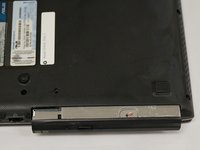
Push down gently to eject the drive.
-
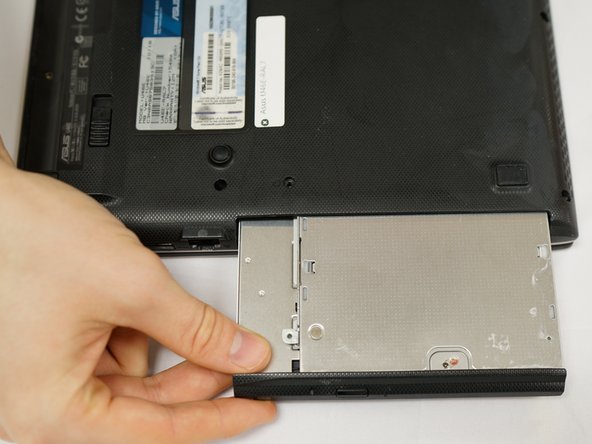
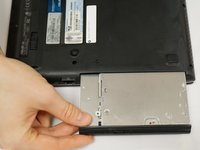
Pull the drive straight out to remove the part from the laptop.
-
-
-
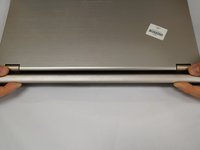
Flip the device so that the laptop will open away from you to remove the hinge cover behind the screen.
-
Place index fingers underneath the hinge cover and gently pull up.
-
The cover will pop off easily with a click.
-
Remove five (5) 5mm x 4mm screws from the hinge compartments of the device with the size 0 phillips head screwdriver.
-
-
-
Open the screen.
-
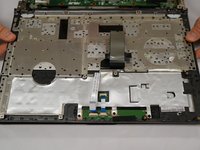
Carefully lift the keyboard panel. The keyboard will be attached to the motherboard by two ribbons.
-
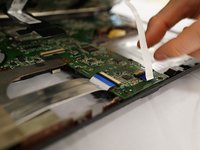
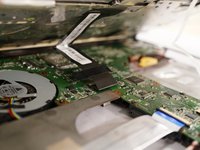
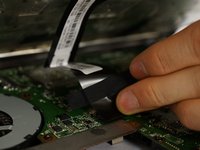
To disconnect the ribbons, use your fingernails to push down gently on the protruding plastic at the base of the connector. There is a soft click and ribbon releases. Repeat for the other ribbon.
-
-





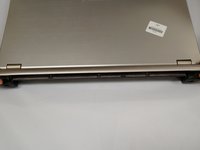
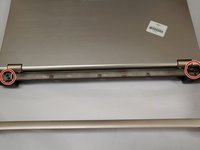

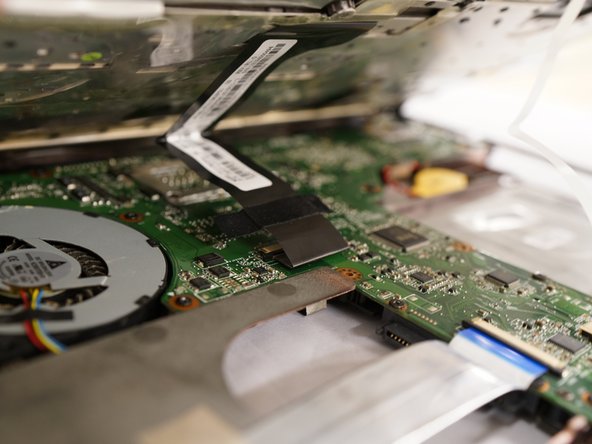
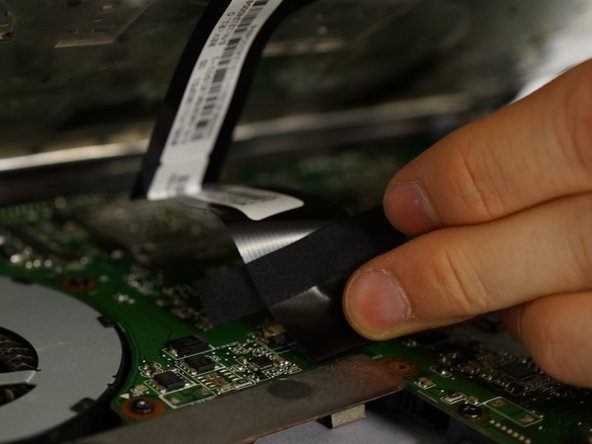

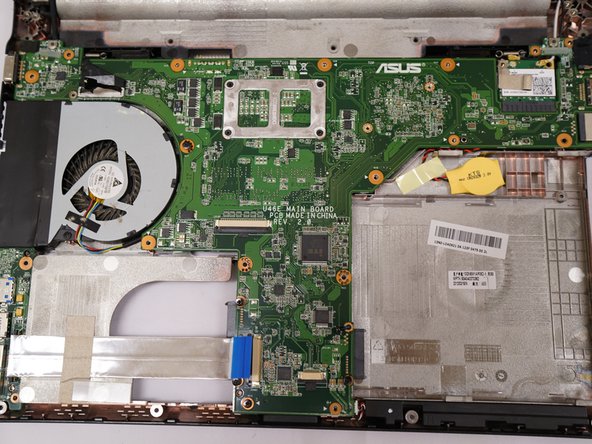
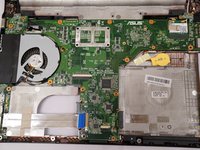
To reassemble your device, follow these instructions in reverse order.

Team

Eastern Washington University, Team 1-1, Mathisen Winter 2017 Member of Eastern Washington University, Team 1-1, Mathisen Winter 2017
EWU-MATHISEN-W17S1G1
4 Members
72 Guides authored
