
ASUS ROG Strix GL503VD-DB71 Fan Replacement

Bryce Davis and 3 other contributors
Last updated on Jun 5, 2020
Views: 5.7K
View statistics:
- Past 24 Hours:
- 5
- Past 7 Days:
- 29
- Past 30 Days:
- 99
- All Time:
- 5,703
Comments: 5
3 comments on steps, 2 guide comments.
Go to guide commentsCompleted: 2 3
2 people have marked this guide "completed." Will you be next?
3 people have marked this guide "completed." Including you — great job!
Favorites: 0 1
No one has favorited (and subscribed to) this guide. Will you be the first?
1 person has favorited (and subscribed to) this guide — and that's you!
Introduction
Go to step 1 ↓If you are having problems with your ASUS ROG Strix GL503VD-DB71 laptop overheating, keyboard feeling warm, freezing, shutting off, or making odd smells it could be a problem with the fans. In our [[ASUS ROG Strix GL503VD-DB71 Troubleshooting#|troubleshooting]] guide you can get more information and symptoms to malfunctioning fans with your laptop. The fans in the laptop are in charge of keeping the components and laptop cool so that they do not overheat and malfunction. When replacing the fans in your laptop be sure the laptop is off and unplugged from any power source.
What you need
Parts
Tools


-
-
-
Flip the laptop over so that the bottom is facing up.
-
Remove the ten screws around the edges and in the center of the back case with a Phillips #1 screwdriver.
 Ask FixBot
-
-
-
-
Pry up the triangular service cover with a plastic opening tool.
-
Remove the single Phillips #1 screw beneath the cover.
-
Pry up the remainder of the back cover with a plastic opening tool and remove the back cover.
-
-
-
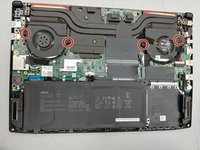
Remove the four screws from the fans with a Phillips #1 screwdriver.
-
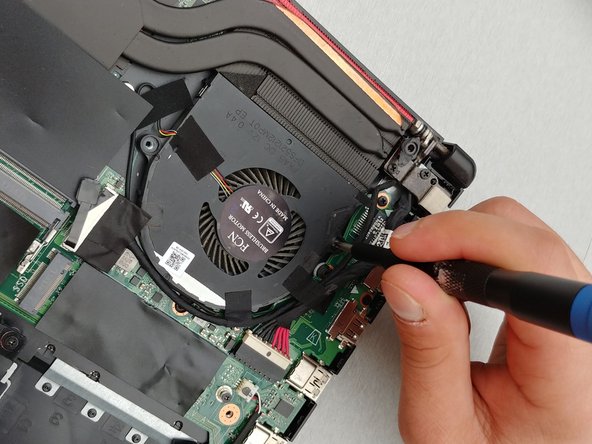
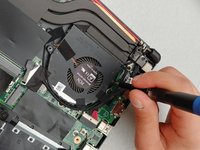
Unplug each of the fan connectors from the motherboard.
-
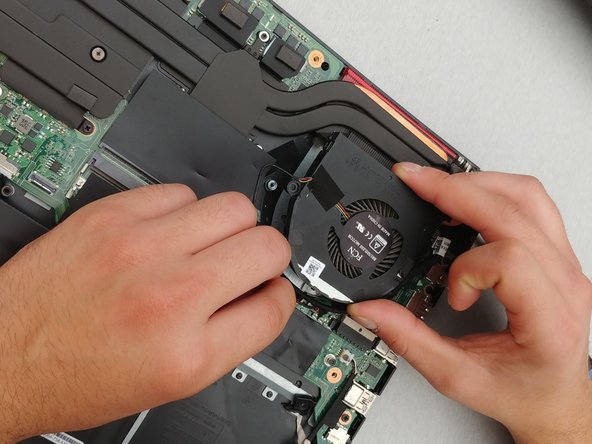
Remove each fan by lifting it from the case.
-
-


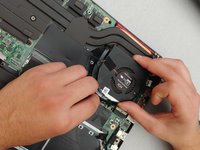
To reassemble your device, follow these instructions in reverse order.
Cancel: I did not complete this guide.
2 other people completed this guide.

Team

Embry-Riddle Aeronautical University, Team S17-G8, Lamothe Spring 2020 Member of Embry-Riddle Aeronautical University, Team S17-G8, Lamothe Spring 2020
ERAU-LAMOTHE-S20S17G8
4 Members
60 Guides authored
2 Guide Comments
WTF i can find a 12 V for my GL503V
