
ASUS ROG Strix G15 G513 Battery Replacement

Gia Hung Nguyen and 5 other contributors
Last updated on Jul 11, 2026
Views: 9.4K
View statistics:
- Past 24 Hours:
- 14
- Past 7 Days:
- 117
- Past 30 Days:
- 505
- All Time:
- 9,439
Comments: 2
1 comment on steps, 1 guide comment.
Go to guide commentsCompleted: 7 8
7 people have marked this guide "completed." Will you be next?
8 people have marked this guide "completed." Including you — great job!
Favorites: 3 4
3 people have favorited (and subscribed to) this guide. Will you be next?
4 people have favorited (and subscribed to) this guide — including you!
Introduction
Go to step 1 ↓Laptops, particularly gaming laptops, are highly favored by many, due to their portability. However, gaming laptops still encounter issues related to battery durability because of heavy use and constant charging. If the battery in your ASUS ROG Strix G15 G513 has come to the end of its life cycle, follow this guide to replace it.
Before beginning this repair, power off your laptop and unplug it from the charger. If your battery is swollen, take appropriate precautions.
What you need
Fix Kit
This kit contains all the parts and tools needed to complete this guide.
-
Asus C41N2010 Battery$69.99

Parts
-
Asus C41N2010 Battery$59.99

Tools


-
-
-
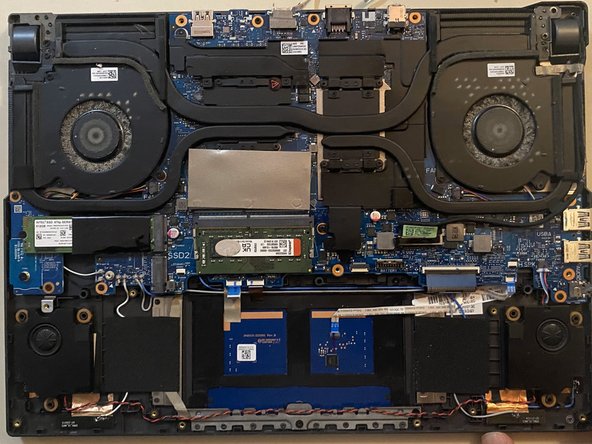
Flip the laptop over.
-
Use a Phillips #1 screwdriver to remove:
-
Four 3 mm-long PH1 screws
-
Three 6 mm-long PH1 screws
-
Two 5.5 mm-long PH1 screws
 Ask FixBot
-
-
-
Use an opening too to gently pry the back case from the laptop.
-
Start from the bottom right corner and with a prying tool/guitar pick work your way to the bottom left, and top right corners then gently lift it up, and it will snap off as seen in the disassembly section in the attached Service guide document
-
-
-
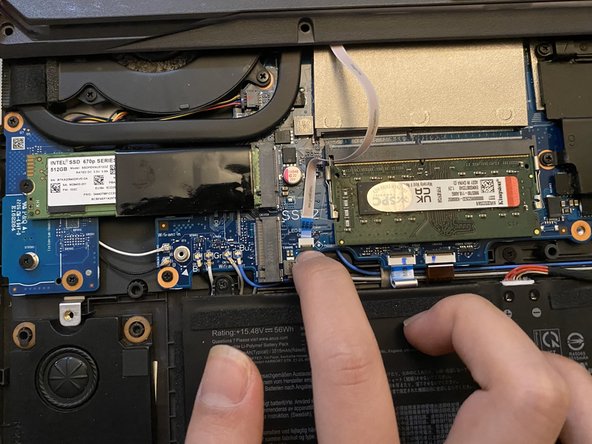
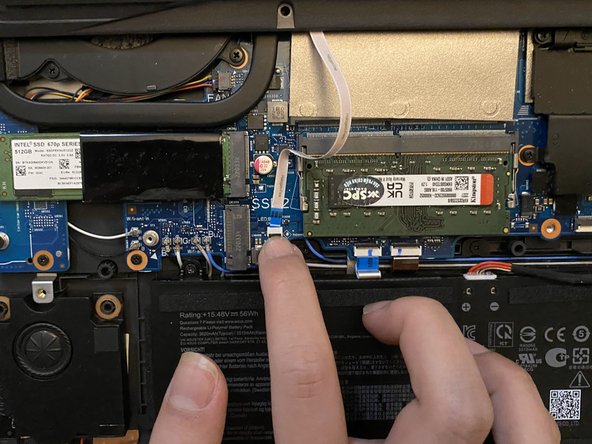
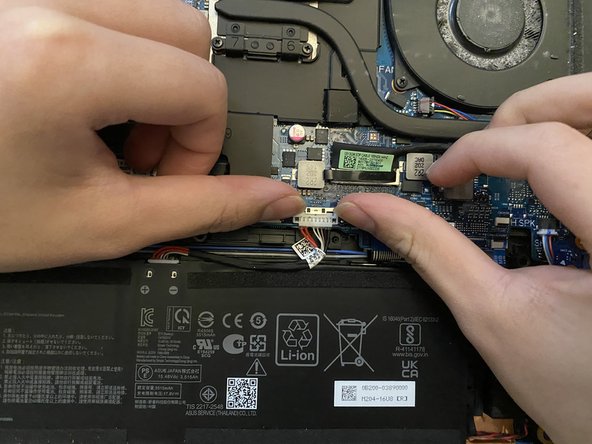
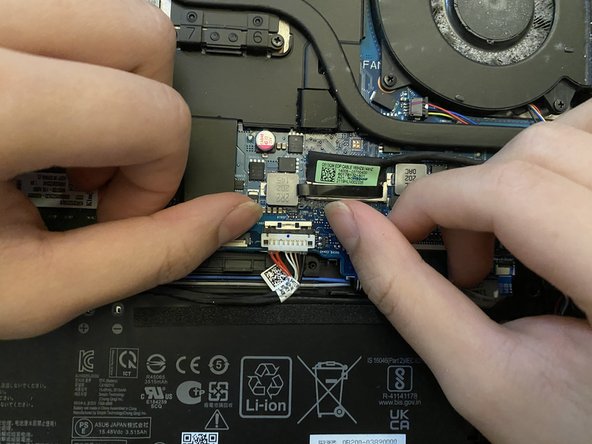
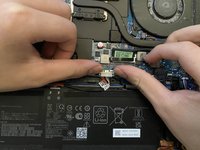
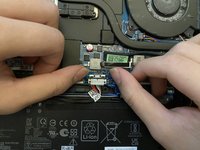
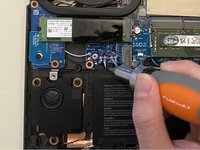
Use the tip of a spudger or your fingernail to flip up the small black locking flap.
-
Gently pull each ribbon cable from its socket.
-
-
-
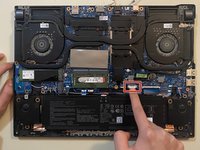
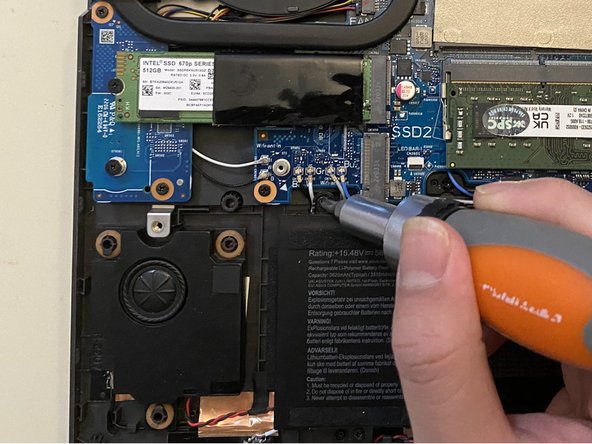
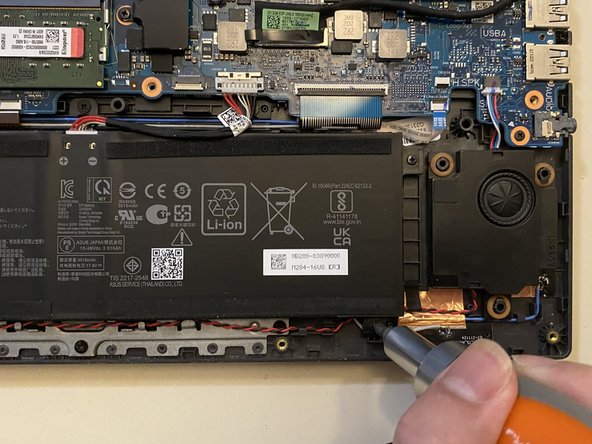
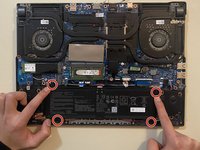
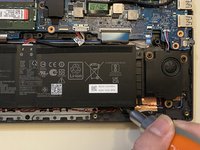
Use a Phillips #1 screwdriver to remove the four screws securing the battery.
-
-
-


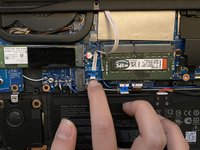




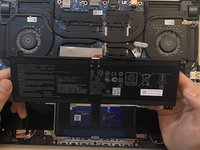
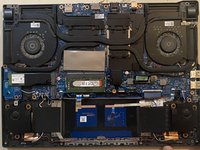
To reassemble your device, follow these instructions in reverse order. For optimal performance, calibrate your newly installed battery after completing this guide. Take your e-waste to an R2 or e-Stewards certified recycler.
Cancel: I did not complete this guide.
7 other people completed this guide.
Attached Documents

Team

York University, Team M-9, Allen Winter 2024 Member of York University, Team M-9, Allen Winter 2024
YORK-ALLEN-W24SMG9
3 Members
12 Guides authored
1 Guide Comment
Gran guia gracias por toda la informacion me sirvio de maravillas para el laptop
