
ASUS ROG G750JW-RS72-CB RAM Replacement

Ellie Moran and 2 other contributors
Last updated on Apr 6, 2018
Views: 1.8K
View statistics:
- Past 24 Hours:
- 3
- Past 7 Days:
- 19
- Past 30 Days:
- 105
- All Time:
- 1,811
Comments: 1
1 guide comment.
Go to guide commentsCompleted: 1 2
1 person has marked this guide "completed." Will you be next?
2 people have marked this guide "completed." Including you — great job!
Favorites: 0 1
No one has favorited (and subscribed to) this guide. Will you be the first?
1 person has favorited (and subscribed to) this guide — and that's you!
Introduction
Go to step 1 ↓The RAM is where the working memory of the computer is and replacing it will allow your computer to perform better.
Replacing the RAM is the easiest and cheapest way to help speed up a computer.
What you need
Tools

-
-
-
With your finger, push this slide to the right. The battery should pop out of place.
 Ask FixBot
-
-
-
-
-
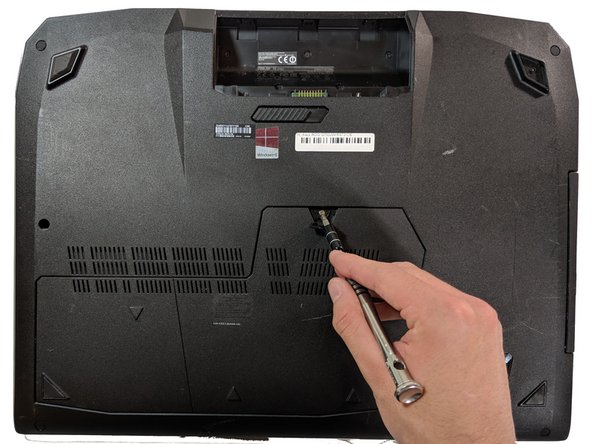
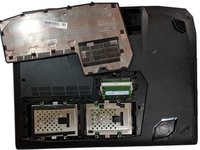
Open flap in center and underneath you will find a screw, remove the 5.2mm screw with a Phillips #0 screwdriver.
-
-
-
-
Once the screw is out, pull on the plastic tab to pull off the plastic cover.
-
-
-
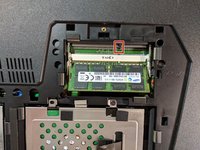
Push the metal tabs outward that are located on both sides of the top ram.
-
Remove the RAM from the slot.
-
-
-
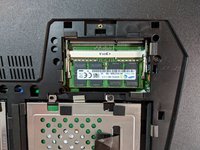
Align new RAM's key with the slot.
-
Place RAM in slot at a 45 degree angle downward, until the teeth are hidden inside of the socket itself.
-
Push down on RAM until a clicking sound is heard, meaning it is in place.
-
-






To reassemble your device, follow Steps 1-4 in reverse order.
Cancel: I did not complete this guide.
One other person completed this guide.

Team

Cal Poly, Team S11-G5, Banghart Winter 2018 Member of Cal Poly, Team S11-G5, Banghart Winter 2018
CPSU-BANGHART-W18S11G5
4 Members
60 Guides authored
