Free Shipping on Domestic Orders $75+

ASUS Q400A-BHI7N03 Optical Drive Replacement

What you need

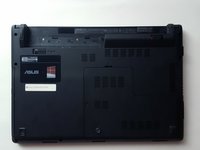
    1. ASUS Q400A-BHI7N03 Optical Drive Replacement, Battery: step 1, image 1 of 1
      • Turn off the laptop.

      • Disconnect the charging cable from the laptop.

      • Failure to unplug the cable could result in electric shock.

      • Flip the laptop over so that it is upside down.

      • The slightly raised area is the battery.

      • Orient the laptop so that the battery is away from you.

      Ask FixBot

      Add Comment

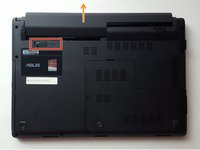
    2. ASUS Q400A-BHI7N03 Optical Drive Replacement: step 2, image 1 of 1
      • In the top right corner, push the tab to the right to the unlocked position.

      Ask FixBot

      Add Comment

    3. ASUS Q400A-BHI7N03 Optical Drive Replacement: step 3, image 1 of 2 ASUS Q400A-BHI7N03 Optical Drive Replacement: step 3, image 2 of 2
      • Find the tab in the top left corner. With one finger, pull the tab to the left to the unlocked position.

      • While holding this tab in the unlocked position, gently pull the battery away from you.

      Ask FixBot

      Add Comment

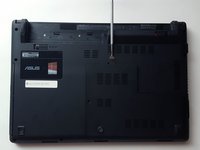
    1. ASUS Q400A-BHI7N03 Optical Drive Replacement, Optical Drive: step 4, image 1 of 1
      • Locate and remove the 8mm PH0 screw near the middle of the laptop.

      Ask FixBot

      Add Comment

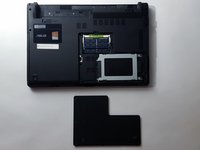
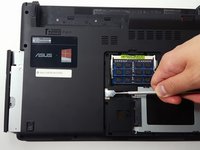
    2. ASUS Q400A-BHI7N03 Optical Drive Replacement: step 5, image 1 of 2 ASUS Q400A-BHI7N03 Optical Drive Replacement: step 5, image 2 of 2
      • Use a metal opening tool to remove the L-shaped, plastic cover.

      • To avoid breaking the plastic, alternate the sides where you pry.

      Ask FixBot

      Add Comment

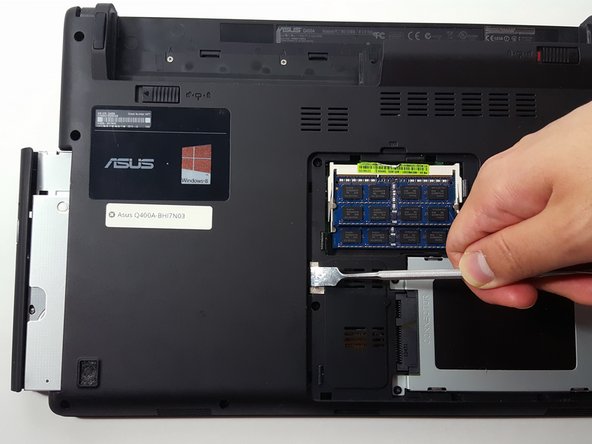
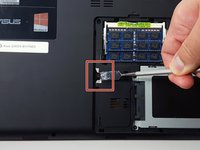
    3. ASUS Q400A-BHI7N03 Optical Drive Replacement: step 6, image 1 of 2 ASUS Q400A-BHI7N03 Optical Drive Replacement: step 6, image 2 of 2
      • On the left side of the section, there is a metal tab. Using a metal opening tool, push the tab as far as possible to the left.

      • Only push on the metal tab so you do not damage the surrounding plastic.

      • Once the optical drive is sticking out of the left side of the laptop, slide it smoothly out of its slot.

      Ask FixBot

      Add Comment

Conclusion

To reassemble your device, follow these instructions in reverse order.

Cancel: I did not complete this guide.

Matthew Gold

Member since: 01/19/17

401 Reputation

4 Guides authored

Team

UC Davis, Team 1-4, Rodger Winter 2017 Member of UC Davis, Team 1-4, Rodger Winter 2017

UCD-RODGER-W17S1G4

5 Members

48 Guides authored

0 Guide Comments

Add Comment

View Statistics:

Past 24 Hours: 0

Past 7 Days: 5

Past 30 Days: 28

All Time: 823