Free Shipping on Domestic Orders $75+

ASUS Q302L Motherboard Replacement

What you need

    1. ASUS Q302L Motherboard Replacement, Back Case: step 1, image 1 of 1
      • Make sure the laptop is disconnected from a power supply and is TURNED OFF.

      • Use a Phillips #0 screw driver to remove all ten 10 mm screws around the back of the laptop.

      Ask FixBot

      Add Comment

    2. ASUS Q302L Motherboard Replacement: step 2, image 1 of 3 ASUS Q302L Motherboard Replacement: step 2, image 2 of 3 ASUS Q302L Motherboard Replacement: step 2, image 3 of 3
      • Wedge a plastic opening tool under the rear case near the hinge.

      • Pry around the outer edge to release the plastic clips holding the rear case to the laptop.

      Ask FixBot

      Add Comment

    3. ASUS Q302L Motherboard Replacement: step 3, image 1 of 1
      • Once the cover is free from all the clips, remove the cover from the laptop.

      Ask FixBot

      Add Comment

    1. ASUS Q302L Motherboard Replacement, Battery: step 4, image 1 of 1
      • Use a Phillips #0 screwdriver and remove all five 5 mm screws securing the battery.

      Ask FixBot

      Add Comment

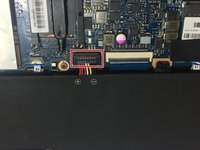
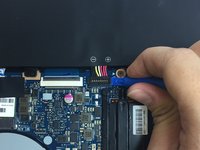
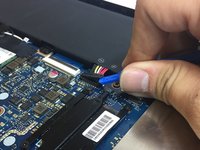
    2. ASUS Q302L Motherboard Replacement: step 5, image 1 of 3 ASUS Q302L Motherboard Replacement: step 5, image 2 of 3 ASUS Q302L Motherboard Replacement: step 5, image 3 of 3
      • Gently wedge a plastic opening tool under the connector.

      • Pry only on the connector not the socket itself or you risk damage to the motherboard.

      • Carefully lift the connector up away from the socket to disconnect it.

      Ask FixBot

      Add Comment

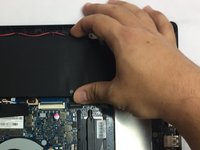
    3. ASUS Q302L Motherboard Replacement: step 6, image 1 of 2 ASUS Q302L Motherboard Replacement: step 6, image 2 of 2
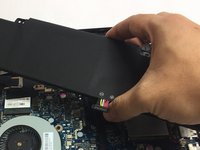
      • Once the screws and connector are removed, simply pull out the battery from its place.

      Ask FixBot

      Add Comment

    1. ASUS Q302L Motherboard Replacement, Fan: step 7, image 1 of 2 ASUS Q302L Motherboard Replacement, Fan: step 7, image 2 of 2
      • Use a Phillips #00 screwdriver to remove all three 4mm screws around the fan.

      • Using the same screw driver, remove the four 4mm screws from the part of the fan that is above the processor.

      Ask FixBot

      Add Comment

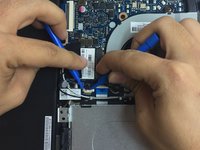
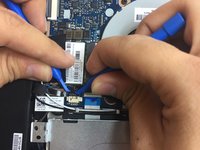
    2. ASUS Q302L Motherboard Replacement: step 8, image 1 of 3 ASUS Q302L Motherboard Replacement: step 8, image 2 of 3 ASUS Q302L Motherboard Replacement: step 8, image 3 of 3
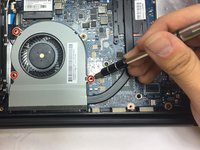
      • Gently wedge two plastic prying tools on both sides of the black part of the connector.

      • Carefully pull out the connector from its socket.

      Ask FixBot

      Add Comment

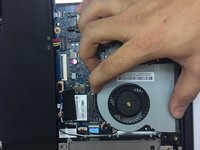
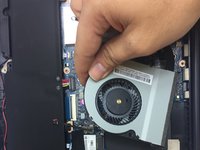
    3. ASUS Q302L Motherboard Replacement: step 9, image 1 of 2 ASUS Q302L Motherboard Replacement: step 9, image 2 of 2
      • Once all screws and the connector are removed, you can safely pull the fan out of its place.

      Ask FixBot

      Add Comment

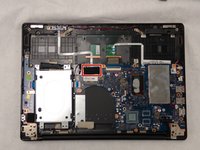
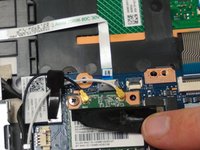
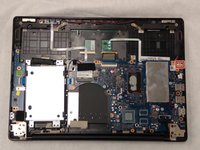
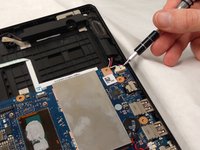
    1. ASUS Q302L Motherboard Replacement, Motherboard: step 10, image 1 of 3 ASUS Q302L Motherboard Replacement, Motherboard: step 10, image 2 of 3 ASUS Q302L Motherboard Replacement, Motherboard: step 10, image 3 of 3
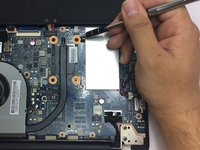
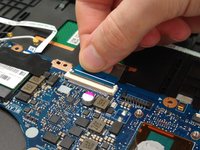
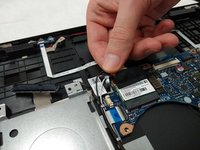
      • Peel back the adhered strip to expose the black and white connections.

      • Pop the connections off the fixtures.

      Ask FixBot

      Add Comment

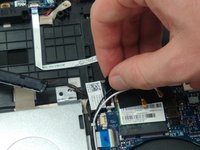
    2. ASUS Q302L Motherboard Replacement: step 11, image 1 of 2 ASUS Q302L Motherboard Replacement: step 11, image 2 of 2
      • Grasp the plastic tab of each connector with your fingers.

      • Firmly pull up, releasing the connectors one at a time.

      Ask FixBot

      Add Comment

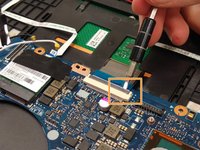
    3. ASUS Q302L Motherboard Replacement: step 12, image 1 of 2 ASUS Q302L Motherboard Replacement: step 12, image 2 of 2
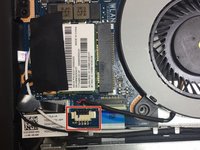
      • As in Step 8, gently pry out both sides of the white connector and pull out the connector.

      Ask FixBot

      Add Comment

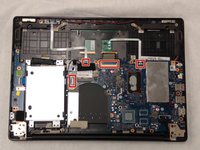
    4. ASUS Q302L Motherboard Replacement: step 13, image 1 of 3 ASUS Q302L Motherboard Replacement: step 13, image 2 of 3 ASUS Q302L Motherboard Replacement: step 13, image 3 of 3
      • For each of the four marked connectors, gently insert a thin prying tool between the blue ribbon and grey tab.

      • Gently apply upward pressure evenly across the length of the tab.

      • Once the tab has snapped backwards, remove the blue ribbon.

      Ask FixBot

      Add Comment

    5. ASUS Q302L Motherboard Replacement: step 14, image 1 of 1
      • Using the Phillips #00 screwdriver, remove the ten 4mm screws.

      Ask FixBot

      Add Comment

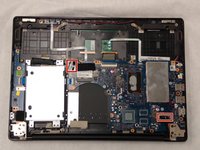
    6. ASUS Q302L Motherboard Replacement: step 15, image 1 of 2 ASUS Q302L Motherboard Replacement: step 15, image 2 of 2
      • Lift the Hinge gently up.

      • Lightly grasp the motherboard.

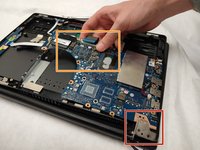
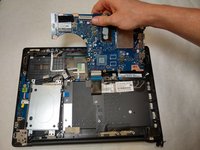
      • Lift the marked corner of the board first, then slide the corner of the board out from under the back corner of the case.

      • Place new thermal paste beneath the heatsink on the new motherboard.

      Ask FixBot

      Add Comment

Conclusion

To reassemble your device, follow these instructions in reverse order.

Cancel: I did not complete this guide.

2 other people completed this guide.

Nicholas Lozier

Member since: 04/01/19

302 Reputation

2 Guides authored

Team

IUPUI, Team S2-G4, Harley Spring 2019 Member of IUPUI, Team S2-G4, Harley Spring 2019

IUPUI-HARLEY-S19S2G4

3 Members

24 Guides authored

1 Guide Comment

Where can I get a replacement motherboard?

Alex - Reply Share
Add Comment

View Statistics:

Past 24 Hours: 3

Past 7 Days: 10

Past 30 Days: 45

All Time: 1,914