Introduction
This guide is going to show the necessary steps for replacing the Motherboard.
What you need
-
-
-
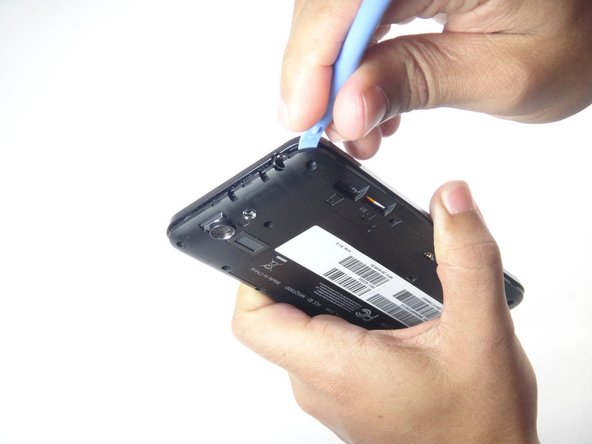
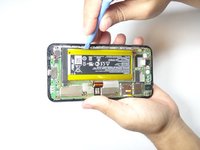
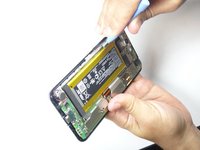
Using the blue plastic opening tool, insert the tip into the crease between the back cover and the phone and pry it upwards.
-
Work your way around the phone until the entire back cover is loose.
 Ask FixBot
-
-
-
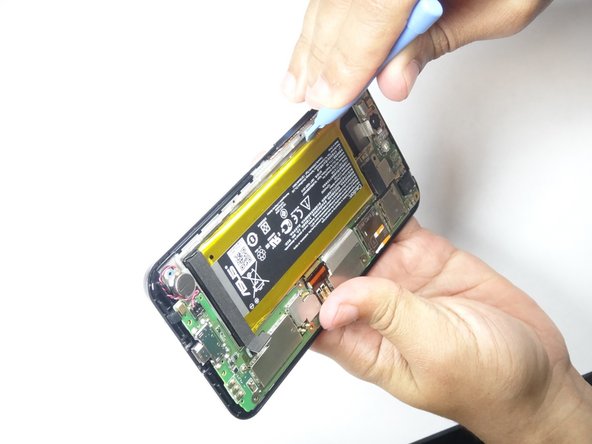
Using the blue plastic opening tool, insert the tip into the crease between the mid-frame and the phone and pry it upwards.
-
Work your way around the phone until the entire back cover is loose and remove the mid-frame.
-
-
-
Using the plastic blue plastic opening tool, gently disconnect the battery cable from the motherboard.
-
-
-
Use the blue plastic opening tool to pry the battery pack from the phone. Pry along edge away from the motherboard as this might damage the motherboard.
-
-
-
-
Use the blue plastic opening tool to gently pry the camera connector up from its socket on the motherboard.
-
-
Tool used on this step:Tweezers$4.99
-
Using the tweezers, remove the rear camera from the Padfone X.
-
-
-
Insert the tip of the flat head screwdriver between the panel and the metal clip then gently push down until the clip is slightly bent away from the panel.
-
Do this for all the clips holding the panel down.
-
After all clips are bent away, remove the panel.
-
-
-
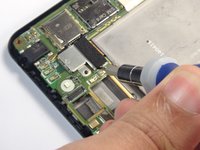
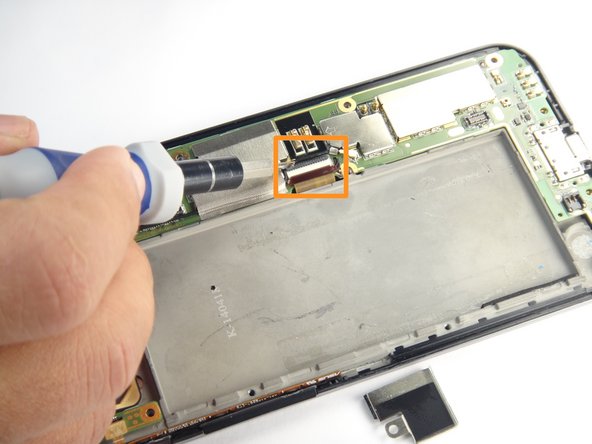
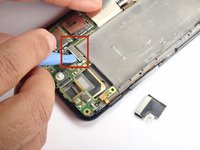
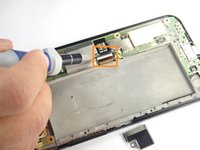
Disconnect the first connector by prying it upward using the blue plastic opening tool.
-
Disconnect the second connector by first lifting the lock then pulling the connector outward.
-
-
-
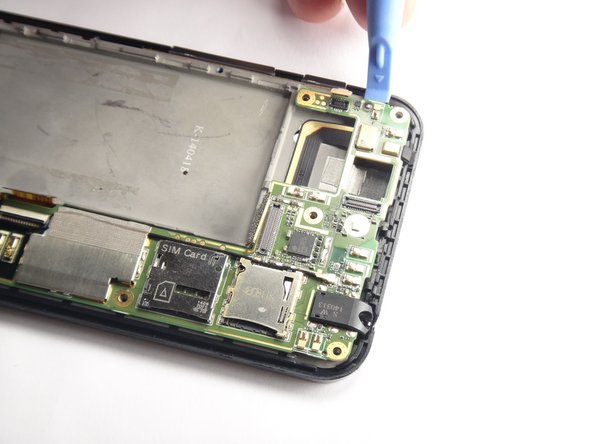
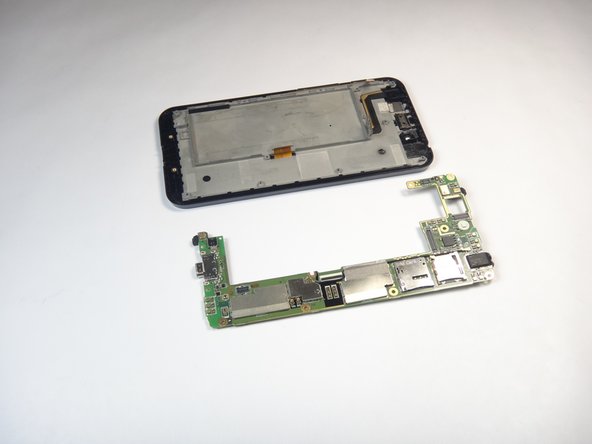
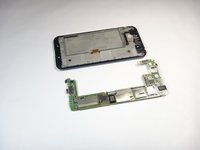
Insert the tip of the blue plastic opening tool under the motherboard and gently pry upward.
-
Work your way around until the motherboard is free.
-
-
-
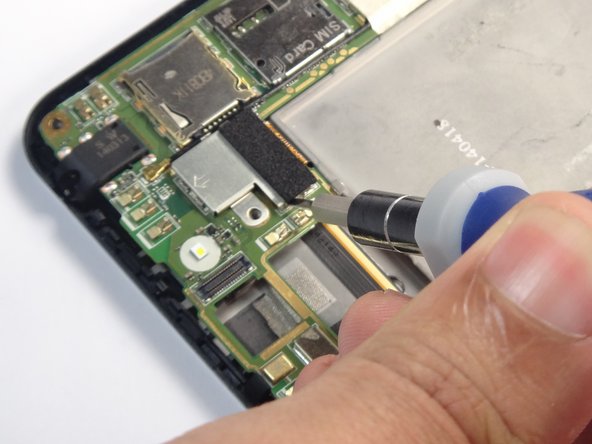
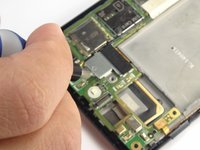
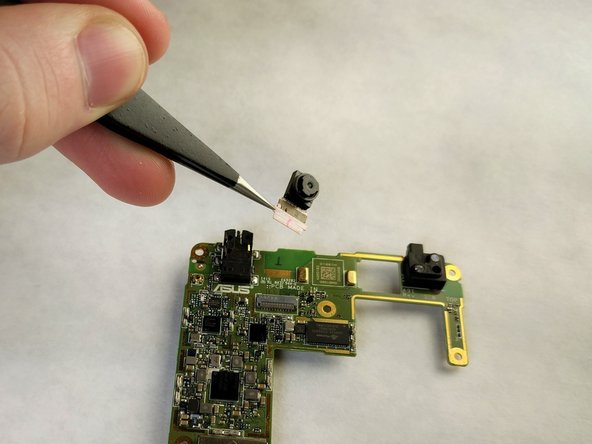
Flip the motherboard over and locate the front facing camera.
-
Using the tweezers gently remove the black locking mechanism.
-
-










To reassemble your device, follow these instructions in reverse order.
Cancel: I did not complete this guide.
One other person completed this guide.

Team

USF Tampa, Team 8-4, Leahy Fall 2014 Member of USF Tampa, Team 8-4, Leahy Fall 2014
USFT-LEAHY-F14S8G4
4 Members
60 Guides authored
4 Guide Comments
There is a step missing between step 10 and 11, you didn't explain how to remove the flexible connector that go's to the power/volume buttons next to the camera location on the side of the phone.
which I only had to gently pry up on the connector from the center of the phone out and it came right off.
Hey iFixits,
I have a Padfone S (international version, supposedly the same as the Padfone X sold in the states), which suffered water damage. I presume the logic board needs replacing and since there are more Padfone X's out there, thinking of buying a 'for parts' phone with say, a broken screen, and just swapping logic boards to make one working phone. Does anyone know if these logic boards for the S and X are compatible?? Thanks in advance.
I have Asus padfone 2 the phones motherboard is damaged how to use the pad
