Free Shipping on Domestic Orders $75+

ASUS PadFone X Front Facing Camera Replacement

What you need

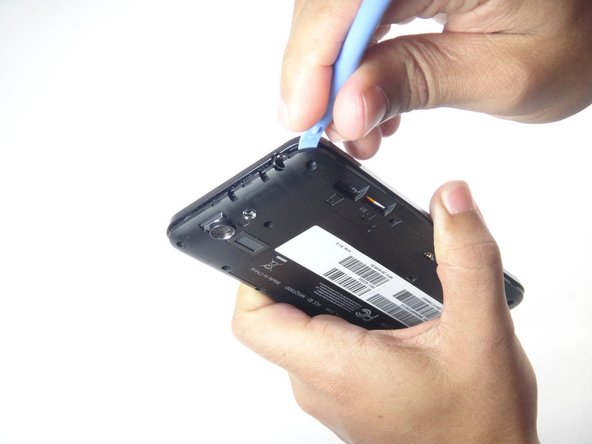
    1. ASUS PadFone X Front Facing Camera  Replacement, Motherboard: step 1, image 1 of 2 ASUS PadFone X Front Facing Camera  Replacement, Motherboard: step 1, image 2 of 2
      • Using the blue plastic opening tool, insert the tip into the crease between the back cover and the phone and pry it upwards.

      • Work your way around the phone until the entire back cover is loose.

      Ask FixBot

      Add Comment

    2. ASUS PadFone X Front Facing Camera  Replacement: step 2, image 1 of 2 ASUS PadFone X Front Facing Camera  Replacement: step 2, image 2 of 2
      • Remove the thirteen 3.6 mm screws using the Torx T5 bit in the screwdriver.

      Ask FixBot

      Add Comment

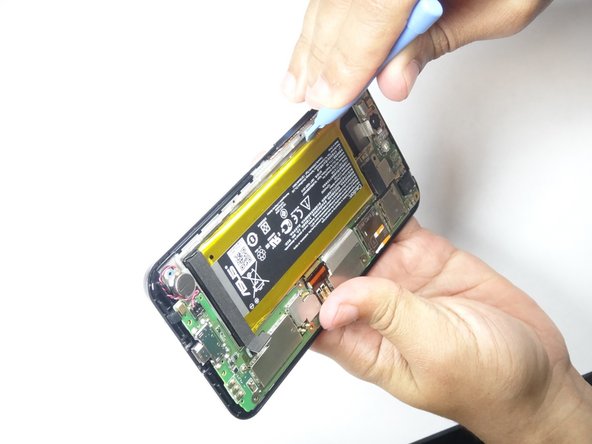
    3. ASUS PadFone X Front Facing Camera  Replacement: step 3, image 1 of 2 ASUS PadFone X Front Facing Camera  Replacement: step 3, image 2 of 2
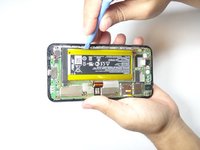
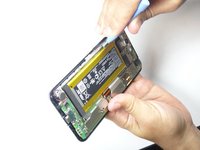
      • Using the blue plastic opening tool, insert the tip into the crease between the mid-frame and the phone and pry it upwards.

      • Work your way around the phone until the entire back cover is loose and remove the mid-frame.

      Ask FixBot

      Add Comment

    4. ASUS PadFone X Front Facing Camera  Replacement: step 4, image 1 of 1
      • Using the plastic blue plastic opening tool, gently disconnect the battery cable from the motherboard.

      • Applying too much force will damage the connector.

      Ask FixBot

      Add Comment

    5. ASUS PadFone X Front Facing Camera  Replacement: step 5, image 1 of 2 ASUS PadFone X Front Facing Camera  Replacement: step 5, image 2 of 2
      • Use the blue plastic opening tool to pry the battery pack from the phone. Pry along edge away from the motherboard as this might damage the motherboard.

      • The battery pack is held on by double sided tape, you will have to apply some force when prying out the battery.

      Ask FixBot

      Add Comment

    6. ASUS PadFone X Front Facing Camera  Replacement: step 6, image 1 of 1
      • Using a spudger, pry the vibration motor connector from the motherboard.

      Ask FixBot

      Add Comment

    7. ASUS PadFone X Front Facing Camera  Replacement: step 7, image 1 of 1
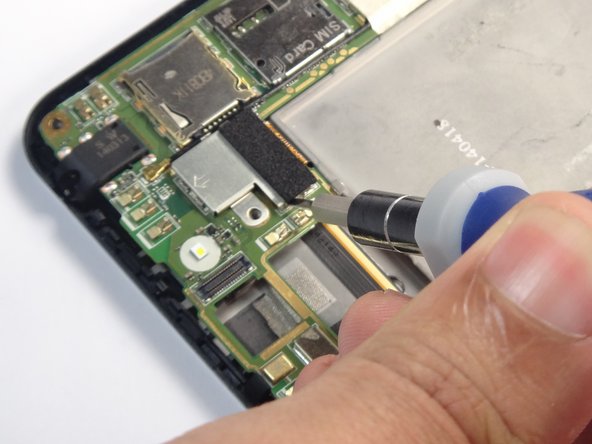
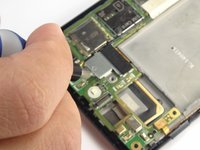
      • Use the blue plastic opening tool to gently pry the camera connector up from its socket on the motherboard.

      • Applying too much force will damage the conector

      Ask FixBot

      Add Comment

    8. ASUS PadFone X Front Facing Camera  Replacement: step 8, image 1 of 1
      Tool used on this step:
      Tweezers
      $4.99
      Buy
      • Using the tweezers, remove the rear camera from the Padfone X.

      • The camera is lightly glued to the motherboard. You may need to use a plastic opening tool to loosen the adhesive under the camera.

      Ask FixBot

      Add Comment

    9. ASUS PadFone X Front Facing Camera  Replacement: step 9, image 1 of 2 ASUS PadFone X Front Facing Camera  Replacement: step 9, image 2 of 2
      • Insert the tip of the flat head screwdriver between the panel and the metal clip then gently push down until the clip is slightly bent away from the panel.

      • Do this for all the clips holding the panel down.

      • After all clips are bent away, remove the panel.

      Ask FixBot

      Add Comment

    10. ASUS PadFone X Front Facing Camera  Replacement: step 10, image 1 of 2 ASUS PadFone X Front Facing Camera  Replacement: step 10, image 2 of 2
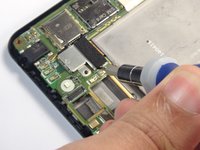
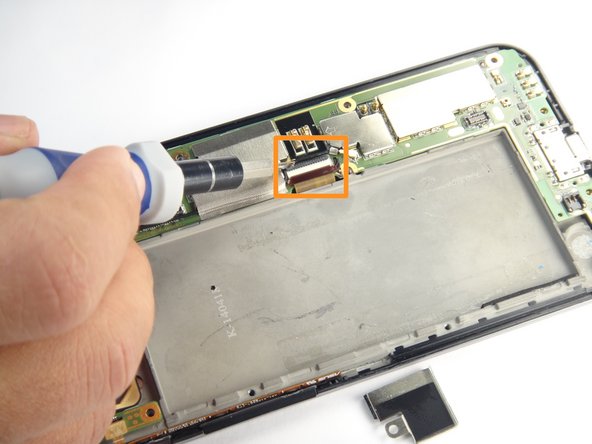
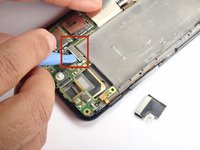
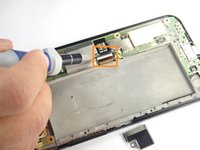
      • Disconnect the first connector by prying it upward using the blue plastic opening tool.

      • Disconnect the second connector by first lifting the lock then pulling the connector outward.

      Ask FixBot

      Add Comment

    11. ASUS PadFone X Front Facing Camera  Replacement: step 11, image 1 of 3 ASUS PadFone X Front Facing Camera  Replacement: step 11, image 2 of 3 ASUS PadFone X Front Facing Camera  Replacement: step 11, image 3 of 3
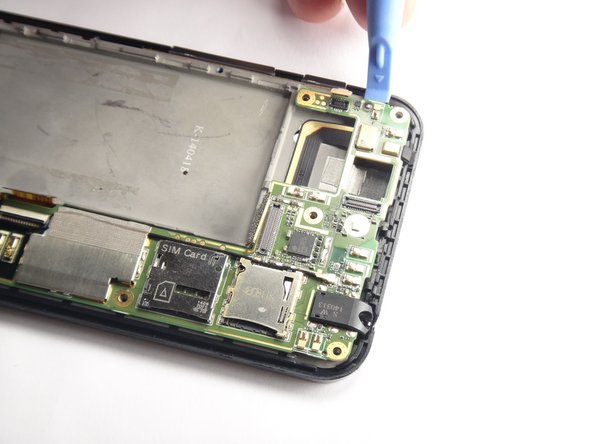
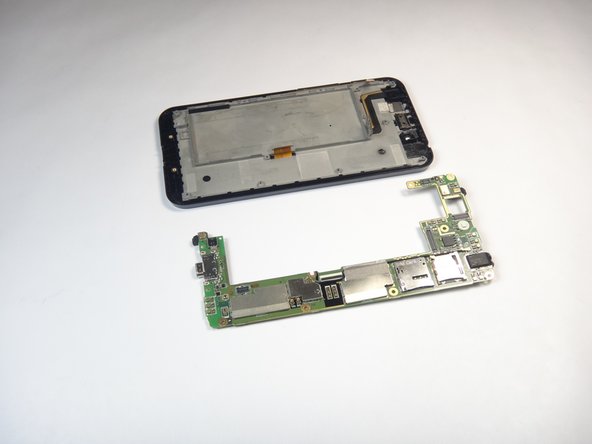
      • Insert the tip of the blue plastic opening tool under the motherboard and gently pry upward.

      • Work your way around until the motherboard is free.

      Ask FixBot

      Add Comment

    12. ASUS PadFone X Front Facing Camera  Replacement: step 12, image 1 of 1
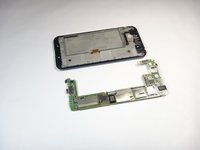
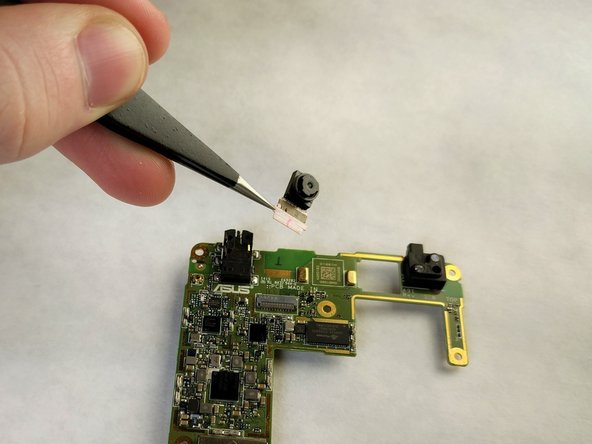
      • Flip the motherboard over and locate the front facing camera.

      • Using the tweezers gently remove the black locking mechanism.

      • The black locking mechanism is very fragile and extreme care should be exercised during removal.

      Ask FixBot

      Add Comment

    13. ASUS PadFone X Front Facing Camera  Replacement: step 13, image 1 of 2 ASUS PadFone X Front Facing Camera  Replacement: step 13, image 2 of 2
      • Use the tweezers to gently pull on the connector to remove the camera.

      Ask FixBot

      Add Comment

Conclusion

To reassemble your device, follow these instructions in reverse order.

Cancel: I did not complete this guide.

One other person completed this guide.

Keith Cooper

Member since: 01/24/17

122 Reputation

1 Guide authored

Team

IUPUI, Team 2-1, Baechle Spring 2017 Member of IUPUI, Team 2-1, Baechle Spring 2017

IUPUI-BAECHLE-S17S2G1

4 Members

48 Guides authored

0 Guide Comments

Add Comment

View Statistics:

Past 24 Hours: 1

Past 7 Days: 9

Past 30 Days: 46

All Time: 662