Free Shipping on Domestic Orders $75+

ASUS N550JK-DS71T Laptop RAM stick Replacement

What you need

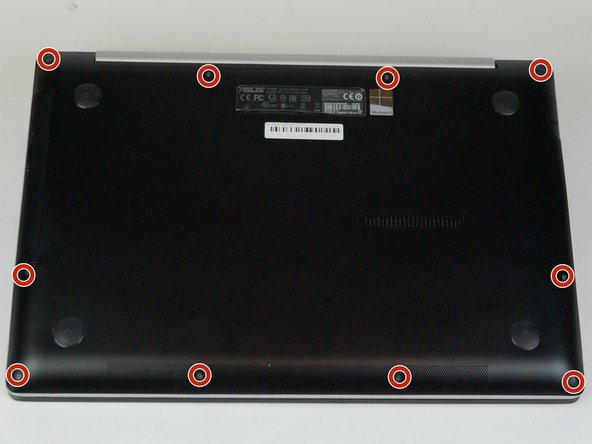
    1. ASUS N550JK-DS71T Laptop RAM stick Replacement, Back Case: step 1, image 1 of 2 ASUS N550JK-DS71T Laptop RAM stick Replacement, Back Case: step 1, image 2 of 2
      • Turn the laptop off and unplug all cables.

      • Flip over so the bottom is facing you.

      • Remove the ten 3mm Torx T5 screws from the bottom cover.

      Ask FixBot

      Add Comment

    2. ASUS N550JK-DS71T Laptop RAM stick Replacement: step 2, image 1 of 2 ASUS N550JK-DS71T Laptop RAM stick Replacement: step 2, image 2 of 2
      • Use a spudger to wedge between the laptop and bottom cover—lift upwards to pry open.

      • Run the spudger along the perimeter of the bottom cover to remove.

      Ask FixBot

      Add Comment

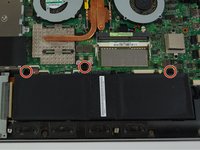
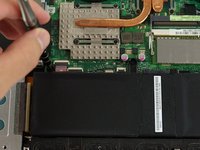
    1. ASUS N550JK-DS71T Laptop RAM stick Replacement, Battery: step 3, image 1 of 2 ASUS N550JK-DS71T Laptop RAM stick Replacement, Battery: step 3, image 2 of 2
      • Remove the three 4mm JIS #0 screws from the battery.

      Ask FixBot

      Add Comment

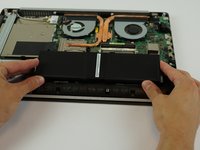
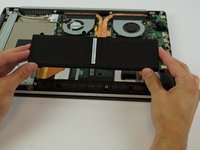
    2. ASUS N550JK-DS71T Laptop RAM stick Replacement: step 4, image 1 of 2 ASUS N550JK-DS71T Laptop RAM stick Replacement: step 4, image 2 of 2
      • Using both hands, lift the battery vertically out of the device.

      Ask FixBot

      Add Comment

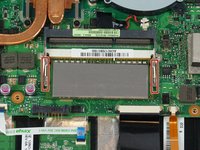
    1. ASUS N550JK-DS71T Laptop RAM stick Replacement, RAM Stick: step 5, image 1 of 1
      • Put on anti-static wristband and attach clip-end to any metal screw insert.

      • The wristband is recommended when working closely with circuit boards due to potential static discharge.

      Ask FixBot

      Add Comment

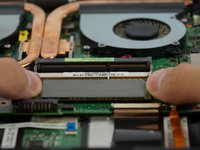
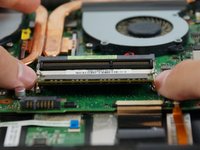
    2. ASUS N550JK-DS71T Laptop RAM stick Replacement: step 6, image 1 of 3 ASUS N550JK-DS71T Laptop RAM stick Replacement: step 6, image 2 of 3 ASUS N550JK-DS71T Laptop RAM stick Replacement: step 6, image 3 of 3
      • The RAM will be secured by two metal clips surrounded by white plastic.

      • Spread the metal clips and the RAM stick will pop up. Then gently remove the RAM stick.

      Ask FixBot

      Add Comment

Conclusion

To reassemble your device, follow these instructions in reverse order.

Cancel: I did not complete this guide.

One other person completed this guide.

Steven Hahn

Member since: 01/29/18

899 Reputation

6 Guides authored

Team

USF Tampa, Team S5-G1, Passmore Spring 2018 Member of USF Tampa, Team S5-G1, Passmore Spring 2018

USFT-PASSMORE-S18S5G1

4 Members

72 Guides authored

0 Guide Comments

Add Comment

View Statistics:

Past 24 Hours: 3

Past 7 Days: 10

Past 30 Days: 37

All Time: 1,568