Free Shipping on Domestic Orders $75+

ASUS MeMO Pad 7 (ME572C) Rear Camera Replacement

What you need

    1. ASUS MeMO Pad 7 (ME572C) Rear Camera Replacement, Rear Panel: step 1, image 1 of 2 ASUS MeMO Pad 7 (ME572C) Rear Camera Replacement, Rear Panel: step 1, image 2 of 2
      • Make sure your device is turned off. Then with a plastic opening tool, carefully remove the back panel by carefully working your way around the perimeter.

      • The panel will be glued on and requires pressure to open.

      Ask FixBot

      Add Comment

    2. ASUS MeMO Pad 7 (ME572C) Rear Camera Replacement: step 2, image 1 of 3 ASUS MeMO Pad 7 (ME572C) Rear Camera Replacement: step 2, image 2 of 3 ASUS MeMO Pad 7 (ME572C) Rear Camera Replacement: step 2, image 3 of 3
      • After removing the rear panel, use a plastic openning tool to remove the frame of the tablet.

      • Start in the middle of the top side and insert a plastic opening tool between the screen and the frame.

      • Carefully run the plastic opening tool along all the edges of the tablet.

      Ask FixBot

      Add Comment

    3. ASUS MeMO Pad 7 (ME572C) Rear Camera Replacement: step 3, image 1 of 1
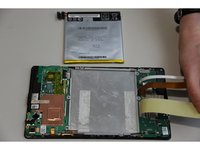
      • When you take the rear panel and the frame out, place the rear panel and the frame away from the device.

      Ask FixBot

      Add Comment

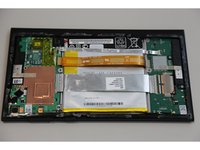
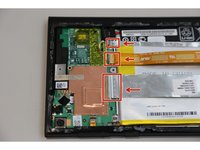
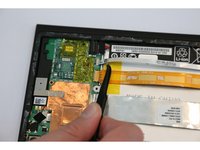
    1. ASUS MeMO Pad 7 (ME572C) Rear Camera Replacement, Battery: step 4, image 1 of 3 ASUS MeMO Pad 7 (ME572C) Rear Camera Replacement, Battery: step 4, image 2 of 3 ASUS MeMO Pad 7 (ME572C) Rear Camera Replacement, Battery: step 4, image 3 of 3
      Tool used on this step:
      Tweezers
      $4.99
      Buy
      • Disconnect the ZIF connectors to release the data cables holding the battery in. Use tweezers to do this.

      • You can also use your hand to remove ZIF connectors.

      • ZIF connectors are delicate so be careful when you are removing them.

      Ask FixBot

      Add Comment

    2. ASUS MeMO Pad 7 (ME572C) Rear Camera Replacement: step 5, image 1 of 1
      • Find the place where the battery connector is. Disconnect the battery connectors by carefully pulling up on them using a spudger or plastic opening tool.

      Ask FixBot

      Add Comment

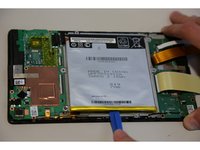
    3. ASUS MeMO Pad 7 (ME572C) Rear Camera Replacement: step 6, image 1 of 3 ASUS MeMO Pad 7 (ME572C) Rear Camera Replacement: step 6, image 2 of 3 ASUS MeMO Pad 7 (ME572C) Rear Camera Replacement: step 6, image 3 of 3
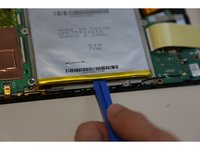
      • Using a plastic opening tool carefully pry the battery loose. The battery is glued to the pad; slight pressure will be needed to remove the battery.

      • The casing of the battery is soft and can easily tear. Tearing can lead to the chemicals in the battery to leak out.

      Ask FixBot

      Add Comment

    1. ASUS MeMO Pad 7 (ME572C) Rear Camera Replacement, Motherboard: step 7, image 1 of 2 ASUS MeMO Pad 7 (ME572C) Rear Camera Replacement, Motherboard: step 7, image 2 of 2
      Tool used on this step:
      Tweezers
      $4.99
      Buy
      • After removing the battery from the device, locate the volume connectors on the side of the device.

      • Using tweezers, carefully remove the volume connectors and place it to the side.

      Ask FixBot

      Add Comment

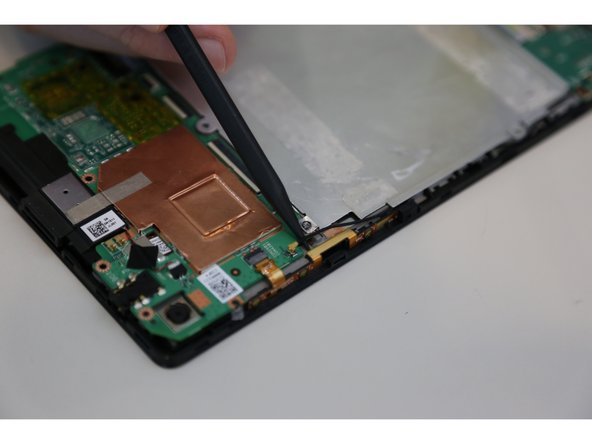
    2. ASUS MeMO Pad 7 (ME572C) Rear Camera Replacement: step 8, image 1 of 2 ASUS MeMO Pad 7 (ME572C) Rear Camera Replacement: step 8, image 2 of 2
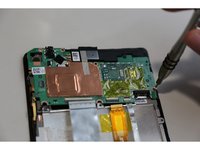
      • Locate the GPS antenna. Pry off the GPS antenna cable with a spudger.

      Ask FixBot

      Add Comment

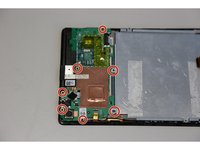
    3. ASUS MeMO Pad 7 (ME572C) Rear Camera Replacement: step 9, image 1 of 2 ASUS MeMO Pad 7 (ME572C) Rear Camera Replacement: step 9, image 2 of 2
      • Locate seven 2mm Phillips #0 screws attaching the motherboard to the pad. Remove the screws with a Phillips #000 screwdriver.

      • Place your screws somewhere you will remember they are at.

      Ask FixBot

      Add Comment

    4. ASUS MeMO Pad 7 (ME572C) Rear Camera Replacement: step 10, image 1 of 1
      • Once all the screws are taken out, you can remove the motherboard. Carefully, take the motherboard out with a plastic opening tool.

      Ask FixBot

      Add Comment

    1. ASUS MeMO Pad 7 (ME572C) Rear Camera Replacement, Rear Camera: step 11, image 1 of 1
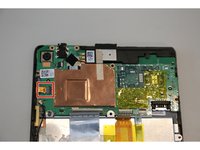
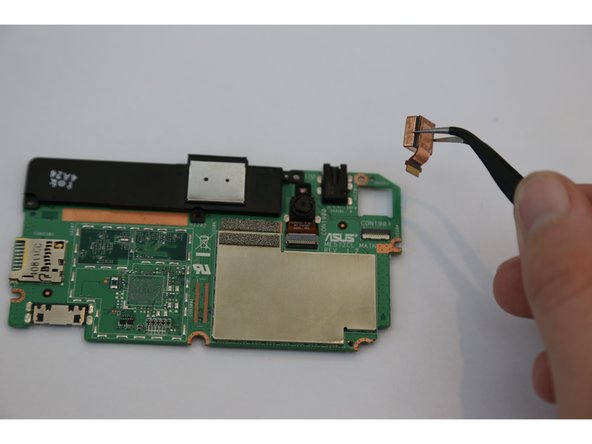
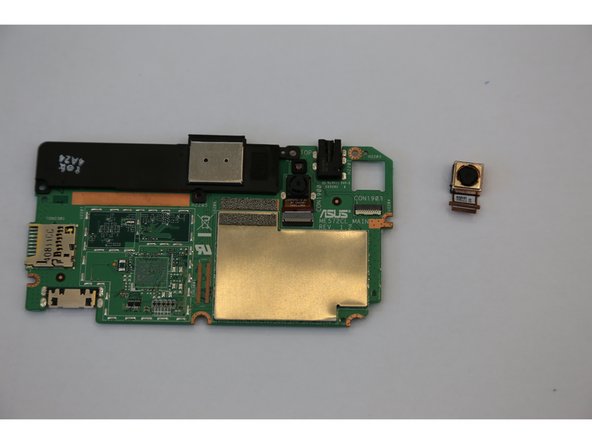
      • Flip the motherboard and find the place where the rear camera connector is.

      Ask FixBot

      Add Comment

    2. ASUS MeMO Pad 7 (ME572C) Rear Camera Replacement: step 12, image 1 of 3 ASUS MeMO Pad 7 (ME572C) Rear Camera Replacement: step 12, image 2 of 3 ASUS MeMO Pad 7 (ME572C) Rear Camera Replacement: step 12, image 3 of 3
      Tool used on this step:
      Tweezers
      $4.99
      Buy
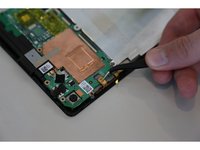
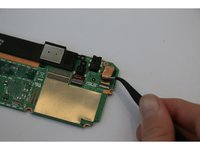
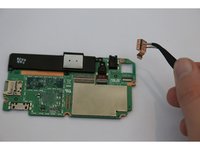
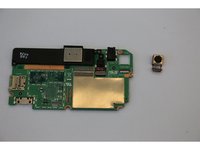
      • Using tweezers, carefully remove the rear camera connectors and place it to the side.

      Ask FixBot

      Add Comment

Conclusion

To reassemble your device, follow these instructions in reverse order.

Cancel: I did not complete this guide.

2 other people completed this guide.

Efe Guldogan

Member since: 08/26/15

860 Reputation

4 Guides authored

Team

USF Tampa, Team 14-23, Meier Fall 2015 Member of USF Tampa, Team 14-23, Meier Fall 2015

USFT-MEIER-F15S14G23

4 Members

72 Guides authored

0 Guide Comments

Add Comment

View Statistics:

Past 24 Hours: 2

Past 7 Days: 20

Past 30 Days: 78

All Time: 1,115