Free Shipping on Domestic Orders $75+

ASUS K200MA-DS01T Motherboard Replacement

What you need

    1. ASUS K200MA-DS01T Motherboard  Replacement, Back Panel: step 1, image 1 of 2 ASUS K200MA-DS01T Motherboard  Replacement, Back Panel: step 1, image 2 of 2
      • With the opening facing you, flip the laptop over and remove the following screws from the back panel:

      • Six 4mm Phillips screws using a Phillips #0 screwdriver.

      • One 12mm Phillips screw in the center using a Phillips #0 screwdriver.

      Ask FixBot

      Add Comment

    2. ASUS K200MA-DS01T Motherboard  Replacement: step 2, image 1 of 2 ASUS K200MA-DS01T Motherboard  Replacement: step 2, image 2 of 2
      • Using a plastic spudger, remove the two rubber stoppers closest to the hinge to reveal the screws underneath.

      Ask FixBot

      Add Comment

    3. ASUS K200MA-DS01T Motherboard  Replacement: step 3, image 1 of 1
      • Remove the following screws:

      • Two 4mm Phillips screws using a Phillips #0 screwdriver.

      Ask FixBot

      Add Comment

    4. ASUS K200MA-DS01T Motherboard  Replacement: step 4, image 1 of 3 ASUS K200MA-DS01T Motherboard  Replacement: step 4, image 2 of 3 ASUS K200MA-DS01T Motherboard  Replacement: step 4, image 3 of 3
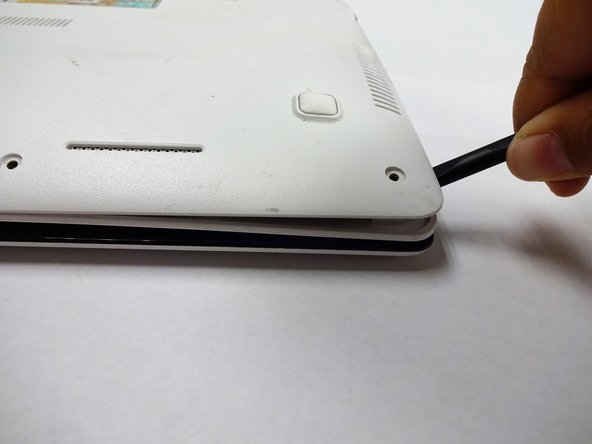
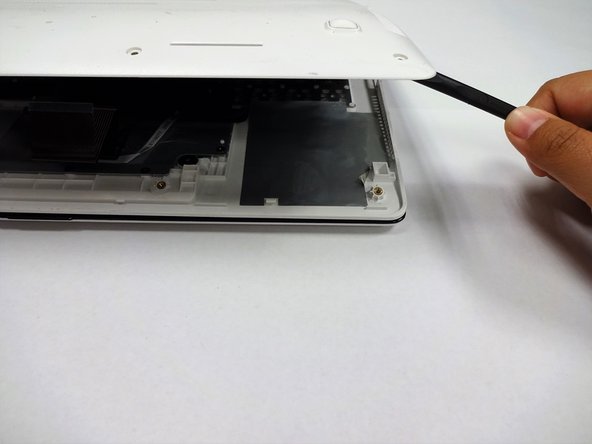
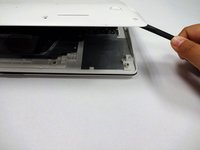
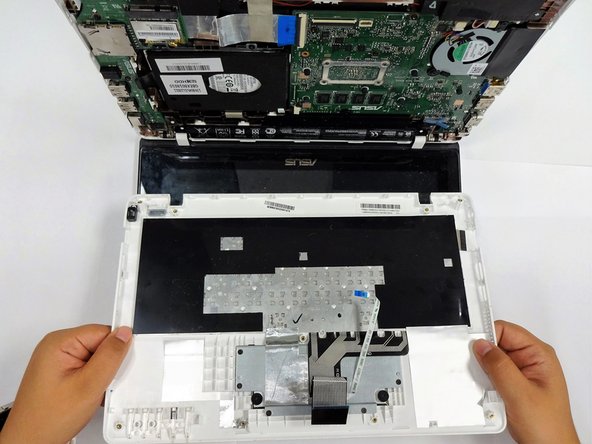
      • Using a plastic spudger (and a fair amount of force), pry the back panel up from the keyboard to separate.

      • You may have to use one spudger to wedge between the back panel and keyboard while using another to pry it open in a different spot.

      Ask FixBot

      Add Comment

    1. ASUS K200MA-DS01T Motherboard  Replacement, Keyboard: step 5, image 1 of 2 ASUS K200MA-DS01T Motherboard  Replacement, Keyboard: step 5, image 2 of 2
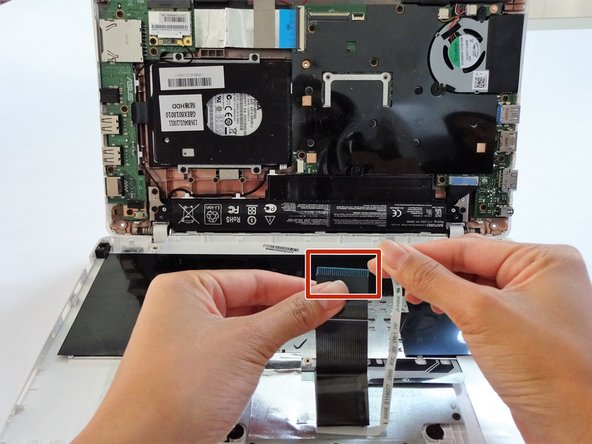
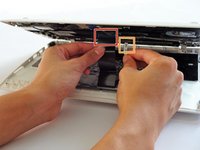
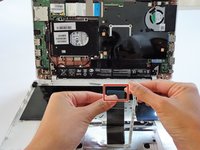
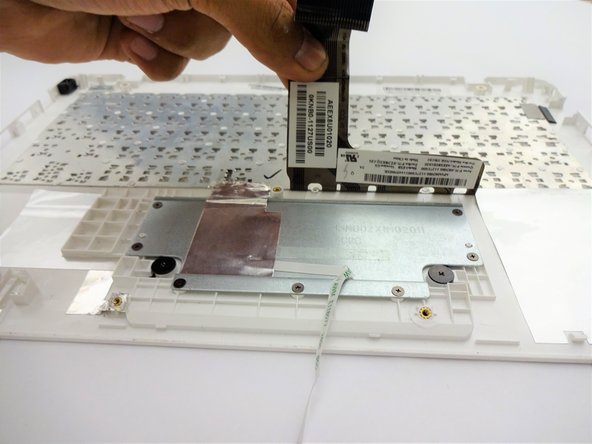
      • To disconnect the keyboard connectors from keyboard and back panel, gently pull wide keyboard connector out.

      • Gently pull the narrow connector away from the keyboard.

      Ask FixBot

      Add Comment

    2. ASUS K200MA-DS01T Motherboard  Replacement: step 6, image 1 of 2 ASUS K200MA-DS01T Motherboard  Replacement: step 6, image 2 of 2
      • Now that the keyboard connectors are unplugged, pull the keyboard off and away from the back panel hinges.

      Ask FixBot

      Add Comment

    1. ASUS K200MA-DS01T Motherboard  Replacement, Track Pad: step 7, image 1 of 2 ASUS K200MA-DS01T Motherboard  Replacement, Track Pad: step 7, image 2 of 2
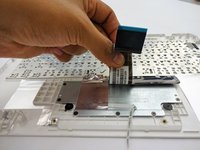
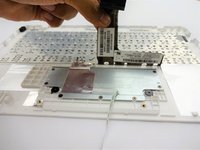
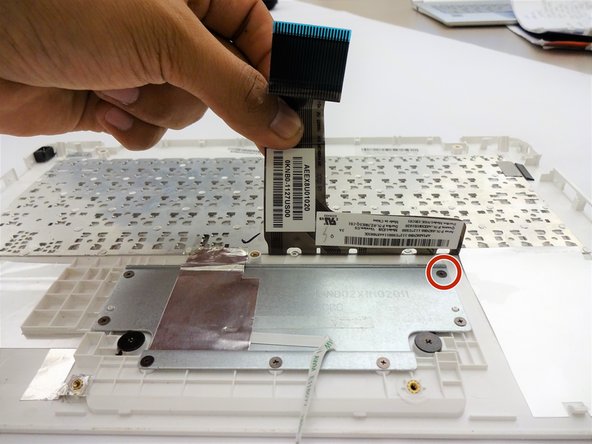
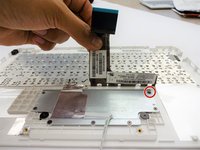
      • Lift the keyboard connector from the keyboard.

      Ask FixBot

      Add Comment

    2. ASUS K200MA-DS01T Motherboard  Replacement: step 8, image 1 of 2 ASUS K200MA-DS01T Motherboard  Replacement: step 8, image 2 of 2
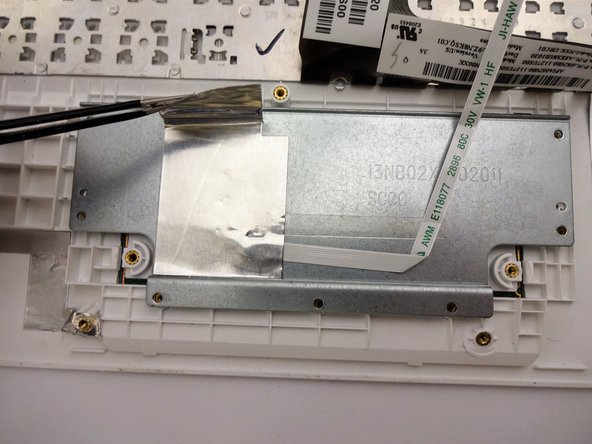
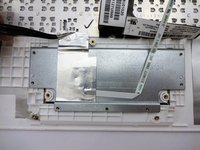
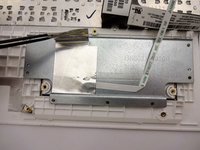
      • Lift the foil sheet.

      Ask FixBot

      Add Comment

    3. ASUS K200MA-DS01T Motherboard  Replacement: step 9, image 1 of 2 ASUS K200MA-DS01T Motherboard  Replacement: step 9, image 2 of 2
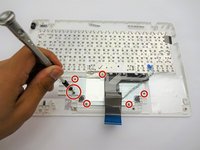
      • Remove the following screws:

      • Eight 3 mm screws using Phillips screwdriver.

      • Be sure to remove the screw underneath the keyboard connector.

      Ask FixBot

      Add Comment

    4. ASUS K200MA-DS01T Motherboard  Replacement: step 10, image 1 of 1
      • Remove the following screws:

      • Two 2 mm screws using a Phillips #00 screwdriver.

      Ask FixBot

      Add Comment

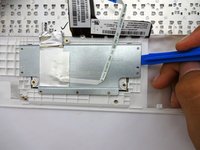
    5. ASUS K200MA-DS01T Motherboard  Replacement: step 11, image 1 of 2 ASUS K200MA-DS01T Motherboard  Replacement: step 11, image 2 of 2
      • Using a plastic spudger, remove the metal plate.

      Ask FixBot

      Add Comment

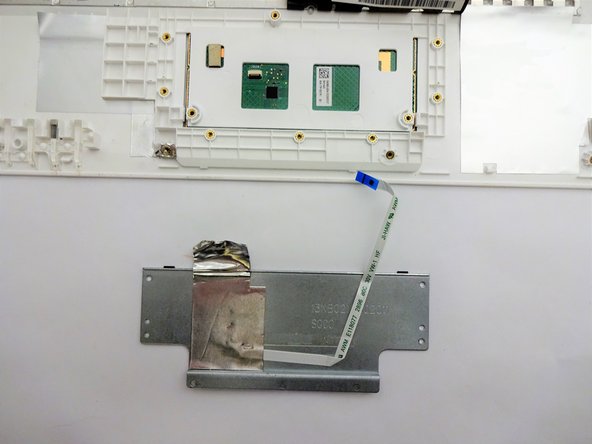
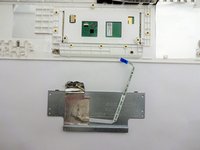
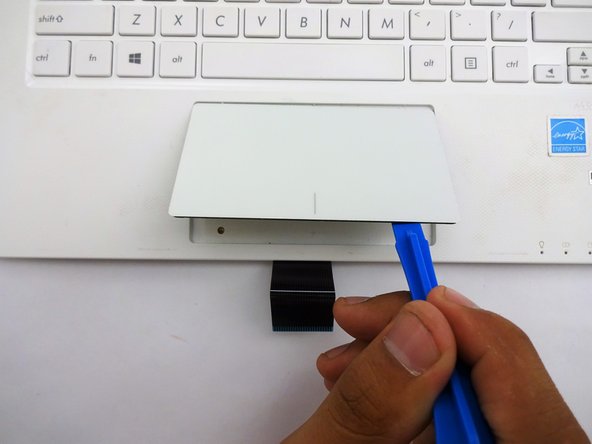
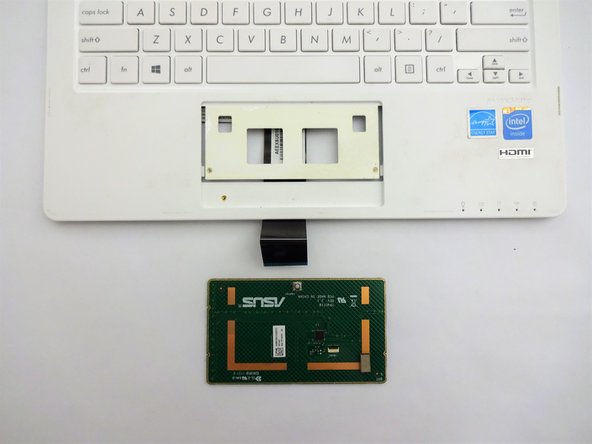
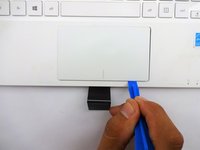
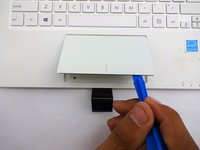
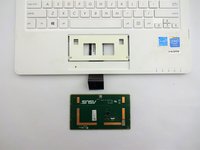
    6. ASUS K200MA-DS01T Motherboard  Replacement: step 12, image 1 of 3 ASUS K200MA-DS01T Motherboard  Replacement: step 12, image 2 of 3 ASUS K200MA-DS01T Motherboard  Replacement: step 12, image 3 of 3
      • Flip the keyboard over.

      • Using a plastic spudger, pry the track pad off the plastic piece underneath.

      • Don't be afraid to use some force in this step because the track pad and the plastic piece are glued together.

      Ask FixBot

      Add Comment

    1. ASUS K200MA-DS01T Motherboard  Replacement, Battery: step 13, image 1 of 2 ASUS K200MA-DS01T Motherboard  Replacement, Battery: step 13, image 2 of 2
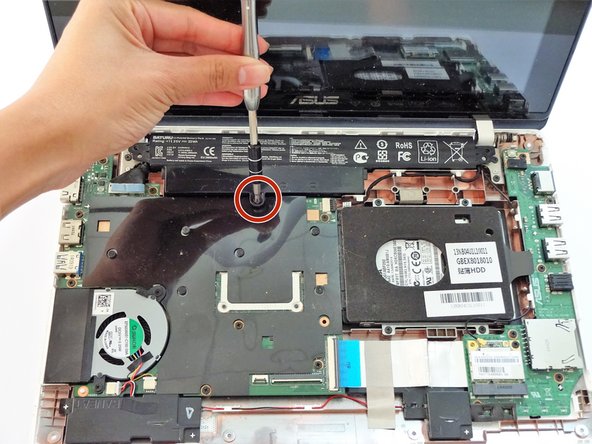
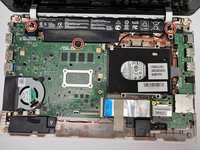
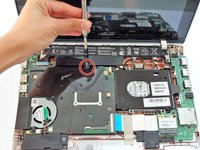
      • Flip the computer over so that the side with the motherboard (large green piece) is laying face-up.

      • Remove the following screws from the middle and far ends of the battery:

      • Three 4mm Phillips screws using a Phillips #0 screwdriver.

      • The battery will be located closest to the screen.

      Ask FixBot

      Add Comment

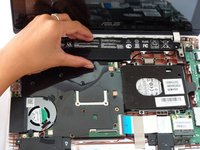
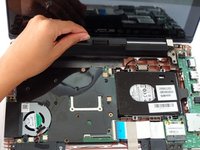
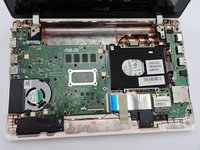
    2. ASUS K200MA-DS01T Motherboard  Replacement: step 14, image 1 of 3 ASUS K200MA-DS01T Motherboard  Replacement: step 14, image 2 of 3 ASUS K200MA-DS01T Motherboard  Replacement: step 14, image 3 of 3
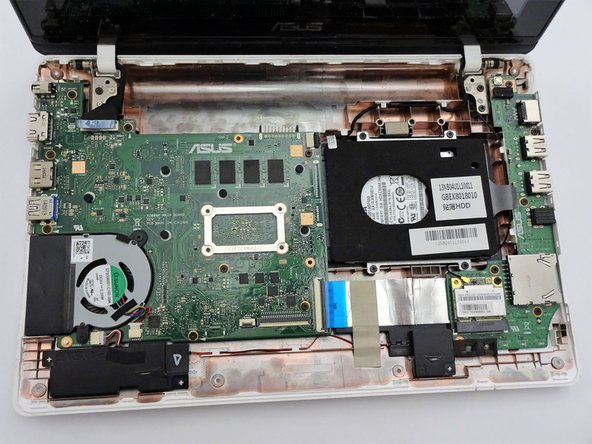
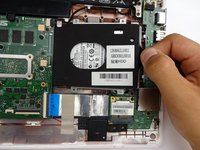
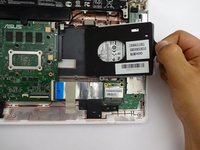
      • Gripping the wider left section, lift the battery up and away from computer.

      Ask FixBot

      Add Comment

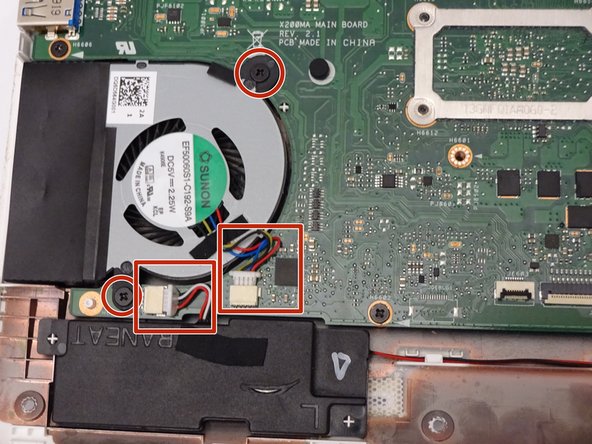
    1. ASUS K200MA-DS01T Motherboard  Replacement, Fan: step 15, image 1 of 2 ASUS K200MA-DS01T Motherboard  Replacement, Fan: step 15, image 2 of 2
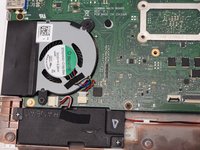
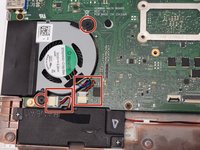
      • Locate the fan, two screws and two color coded wires in the bottom left corner of the computer.

      Ask FixBot

      Add Comment

    2. ASUS K200MA-DS01T Motherboard  Replacement: step 16, image 1 of 1
      • Remove the following screws from the fan:

      • Two 4mm screws using a Phillips #0 screwdriver.

      Ask FixBot

      Add Comment

    3. ASUS K200MA-DS01T Motherboard  Replacement: step 17, image 1 of 2 ASUS K200MA-DS01T Motherboard  Replacement: step 17, image 2 of 2
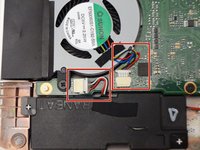
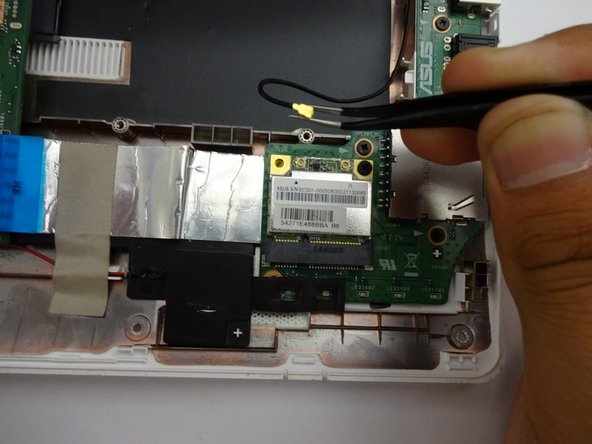
      • Firmly pull colored wires away from wire slot.

      Ask FixBot

      Add Comment

    4. ASUS K200MA-DS01T Motherboard  Replacement: step 18, image 1 of 2 ASUS K200MA-DS01T Motherboard  Replacement: step 18, image 2 of 2
      Tool used on this step:
      Tweezers
      $4.99
      Buy
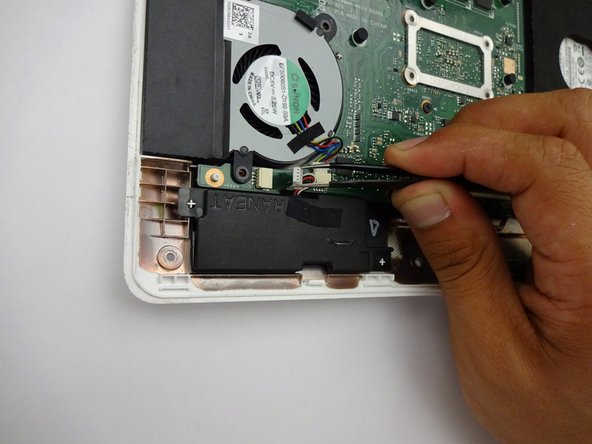
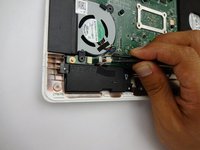
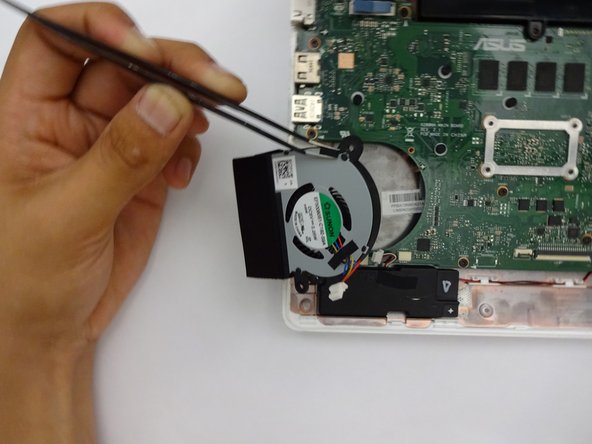
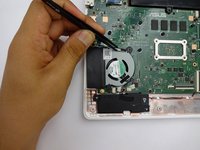
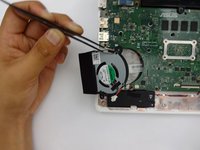
      • After removing both the screws and color coded wires, lift fan out of place.

      • Tools such as spudgers or tweezers may be used for fan removal.

      Ask FixBot

      Add Comment

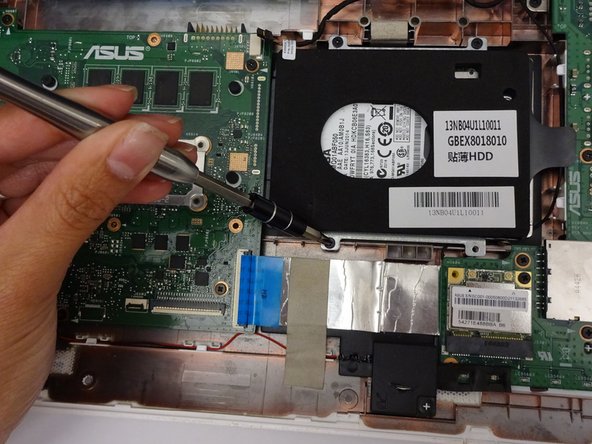
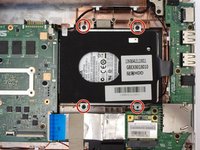
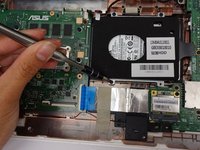
    1. ASUS K200MA-DS01T Motherboard  Replacement, Hard drive: step 19, image 1 of 2 ASUS K200MA-DS01T Motherboard  Replacement, Hard drive: step 19, image 2 of 2
      • Remove the following screws:

      • Four 4mm Phillips screws using a Phillips #0 screwdriver.

      Ask FixBot

      Add Comment

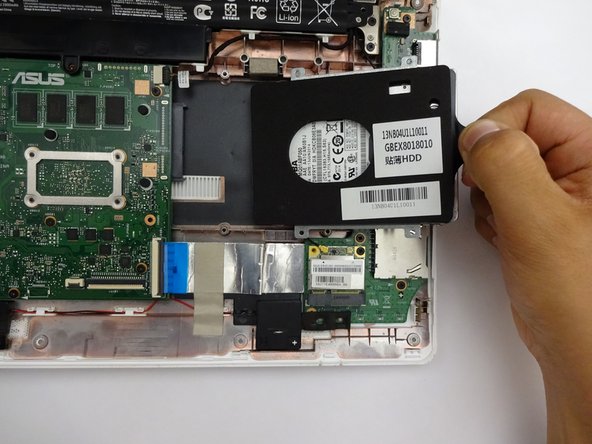
    2. ASUS K200MA-DS01T Motherboard  Replacement: step 20, image 1 of 2 ASUS K200MA-DS01T Motherboard  Replacement: step 20, image 2 of 2
      • Remove by sliding hard driving right and away from the computer using the tag on the right side.

      Ask FixBot

      Add Comment

    1. ASUS K200MA-DS01T Motherboard  Replacement, Motherboard: step 21, image 1 of 2 ASUS K200MA-DS01T Motherboard  Replacement, Motherboard: step 21, image 2 of 2
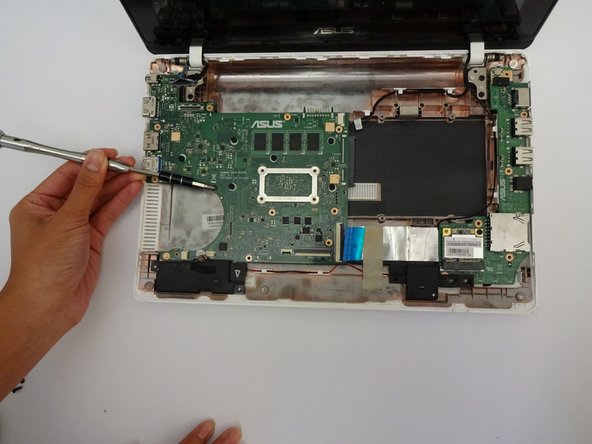
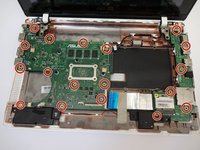
      • Locate and remove the following screws on the motherboard:

      • Eighteen 4mm Phillips screws using a Phillips #0 screw driver.

      Ask FixBot

      Add Comment

    2. ASUS K200MA-DS01T Motherboard  Replacement: step 22, image 1 of 1
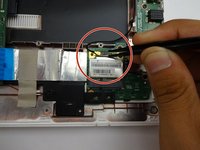
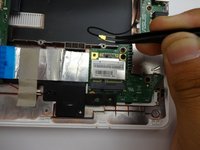
      • Locate all 4 connectors.

      • One connector will be a ribbon, a second will be color codded, a third will be a single gold cable, and a fourth will be a wide vertically placed connector.

      Ask FixBot

      Add Comment

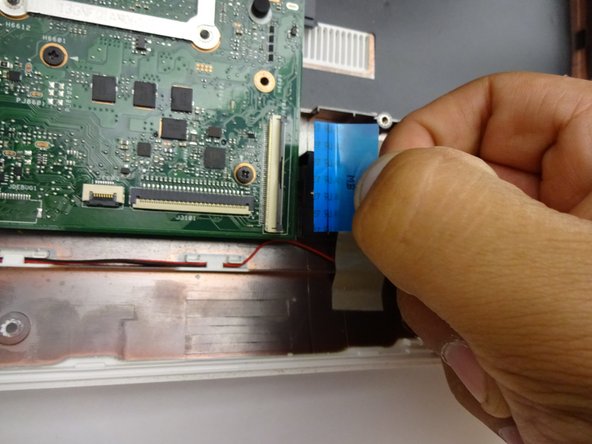
    3. ASUS K200MA-DS01T Motherboard  Replacement: step 23, image 1 of 3 ASUS K200MA-DS01T Motherboard  Replacement: step 23, image 2 of 3 ASUS K200MA-DS01T Motherboard  Replacement: step 23, image 3 of 3
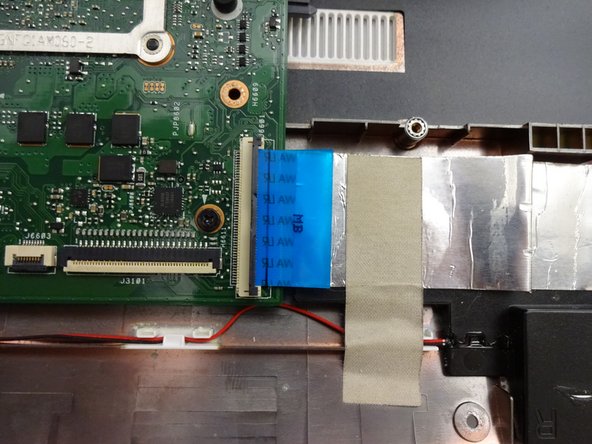
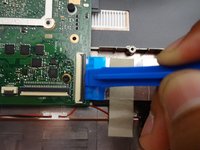
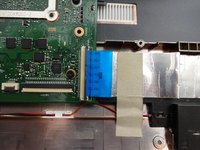
      • Use the blue ribbon to vertically pull the connector away from the mother board.

      • A firm amount of force will be required.

      Ask FixBot

      Add Comment

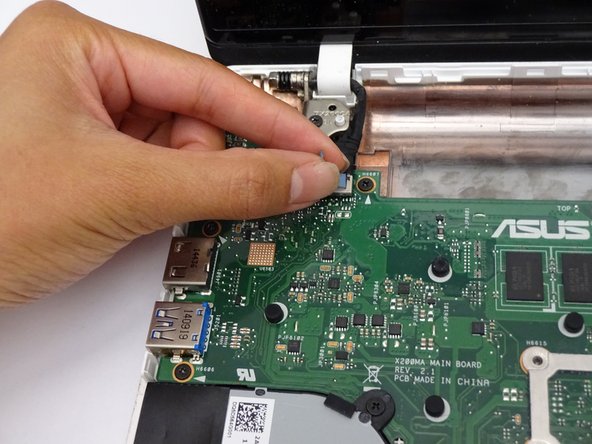
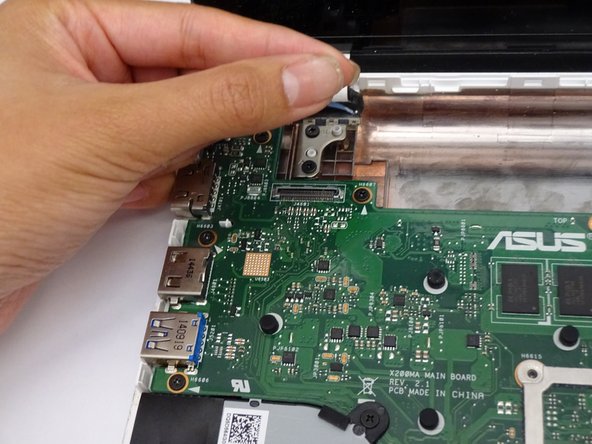
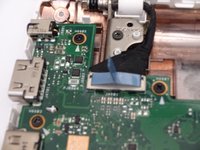
    4. ASUS K200MA-DS01T Motherboard  Replacement: step 24, image 1 of 2 ASUS K200MA-DS01T Motherboard  Replacement: step 24, image 2 of 2
      • Pull the connector horizontally away from the socket.

      Ask FixBot

      Add Comment

    5. ASUS K200MA-DS01T Motherboard  Replacement: step 25, image 1 of 2 ASUS K200MA-DS01T Motherboard  Replacement: step 25, image 2 of 2
      • Lift the latch upwards to release the computer ribbon connector.

      Ask FixBot

      Add Comment

    6. ASUS K200MA-DS01T Motherboard  Replacement: step 26, image 1 of 2 ASUS K200MA-DS01T Motherboard  Replacement: step 26, image 2 of 2
      • Horizontally pull the computer ribbon cable away from latch.

      Ask FixBot

      Add Comment

    7. ASUS K200MA-DS01T Motherboard  Replacement: step 27, image 1 of 2 ASUS K200MA-DS01T Motherboard  Replacement: step 27, image 2 of 2
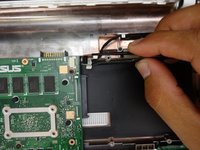
      • Vertically pull the cable from the head away from the placement.

      Ask FixBot

      Add Comment

    8. ASUS K200MA-DS01T Motherboard  Replacement: step 28, image 1 of 3 ASUS K200MA-DS01T Motherboard  Replacement: step 28, image 2 of 3 ASUS K200MA-DS01T Motherboard  Replacement: step 28, image 3 of 3
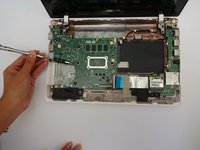
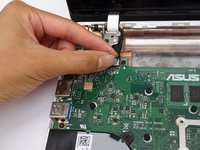
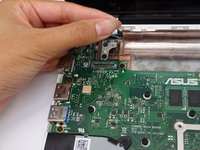
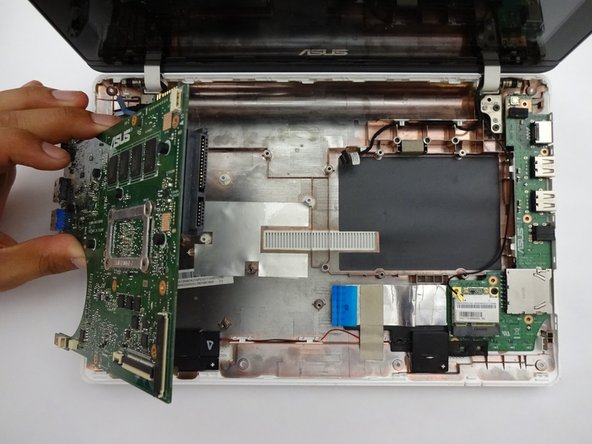
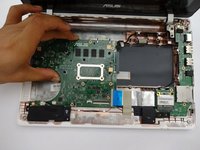
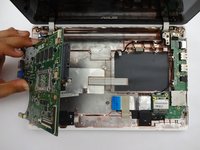
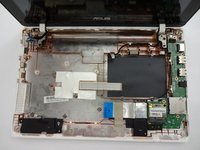
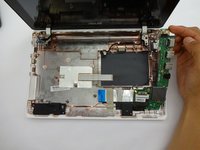
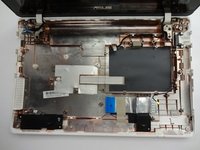
      • Once all screws and connectors are removed, gently lift the motherboard from computer.

      • Removing motherboard does not require firm force.

      • To prevent damage, DO NOT use tools to remove the motherboard.

      Ask FixBot

      Add Comment

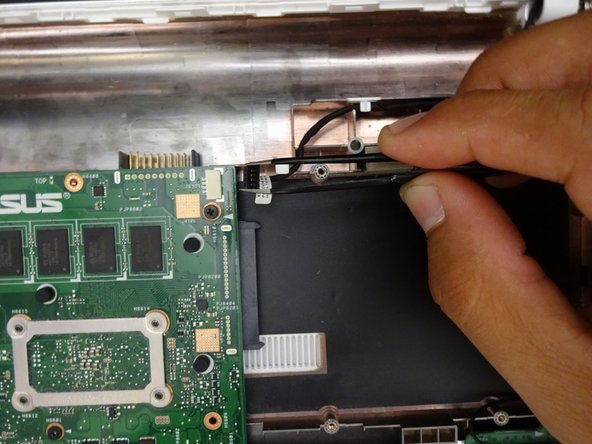
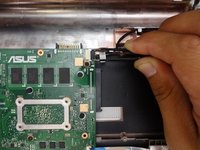
    9. ASUS K200MA-DS01T Motherboard  Replacement: step 29, image 1 of 2 ASUS K200MA-DS01T Motherboard  Replacement: step 29, image 2 of 2
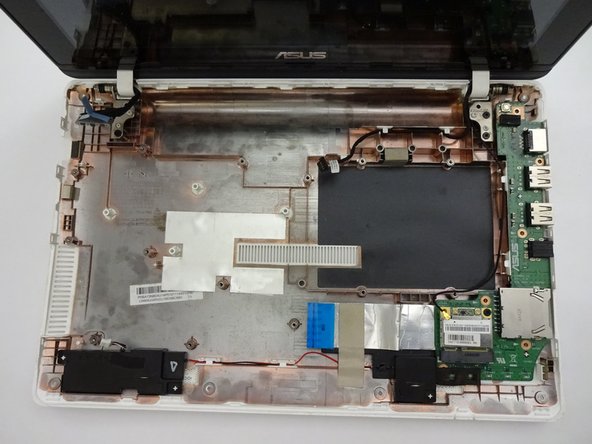
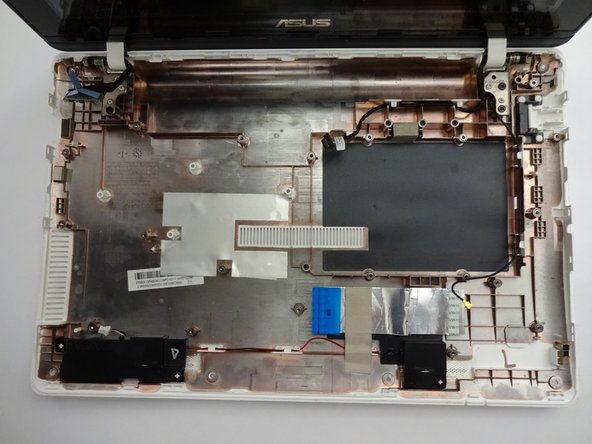
      • Remove the final piece of the motherboard on the right-hand side of the keyboard shell.

      Ask FixBot

      Add Comment

Conclusion

To reassemble your device, follow these instructions in reverse order.

Cancel: I did not complete this guide.

Terrinda

Member since: 09/17/18

530 Reputation

4 Guides authored

Team

CSU Fullerton, Team S2-G5, Bruce Fall 2018 Member of CSU Fullerton, Team S2-G5, Bruce Fall 2018

CSUF-BRUCE-F18S2G5

4 Members

84 Guides authored

0 Guide Comments

Add Comment

View Statistics:

Past 24 Hours: 4

Past 7 Days: 21

Past 30 Days: 73

All Time: 627