Free Shipping on Domestic Orders $75+

ASUS K200MA-DS01T Hard Drive Replacement

Views: 967

View statistics:

Past 24 Hours:
2
Past 7 Days:
14
Past 30 Days:
70
All Time:
967
Comments: 0

No one has left comments on this guide. Will you be first?

Go to guide comments
Completed: 1

1 person has marked this guide "completed." Will you be next?

Favorites: 2

2 people have favorited (and subscribed to) this guide. Will you be next?

Time Required: 10 - 15 minutes
Difficulty: Easy
Featured Student Guide

This guide has been the hard work of our awesome students and is found to be exceptionally cool by the iFixit staff.

ASUS K200MA-DS01T Hard Drive Replacement

Introduction

Go to step 1 ↓

This guide will help to assist in replacing the hard drive for an Asus K200MA laptop.

What you need

Tools

    1. ASUS K200MA-DS01T Hard Drive Replacement, Back Panel: step 1, image 1 of 2 ASUS K200MA-DS01T Hard Drive Replacement, Back Panel: step 1, image 2 of 2
      • With the opening facing you, flip the laptop over and remove the following screws from the back panel:

      • Six 4mm Phillips screws using a Phillips #0 screwdriver.

      • One 12mm Phillips screw in the center using a Phillips #0 screwdriver.

      Ask FixBot

      Add Comment

    2. ASUS K200MA-DS01T Hard Drive Replacement: step 2, image 1 of 2 ASUS K200MA-DS01T Hard Drive Replacement: step 2, image 2 of 2
      • Using a plastic spudger, remove the two rubber stoppers closest to the hinge to reveal the screws underneath.

      Ask FixBot

      Add Comment

    3. ASUS K200MA-DS01T Hard Drive Replacement: step 3, image 1 of 1
      • Remove the following screws:

      • Two 4mm Phillips screws using a Phillips #0 screwdriver.

      Ask FixBot

      Add Comment

    4. ASUS K200MA-DS01T Hard Drive Replacement: step 4, image 1 of 3 ASUS K200MA-DS01T Hard Drive Replacement: step 4, image 2 of 3 ASUS K200MA-DS01T Hard Drive Replacement: step 4, image 3 of 3
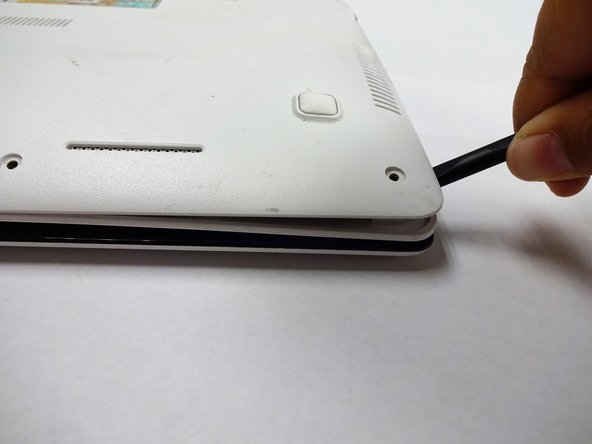
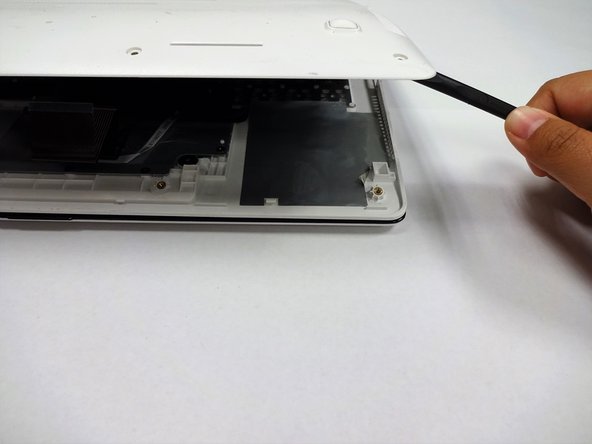
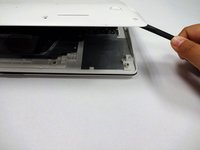
      • Using a plastic spudger (and a fair amount of force), pry the back panel up from the keyboard to separate.

      • You may have to use one spudger to wedge between the back panel and keyboard while using another to pry it open in a different spot.

      Ask FixBot

      Add Comment

    1. ASUS K200MA-DS01T Hard Drive Replacement, Keyboard: step 5, image 1 of 2 ASUS K200MA-DS01T Hard Drive Replacement, Keyboard: step 5, image 2 of 2
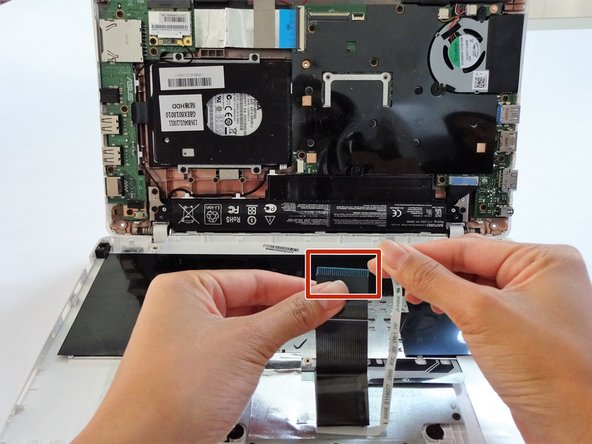
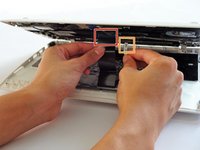
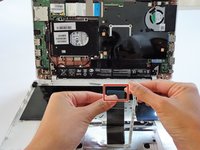
      • To disconnect the keyboard connectors from keyboard and back panel, gently pull wide keyboard connector out.

      • Gently pull the narrow connector away from the keyboard.

      Ask FixBot

      Add Comment

    2. ASUS K200MA-DS01T Hard Drive Replacement: step 6, image 1 of 2 ASUS K200MA-DS01T Hard Drive Replacement: step 6, image 2 of 2
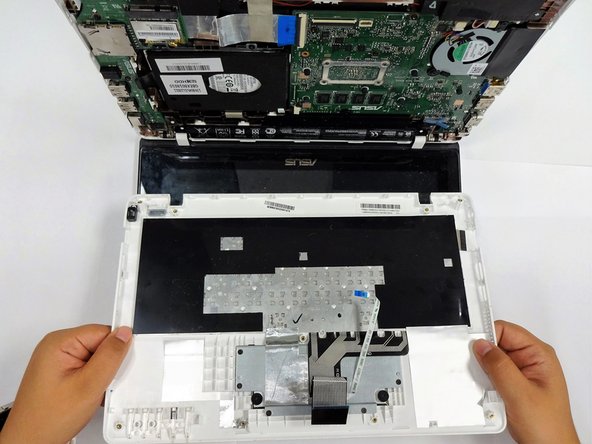
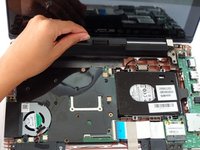
      • Now that the keyboard connectors are unplugged, pull the keyboard off and away from the back panel hinges.

      Ask FixBot

      Add Comment

    1. ASUS K200MA-DS01T Hard Drive Replacement, Battery: step 7, image 1 of 2 ASUS K200MA-DS01T Hard Drive Replacement, Battery: step 7, image 2 of 2
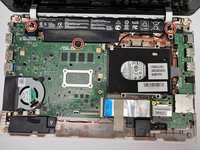
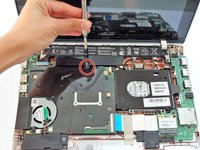
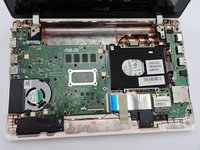
      • Flip the computer over so that the side with the motherboard (large green piece) is laying face-up.

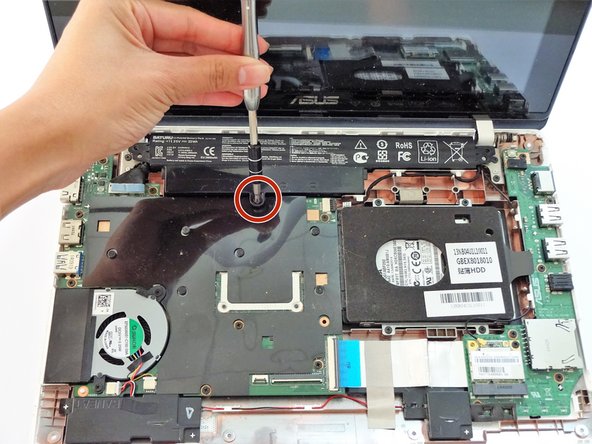
      • Remove the following screws from the middle and far ends of the battery:

      • Three 4mm Phillips screws using a Phillips #0 screwdriver.

      • The battery will be located closest to the screen.

      Ask FixBot

      Add Comment

    2. ASUS K200MA-DS01T Hard Drive Replacement: step 8, image 1 of 3 ASUS K200MA-DS01T Hard Drive Replacement: step 8, image 2 of 3 ASUS K200MA-DS01T Hard Drive Replacement: step 8, image 3 of 3
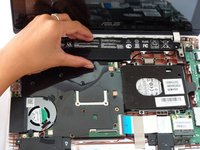
      • Gripping the wider left section, lift the battery up and away from computer.

      Ask FixBot

      Add Comment

    1. ASUS K200MA-DS01T Hard Drive Replacement, Fan: step 9, image 1 of 2 ASUS K200MA-DS01T Hard Drive Replacement, Fan: step 9, image 2 of 2
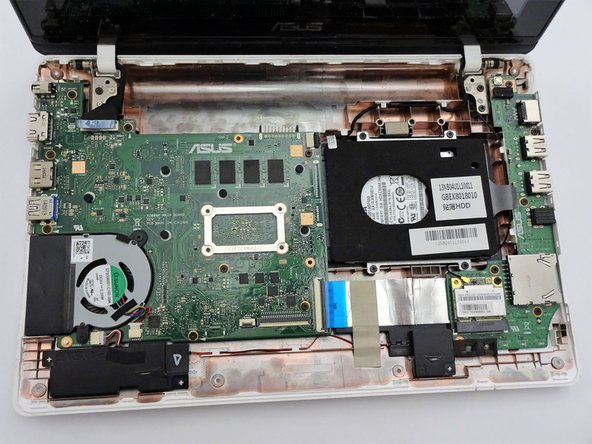
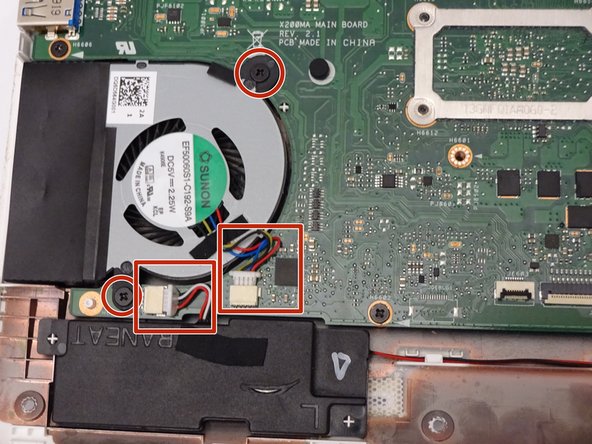
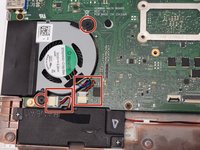
      • Locate the fan, two screws and two color coded wires in the bottom left corner of the computer.

      Ask FixBot

      Add Comment

    2. ASUS K200MA-DS01T Hard Drive Replacement: step 10, image 1 of 1
      • Remove the following screws from the fan:

      • Two 4mm screws using a Phillips #0 screwdriver.

      Ask FixBot

      Add Comment

    3. ASUS K200MA-DS01T Hard Drive Replacement: step 11, image 1 of 2 ASUS K200MA-DS01T Hard Drive Replacement: step 11, image 2 of 2
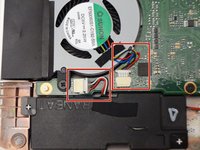
      • Firmly pull colored wires away from wire slot.

      Ask FixBot

      Add Comment

    4. ASUS K200MA-DS01T Hard Drive Replacement: step 12, image 1 of 2 ASUS K200MA-DS01T Hard Drive Replacement: step 12, image 2 of 2
      Tool used on this step:
      Tweezers
      $4.99
      Buy
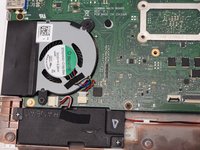
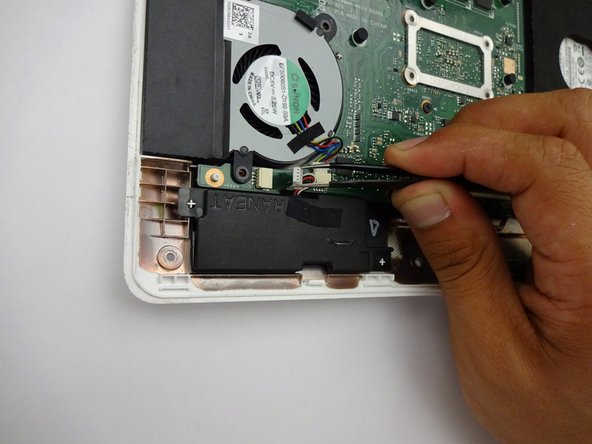
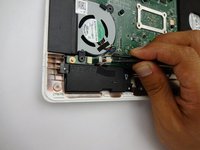
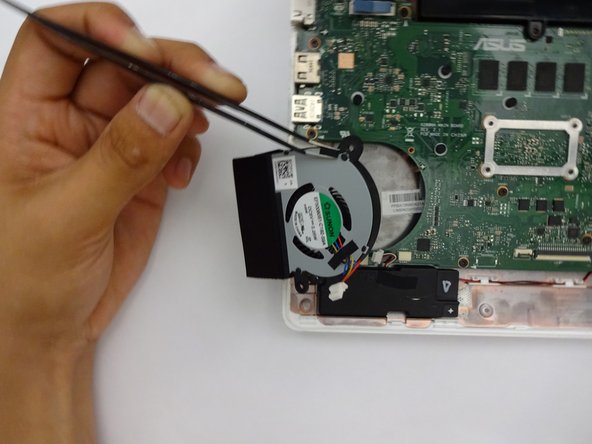
      • After removing both the screws and color coded wires, lift fan out of place.

      • Tools such as spudgers or tweezers may be used for fan removal.

      Ask FixBot

      Add Comment

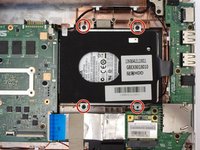
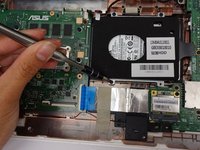
    1. ASUS K200MA-DS01T Hard Drive Replacement, Hard drive: step 13, image 1 of 2 ASUS K200MA-DS01T Hard Drive Replacement, Hard drive: step 13, image 2 of 2
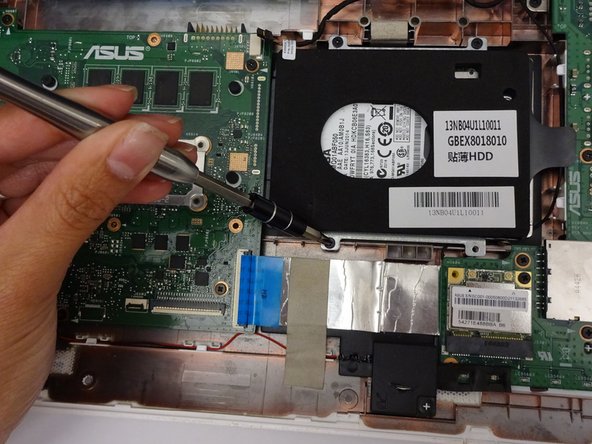
      • Remove the following screws:

      • Four 4mm Phillips screws using a Phillips #0 screwdriver.

      Ask FixBot

      Add Comment

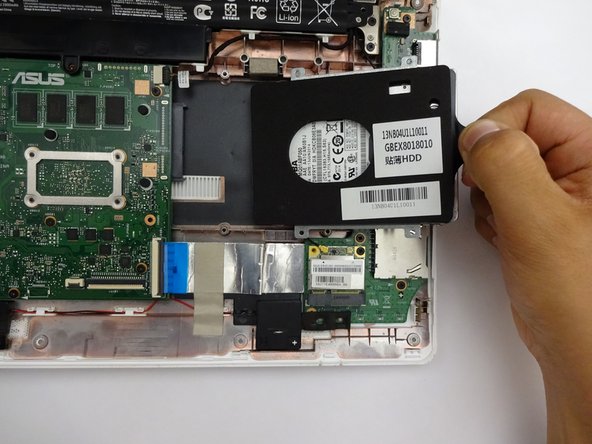
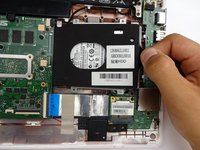
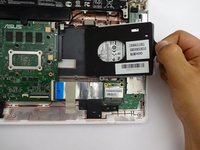
    2. ASUS K200MA-DS01T Hard Drive Replacement: step 14, image 1 of 2 ASUS K200MA-DS01T Hard Drive Replacement: step 14, image 2 of 2
      • Remove by sliding hard driving right and away from the computer using the tag on the right side.

      Ask FixBot

      Add Comment

Conclusion

To reassemble your device, follow these instructions in reverse order.

Cancel: I did not complete this guide.

One other person completed this guide.

Terrinda

Member since: 09/17/18

530 Reputation

4 Guides authored

Team

CSU Fullerton, Team S2-G5, Bruce Fall 2018 Member of CSU Fullerton, Team S2-G5, Bruce Fall 2018

CSUF-BRUCE-F18S2G5

4 Members

84 Guides authored

0 Guide Comments

Add Comment

View Statistics:

Past 24 Hours: 2

Past 7 Days: 14

Past 30 Days: 70

All Time: 967