
ASUS K200MA-DS01T Battery Replacement

Aliyah Malapit and 4 other contributors
Last updated on Dec 20, 2018
Views: 789
View statistics:
- Past 24 Hours:
- 1
- Past 7 Days:
- 14
- Past 30 Days:
- 64
- All Time:
- 789
Comments: 0
No one has left comments on this guide. Will you be first?
Go to guide commentsCompleted: 0 1
No one has marked this guide "completed." Will you be the first?
1 person has marked this guide "completed." It's you — great job!
Favorites: 0 1
No one has favorited (and subscribed to) this guide. Will you be the first?
1 person has favorited (and subscribed to) this guide — and that's you!
Introduction
Go to step 1 ↓Battery replacements for a Asus K200MA 11.6" laptop can be done easily with this step-by-step guide. Compatible with A31N1302 laptop battery.
What you need
Tools
-
Spudger4.9


-
-
-
With the opening facing you, flip the laptop over and remove the following screws from the back panel:
-
Six 4mm Phillips screws using a Phillips #0 screwdriver.
-
One 12mm Phillips screw in the center using a Phillips #0 screwdriver.
 Ask FixBot
-
-
-
Using a plastic spudger, remove the two rubber stoppers closest to the hinge to reveal the screws underneath.
-
-
-
Remove the following screws:
-
Two 4mm Phillips screws using a Phillips #0 screwdriver.
-
-
-
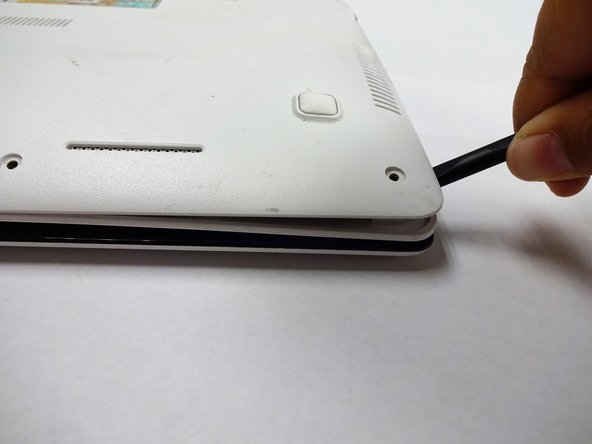
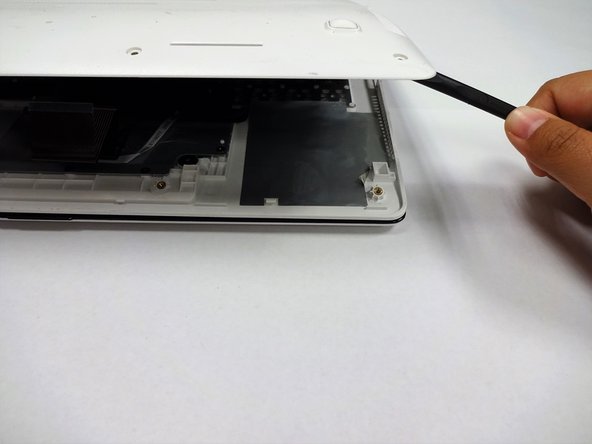
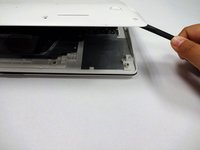
Using a plastic spudger (and a fair amount of force), pry the back panel up from the keyboard to separate.
-
-
-
-
-
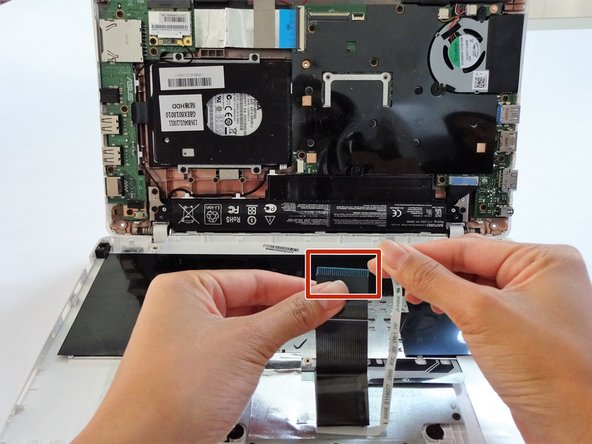
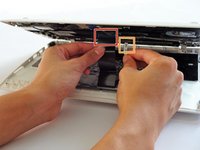
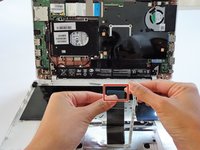
To disconnect the keyboard connectors from keyboard and back panel, gently pull wide keyboard connector out.
-
Gently pull the narrow connector away from the keyboard.
-
-
-
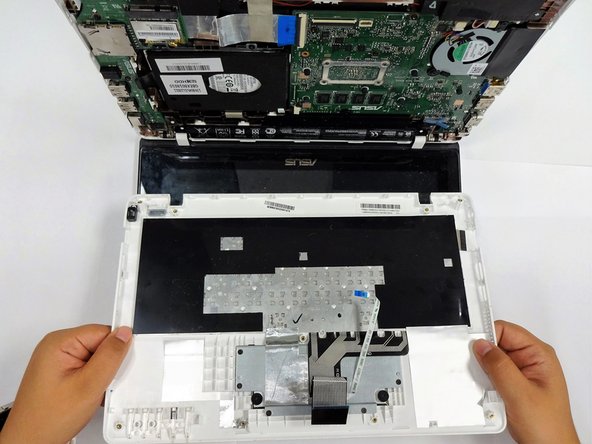
Now that the keyboard connectors are unplugged, pull the keyboard off and away from the back panel hinges.
-
-
-
-
-
-
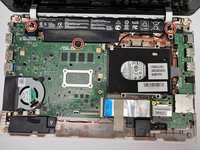
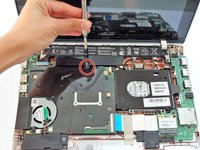
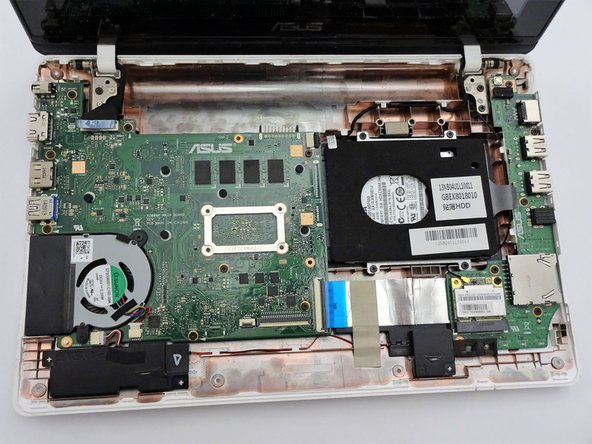
Flip the computer over so that the side with the motherboard (large green piece) is laying face-up.
-
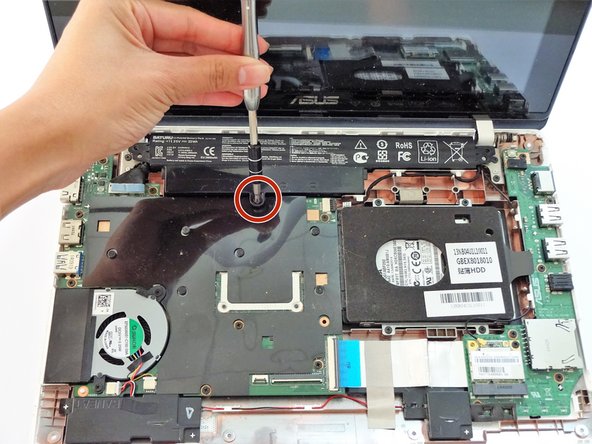
Remove the following screws from the middle and far ends of the battery:
-
Three 4mm Phillips screws using a Phillips #0 screwdriver.
-
-







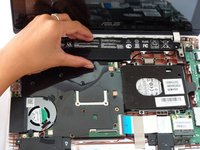
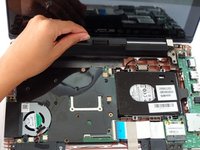
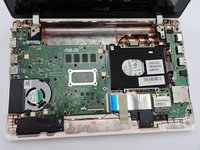
To reassemble your device, follow these instructions in reverse order.

Team

CSU Fullerton, Team S2-G5, Bruce Fall 2018 Member of CSU Fullerton, Team S2-G5, Bruce Fall 2018
CSUF-BRUCE-F18S2G5
4 Members
84 Guides authored
