Free Shipping on Domestic Orders $75+

ASUS K200MA-DS01T Back Panel Removal

What you need

    1. ASUS K200MA-DS01T Back Panel Removal, Back Panel: step 1, image 1 of 2 ASUS K200MA-DS01T Back Panel Removal, Back Panel: step 1, image 2 of 2
      • With the opening facing you, flip the laptop over and remove the following screws from the back panel:

      • Six 4mm Phillips screws using a Phillips #0 screwdriver.

      • One 12mm Phillips screw in the center using a Phillips #0 screwdriver.

      Ask FixBot

      Add Comment

    2. ASUS K200MA-DS01T Back Panel Removal: step 2, image 1 of 2 ASUS K200MA-DS01T Back Panel Removal: step 2, image 2 of 2
      • Using a plastic spudger, remove the two rubber stoppers closest to the hinge to reveal the screws underneath.

      Ask FixBot

      Add Comment

    3. ASUS K200MA-DS01T Back Panel Removal: step 3, image 1 of 1
      • Remove the following screws:

      • Two 4mm Phillips screws using a Phillips #0 screwdriver.

      Ask FixBot

      Add Comment

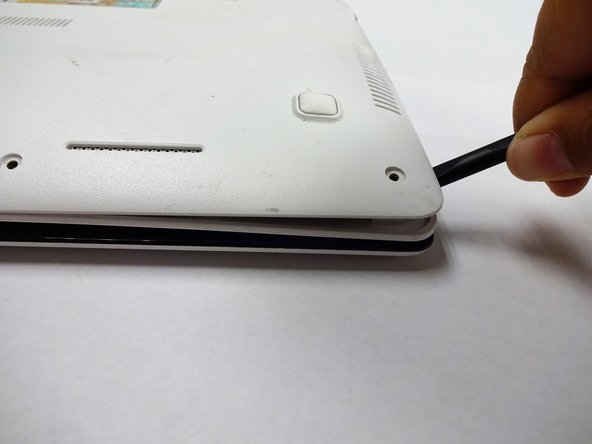
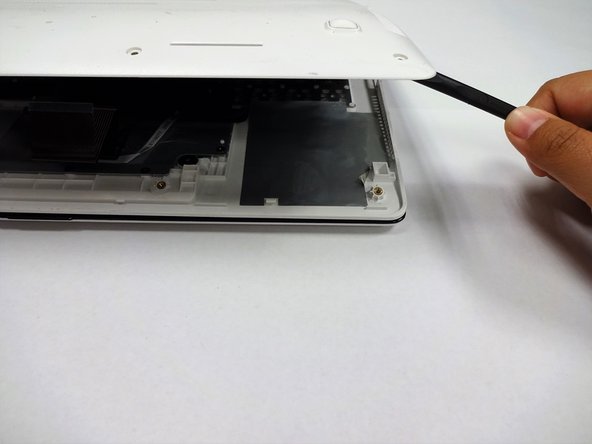
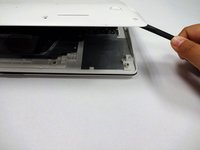
    4. ASUS K200MA-DS01T Back Panel Removal: step 4, image 1 of 3 ASUS K200MA-DS01T Back Panel Removal: step 4, image 2 of 3 ASUS K200MA-DS01T Back Panel Removal: step 4, image 3 of 3
      • Using a plastic spudger (and a fair amount of force), pry the back panel up from the keyboard to separate.

      • You may have to use one spudger to wedge between the back panel and keyboard while using another to pry it open in a different spot.

      Ask FixBot

      Add Comment

Conclusion

To reassemble your device, follow these instructions in reverse order.

Cancel: I did not complete this guide.

Haleigh St. Paul

Member since: 09/17/18

248 Reputation

1 Guide authored

Team

CSU Fullerton, Team S2-G5, Bruce Fall 2018 Member of CSU Fullerton, Team S2-G5, Bruce Fall 2018

CSUF-BRUCE-F18S2G5

4 Members

84 Guides authored

0 Guide Comments

Add Comment

View Statistics:

Past 24 Hours: 2

Past 7 Days: 22

Past 30 Days: 65

All Time: 603