Introduction
The following guide will show you step by step how to replace the hard drive on the ASUS G73JH-BST Laptop.
The hard drive failure causes your computer booting failure, repeated program crashes, slow- down the system, freezes frequently, displays blue screen of death, hard drive making strange noises such as clicking or humming, corrupted data or etc. In some cases the failures can be fixed by troubleshooting.
Therefore, make sure to review the troubleshooting before you start using this instruction and check ASUS G73JH-BST7 supports HDDs before you buy a new HDD. Make sure to back up your hard drive If you can access it. And be sure to power off the laptop and unplug the power cord from the wall outlet.
What you need
-
-
-
-
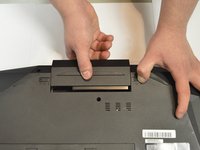
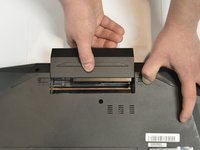
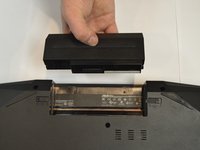
Use one hand to hold the non-locking tab in place, and use your other hand to pull the battery away from the computer.
-
-
-
-
With the bottom of the computer facing up, remove the two 7.1 mm screws using a Phillips #00 screwdriver.
-
-
-
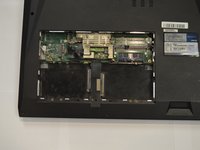
Carefully pry the panel away from the computer, by lifting with a finger.
-
There is a small tab where a finger will fit to lift the panel away from the computer.
-
-
-
-
-
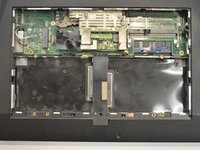
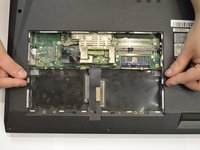
Gently pull on the tabs to lift the SD Hard Drives out of the computer.
-
-


 Ask FixBot




To reassemble your device, follow these instructions in reverse order.

Team

Purdue University Northwest, Team S1-G116, Hingst Fall 2018 Member of Purdue University Northwest, Team S1-G116, Hingst Fall 2018
PNW-HINGST-F18S1G116
3 Members
36 Guides authored
