Introduction
This is a touchpad replacement guide for the ASUS E210MA-TB.CL464BK, sometimes just referred to as E210MA. The part allows the user to move around the mouse and functions as a numpad. The added complexity of the touchpad means that it is particularly susceptible to losing sensitivity so the user may want to replace it.
What you need
-
-
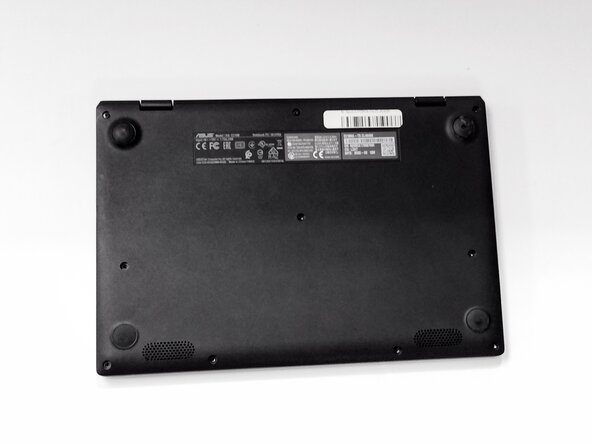
Place the laptop upside down with the touchpad pointing toward you.
-
Use a JIS #00 screwdriver to remove the ten 7.0 mm screws from the bottom of the laptop.
 Ask FixBot
-
-
-
Confirm all screws are removed.
-
Insert a plastic opening tool or similar flat tool into the seam between the case halves.
-
Pry the case open and separate the top and bottom covers.
-
-
-
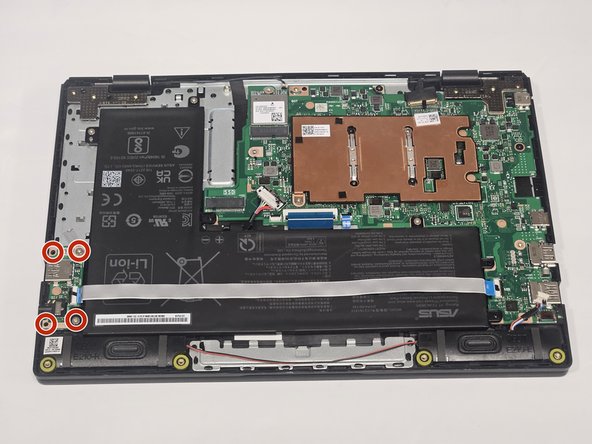
Remove the four 5mm screws, with a J00 screw driver.
-
Disconnect the white speaker connector by pulling it straight out of its socket.
-
-
-
-
Remove the four 5mm screws with a J00 screwdriver.
-
Remove the USB port from the sides.
-
-
-
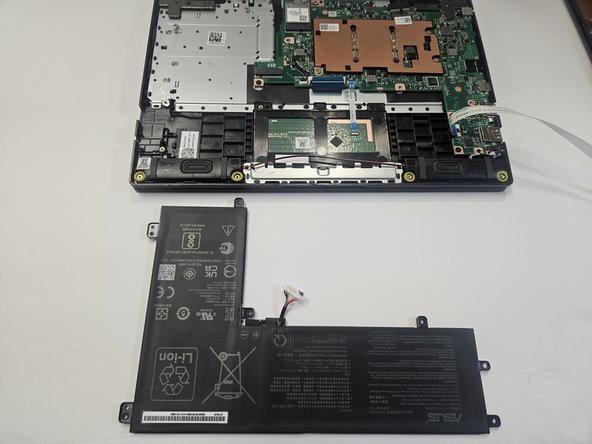
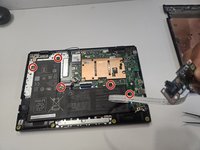
Remove the five 5mm screws securing the battery with a J00 screwdriver.
-
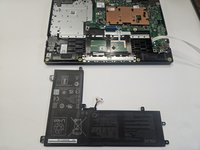
Disconnect the battery cable and any adhesive tape securing it.
-
-
-
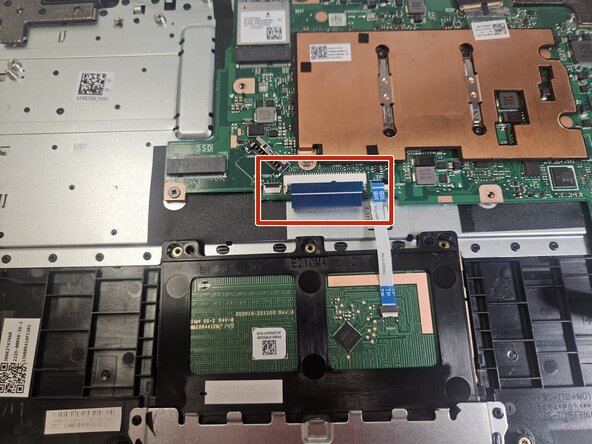
Locate the touchpad at the front of the device.
-
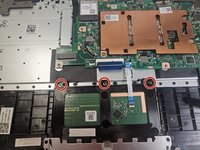
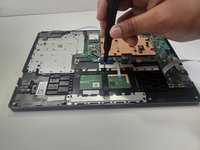
Disconnect the ribbon cable and peel back any adhesive securing it.
-
-
-
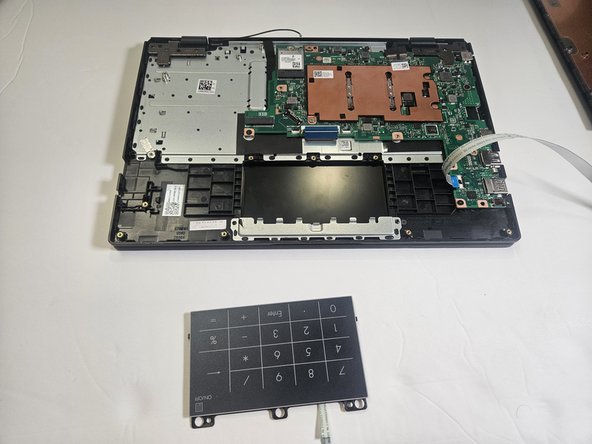
Pinch the top edge of the touchpad and slide it forward and upward to remove it from under the metal bracket.
-











To reassemble your device, follow these instructions in reverse order. Take your e-waste to an R2 or e-Stewards certified recycler.

Team

Gateway, Team 73-6, Gonzalez Spring 2023 Member of Gateway, Team 73-6, Gonzalez Spring 2023
GCC-GONZALEZ-S23S73G6
5 Members
5 Guides authored
