Free Shipping on Domestic Orders $75+

ASUS Chromebook C200MA DS01 USB Board Replacement

What you need

    1. ASUS Chromebook C200MA DS01 USB Board Replacement, Back Panel: step 1, image 1 of 1
      • Before proceeding, power down your Chromebook. Close the display and lay it on a soft surface, top-side down.

      • Remove the five 8.4 mm Phillips #0 screws.

      • Remove the four 4.6 mm Phillips #0 screws.

      Ask FixBot

      Add Comment

    2. ASUS Chromebook C200MA DS01 USB Board Replacement: step 2, image 1 of 1
      • Use the plastic opening tool to gently work around the edge of the Chromebook until the back panel starts to lift off.

      Ask FixBot

      Add Comment

    3. ASUS Chromebook C200MA DS01 USB Board Replacement: step 3, image 1 of 1
      • Remove the back panel by lifting it away from the Chromebook.

      • Some clicking will be heard as the panel is removed from the back, this is completely normal.

      Ask FixBot

      Add Comment

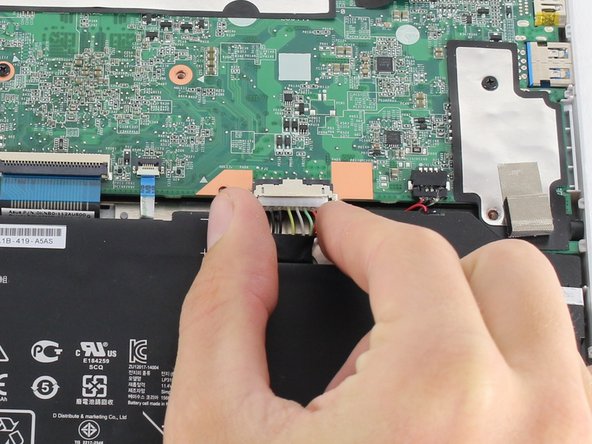
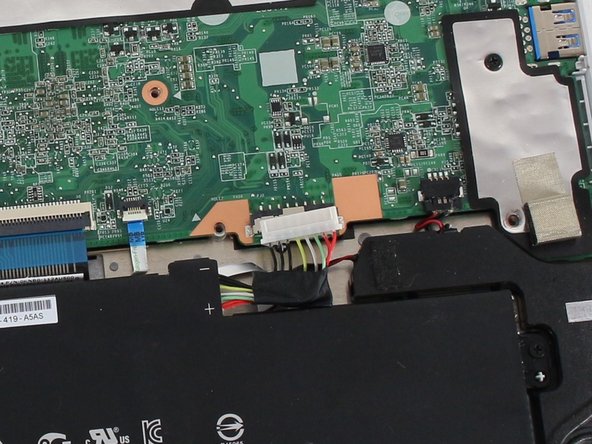
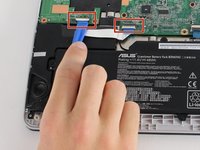
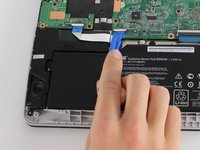
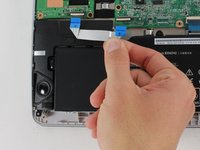
    1. ASUS Chromebook C200MA DS01 USB Board Replacement, Battery Connection: step 4, image 1 of 3 ASUS Chromebook C200MA DS01 USB Board Replacement, Battery Connection: step 4, image 2 of 3 ASUS Chromebook C200MA DS01 USB Board Replacement, Battery Connection: step 4, image 3 of 3
      • To disconnect the battery, pinch the multi-color bundle cable with your thumb and forefinger and pull directly back.

      Ask FixBot

      Add Comment

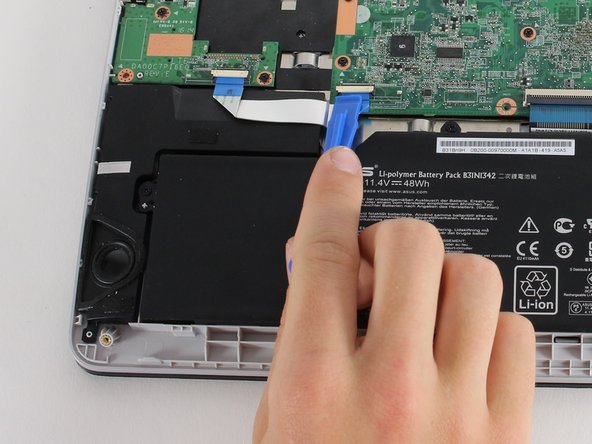
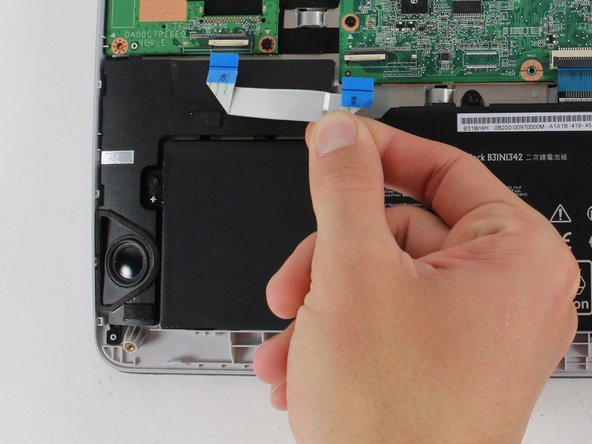
    1. ASUS Chromebook C200MA DS01 USB Board Replacement, USB Board: step 5, image 1 of 3 ASUS Chromebook C200MA DS01 USB Board Replacement, USB Board: step 5, image 2 of 3 ASUS Chromebook C200MA DS01 USB Board Replacement, USB Board: step 5, image 3 of 3
      • Disconnect the USB board ZIF (zero insertion force) connectors which connect the motherboard to the USB board in the upper left.

      • Flip the ZIF retaining flaps up using a plastic opening tool or your fingers.

      • Pull gently on the ribbon cable to disconnect it from the sockets.

      Ask FixBot

      Add Comment

    2. ASUS Chromebook C200MA DS01 USB Board Replacement: step 6, image 1 of 1
      • Remove the three 5.77 mm Phillips screws on the USB board.

      • Remove the two 4.77 mm Phillips screws from the hinge.

      Ask FixBot

      Add Comment

    3. ASUS Chromebook C200MA DS01 USB Board Replacement: step 7, image 1 of 1
      • Use a plastic opening tool to lift the hinge from the Chromebook.

      Ask FixBot

      Add Comment

    4. ASUS Chromebook C200MA DS01 USB Board Replacement: step 8, image 1 of 1
      • Gently lift the USB board from the Chromebook.

      Ask FixBot

      Add Comment

Conclusion

To reassemble your device, follow these instructions in reverse order.

Cancel: I did not complete this guide.

Christopher Lim

Member since: 04/26/17

779 Reputation

7 Guides authored

Team

Cal Poly, Team S23-G4, Livingston Spring 2017 Member of Cal Poly, Team S23-G4, Livingston Spring 2017

CPSU-LIVINGSTON-S17S23G4

4 Members

114 Guides authored

0 Guide Comments

Add Comment

View Statistics:

Past 24 Hours: 1

Past 7 Days: 3

Past 30 Days: 22

All Time: 885