
ASUS Chromebook C200MA DS01 Battery Replacement

Christopher Lim and 3 other contributors
Last updated on Aug 16, 2017
Views: 15K
View statistics:
- Past 24 Hours:
- 3
- Past 7 Days:
- 19
- Past 30 Days:
- 92
- All Time:
- 14,536
Comments: 0
No one has left comments on this guide. Will you be first?
Go to guide commentsCompleted: 2 3
2 people have marked this guide "completed." Will you be next?
3 people have marked this guide "completed." Including you — great job!
Favorites: 0 1
No one has favorited (and subscribed to) this guide. Will you be the first?
1 person has favorited (and subscribed to) this guide — and that's you!
Featured Student Guide
This guide has been the hard work of our awesome students and is found to be exceptionally cool by the iFixit staff.
Introduction
Go to step 1 ↓This replacement guide will show you how to access and remove the battery in your Chromebook.
What you need
Tools


-
-
-
Remove the five 8.4 mm Phillips #0 screws.
-
Remove the four 4.6 mm Phillips #0 screws.
 Ask FixBot
-
-
-
Use the plastic opening tool to gently work around the edge of the Chromebook until the back panel starts to lift off.
-
-
-
-
-
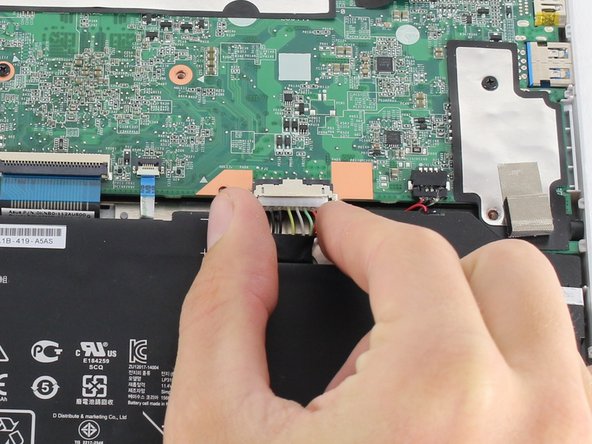
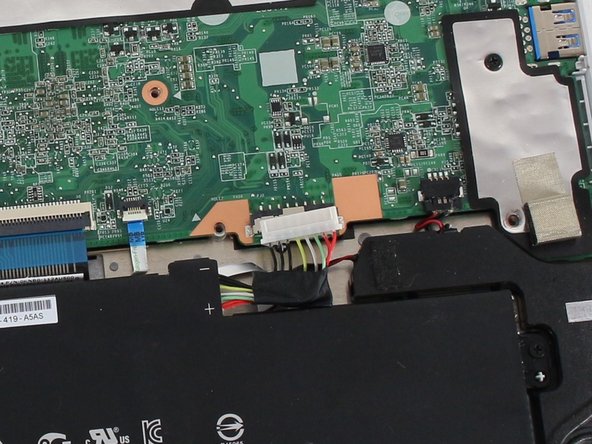
To disconnect the battery, pinch the multi-color bundle cable with your thumb and forefinger and pull directly back.
-
-
-
-
-
-
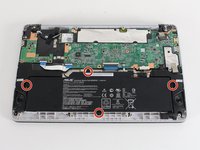
Remove the four 4.7 mm Phillips #0 screws that secure the battery to the Chromebook.
-
-





To reassemble your device, follow these instructions in reverse order.
Cancel: I did not complete this guide.
2 other people completed this guide.

Team

Cal Poly, Team S23-G4, Livingston Spring 2017 Member of Cal Poly, Team S23-G4, Livingston Spring 2017
CPSU-LIVINGSTON-S17S23G4
4 Members
120 Guides authored
