Free Shipping on Domestic Orders $75+

APS Tech 101629 SCSI Connections Replacement

What you need

  1. APS Tech 101629 SCSI Connections Replacement, External Casing: step 1, image 1 of 3 APS Tech 101629 SCSI Connections Replacement, External Casing: step 1, image 2 of 3 APS Tech 101629 SCSI Connections Replacement, External Casing: step 1, image 3 of 3
    • Pry all four of the plastic feet off the bottom of the enclosure using the iPod opening tool.

    Ask FixBot
  2. APS Tech 101629 SCSI Connections Replacement: step 2, image 1 of 2 APS Tech 101629 SCSI Connections Replacement: step 2, image 2 of 2
    • Unscrew the four screws previously covered by the feet with a Phillips #1 screwdriver.

    Ask FixBot
  3. APS Tech 101629 SCSI Connections Replacement: step 3, image 1 of 2 APS Tech 101629 SCSI Connections Replacement: step 3, image 2 of 2
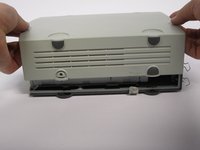
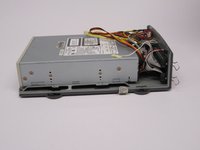
    • Flip the device right side up.

    • Gently slide the casing upwards and off the hard drive.

    Ask FixBot
  4. APS Tech 101629 SCSI Connections Replacement: step 4, image 1 of 1
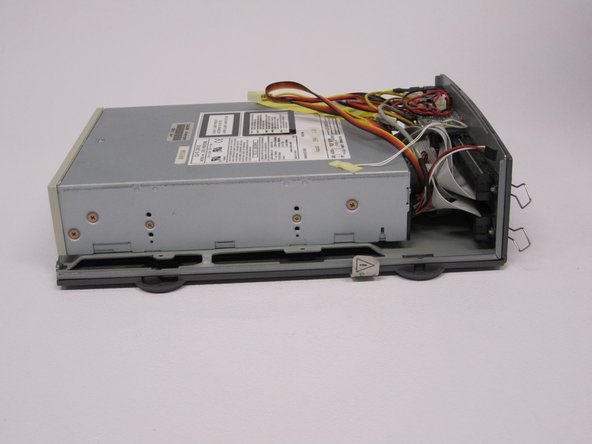
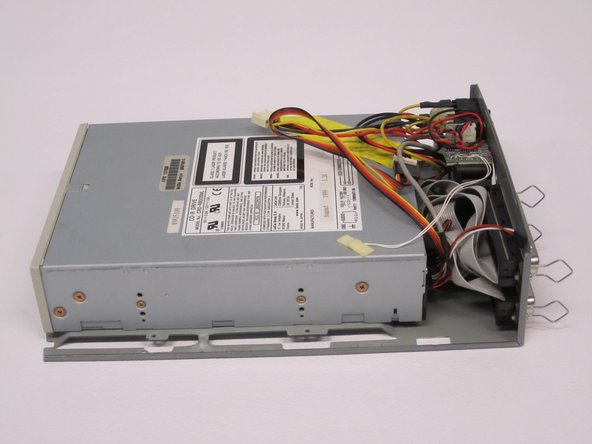
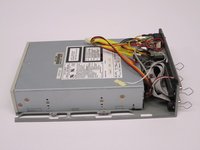
    • Flip device upside down again.

    • Gently pry the bottom gray casing away from the device.

    Ask FixBot
  5. APS Tech 101629 SCSI Connections Replacement: step 5, image 1 of 2 APS Tech 101629 SCSI Connections Replacement: step 5, image 2 of 2
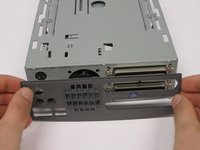
    • Rotate so the back of the device is facing you.

    • Gently pry the back casing away.

    • When the back casing is removed, the fan will become loose.

    Ask FixBot
  6. APS Tech 101629 SCSI Connections Replacement, Internal Drive Component: step 6, image 1 of 2 APS Tech 101629 SCSI Connections Replacement, Internal Drive Component: step 6, image 2 of 2
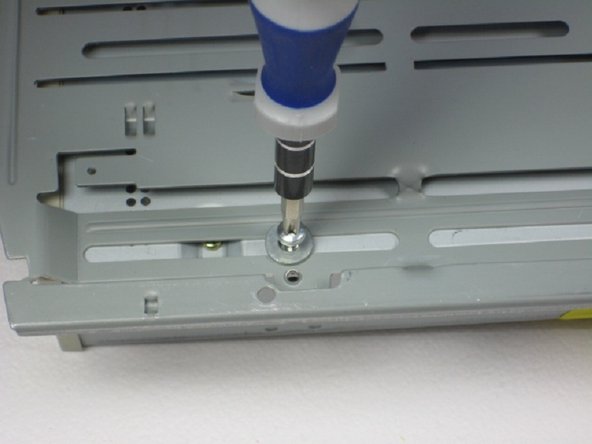
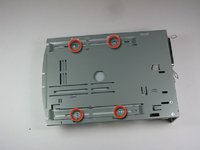
    • Flip so device is upside down.

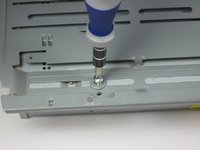
    • Remove 4 screws with Phillips #1 screw driver.

    • Be sure to save the washers that seperate the screws from the baseplate for reassembly.

    Ask FixBot
  7. APS Tech 101629 SCSI Connections Replacement: step 7, image 1 of 2 APS Tech 101629 SCSI Connections Replacement: step 7, image 2 of 2
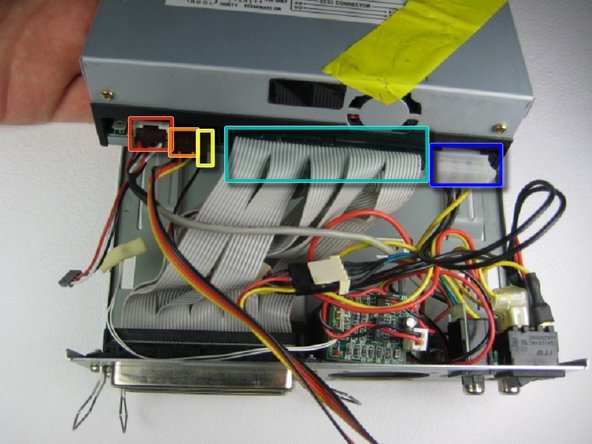
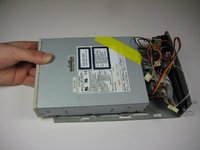
    • Slide the internal drive component away from the back of the device.

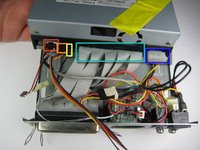
    • Remove the connections from the back of the internal component in the order of your choosing, we suggest left to right. The connections are:

    • Audio Connection

    • SCSI ID

    • Terminate On

    • SCSI Connection

    • DC Input (power)

    Ask FixBot
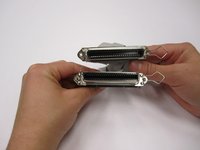
  8. APS Tech 101629 SCSI Connections Replacement, SCSI Connections: step 8, image 1 of 3 APS Tech 101629 SCSI Connections Replacement, SCSI Connections: step 8, image 2 of 3 APS Tech 101629 SCSI Connections Replacement, SCSI Connections: step 8, image 3 of 3
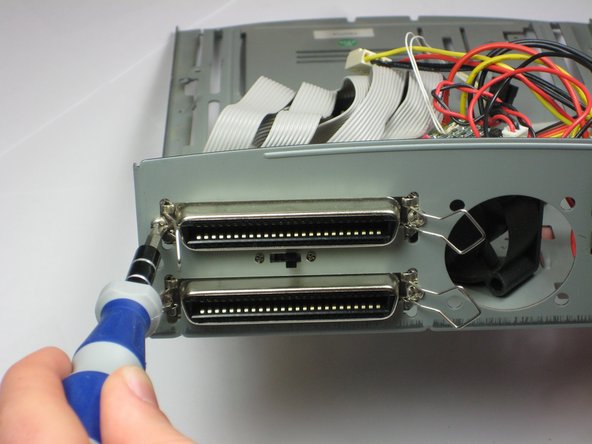
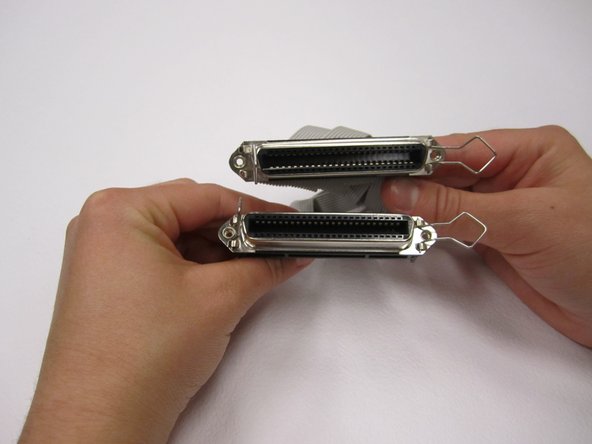
    • Remove the four Phillips #1 Screws from back panel.

    • Once the screws are removed, the two connections are easily removed from the body.

    Ask FixBot
Conclusion

To reassemble your device, follow these instructions in reverse order.

Patrick Meyer

Member since: 04/10/11

83 Reputation

3 Guides authored

Team

Cal Poly, Team 24-60, Amido Spring 2011 Member of Cal Poly, Team 24-60, Amido Spring 2011

CPSU-AMIDO-S11S24G60

5 Members

12 Guides authored

0 Guide Comments

Add Comment

View Statistics:

Past 24 Hours: 1

Past 7 Days: 9

Past 30 Days: 69

All Time: 1,226