Free Shipping on Domestic Orders $75+

APS Tech 101629 Internal Drive Component Replacement

What you need

    1. APS Tech 101629 Internal Drive Component Replacement, External Casing: step 1, image 1 of 3 APS Tech 101629 Internal Drive Component Replacement, External Casing: step 1, image 2 of 3 APS Tech 101629 Internal Drive Component Replacement, External Casing: step 1, image 3 of 3
      • Pry all four of the plastic feet off the bottom of the enclosure using the iPod opening tool.

      Ask FixBot

      Add Comment

    2. APS Tech 101629 Internal Drive Component Replacement: step 2, image 1 of 2 APS Tech 101629 Internal Drive Component Replacement: step 2, image 2 of 2
      • Unscrew the four screws previously covered by the feet with a Phillips #1 screwdriver.

      Ask FixBot

      Add Comment

    3. APS Tech 101629 Internal Drive Component Replacement: step 3, image 1 of 2 APS Tech 101629 Internal Drive Component Replacement: step 3, image 2 of 2
      • Flip the device right side up.

      • Gently slide the casing upwards and off the hard drive.

      Ask FixBot

      Add Comment

    4. APS Tech 101629 Internal Drive Component Replacement: step 4, image 1 of 1
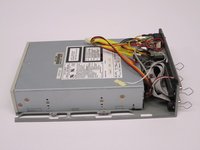
      • Flip device upside down again.

      • Gently pry the bottom gray casing away from the device.

      Ask FixBot

      Add Comment

    5. APS Tech 101629 Internal Drive Component Replacement: step 5, image 1 of 2 APS Tech 101629 Internal Drive Component Replacement: step 5, image 2 of 2
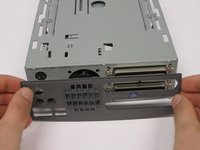
      • Rotate so the back of the device is facing you.

      • Gently pry the back casing away.

      • When the back casing is removed, the fan will become loose.

      Ask FixBot

      Add Comment

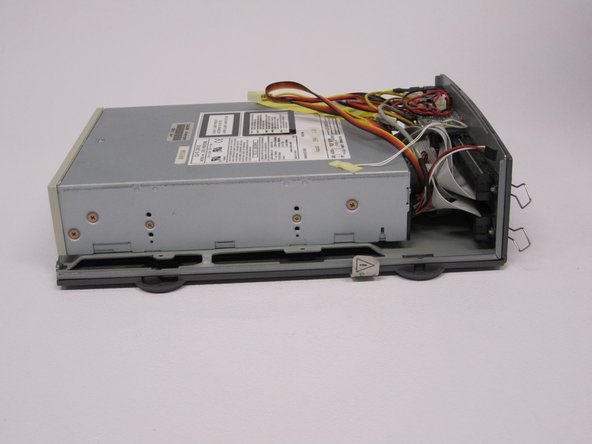
    1. APS Tech 101629 Internal Drive Component Replacement, Internal Drive Component: step 6, image 1 of 2 APS Tech 101629 Internal Drive Component Replacement, Internal Drive Component: step 6, image 2 of 2
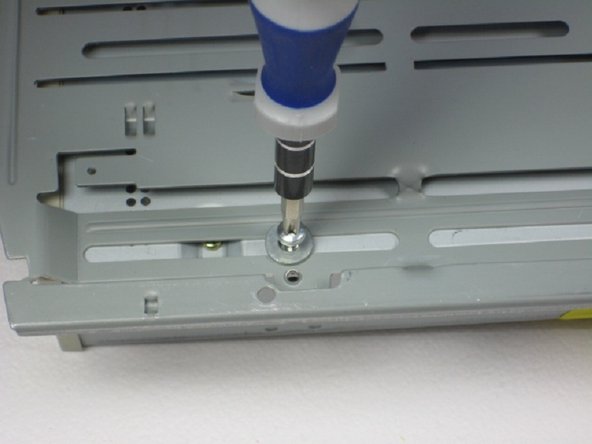
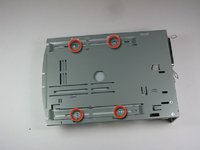
      • Flip so device is upside down.

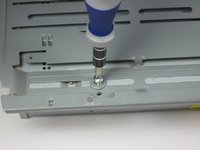
      • Remove 4 screws with Phillips #1 screw driver.

      • Be sure to save the washers that seperate the screws from the baseplate for reassembly.

      Ask FixBot

      Add Comment

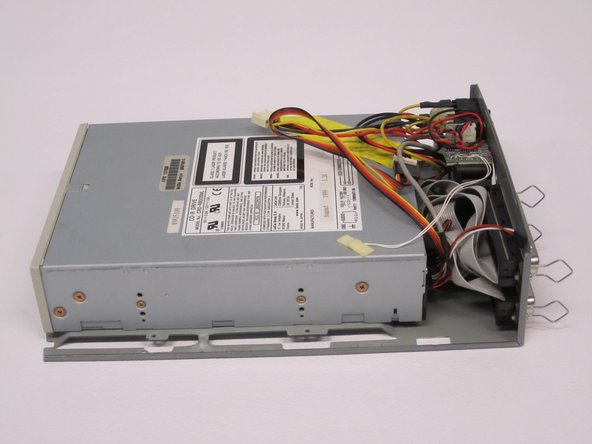
    2. APS Tech 101629 Internal Drive Component Replacement: step 7, image 1 of 2 APS Tech 101629 Internal Drive Component Replacement: step 7, image 2 of 2
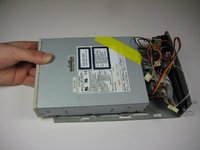
      • Slide the internal drive component away from the back of the device.

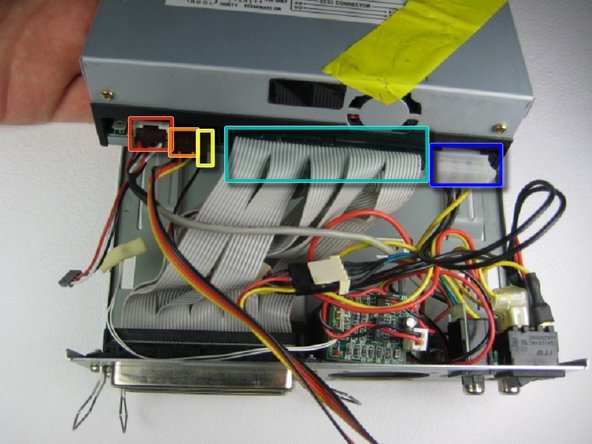
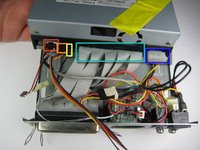
      • Remove the connections from the back of the internal component in the order of your choosing, we suggest left to right. The connections are:

      • Audio Connection

      • SCSI ID

      • Terminate On

      • SCSI Connection

      • DC Input (power)

      Ask FixBot

      Add Comment

Conclusion

To reassemble your device, follow these instructions in reverse order.

Cancel: I did not complete this guide.

2 other people completed this guide.

Alexis Weckel

Member since: 04/11/11

140 Reputation

3 Guides authored

Team

Cal Poly, Team 24-60, Amido Spring 2011 Member of Cal Poly, Team 24-60, Amido Spring 2011

CPSU-AMIDO-S11S24G60

5 Members

72 Guides authored

0 Guide Comments

Add Comment

View Statistics:

Past 24 Hours: 2

Past 7 Days: 4

Past 30 Days: 27

All Time: 1,552