
APEX AP-GS918 Battery Replacement

Megan Lozicki and 3 other contributors
Last updated on Jun 22, 2015
Views: 1.1K
View statistics:
- Past 24 Hours:
- 5
- Past 7 Days:
- 19
- Past 30 Days:
- 106
- All Time:
- 1,139
Comments: 1
1 guide comment.
Go to guide commentsCompleted: 3 4
3 people have marked this guide "completed." Will you be next?
4 people have marked this guide "completed." Including you — great job!
Favorites: 0 1
No one has favorited (and subscribed to) this guide. Will you be the first?
1 person has favorited (and subscribed to) this guide — and that's you!
Introduction
Go to step 1 ↓We will show you how to disassemble your tablet in order to access the battery. This replacement guide is helpful if you feel that your battery is faulty and no longer holding charge. Therefore, you need to replace it.
What you need
Tools
-
-
-
Spudger4.9


-
-
-
To begin, locate the two 4.9mm Phillips #00 screws at the top corners of the case and remove them.
 Ask FixBot
-
-
-
Squeeze the plastic opening tool in between the seam where the screen joins the plastic case.
-
Begin separating the bottom of the case from the screen by carefully going around the whole edge of the case and slowly prying it apart.
-
-
Tool used on this step:Tweezers$4.99
-
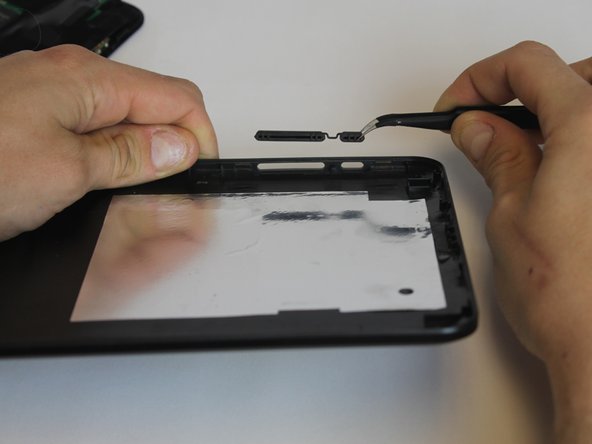
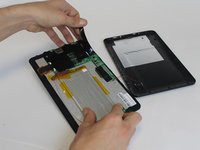
Carefully place the bottom lid next to the screen case. The power/speaker buttons should be visible at the corner of the lid. Remove the buttons with the tweezers.
-
-
-
-
-
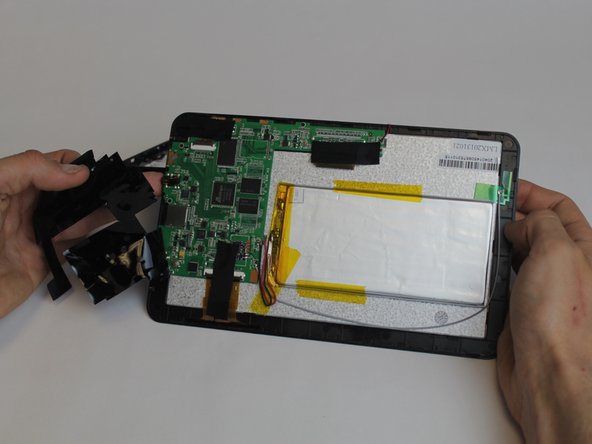
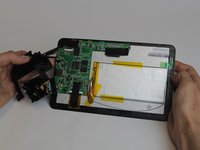
Begin removing the black tape covering the motherboard inside the tablet.
-
-
-
-
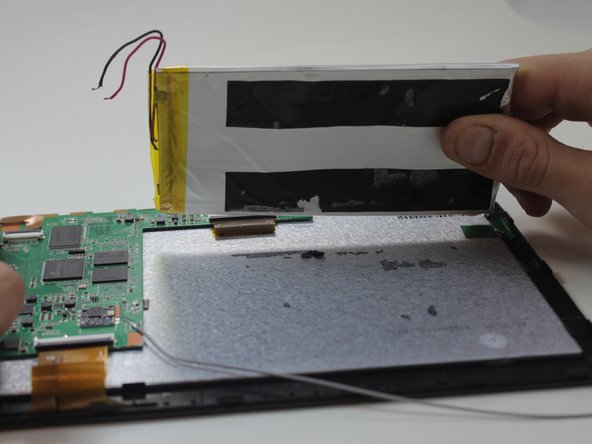
You will need to desolder the two contact points that connect the battery to the mother board.
-
Touch the hot iron to the contact points and gently pull on the wires to loosen them from the solder. They should release easily.
-
-
-
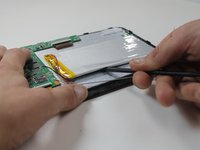
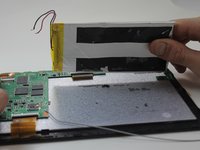
Using the black nylon spudger, get underneath the battery and begin prying it loose from the rest of the tablet.
-
-





To reassemble your device, follow these instructions in reverse order.
Cancel: I did not complete this guide.
3 other people completed this guide.

Team

USF Tampa, Team 9-1, Leahy Winter 2015 Member of USF Tampa, Team 9-1, Leahy Winter 2015
USFT-LEAHY-W15S9G1
3 Members
60 Guides authored
1 Guide Comment
bien consejo, creo que es sencillo por todos para seguin estos pasos
