
8BitDo NES30 Pro Gamepad Button Replacement

Daniel Kane and one other contributor
Last updated on May 12, 2021
Views: 3.5K
View statistics:
- Past 24 Hours:
- 6
- Past 7 Days:
- 25
- Past 30 Days:
- 119
- All Time:
- 3,456
Comments: 5
1 comment on steps, 4 guide comments.
Go to guide commentsCompleted: 2 3
2 people have marked this guide "completed." Will you be next?
3 people have marked this guide "completed." Including you — great job!
Favorites: 0 1
No one has favorited (and subscribed to) this guide. Will you be the first?
1 person has favorited (and subscribed to) this guide — and that's you!
Featured Student Guide
This guide has been the hard work of our awesome students and is found to be exceptionally cool by the iFixit staff.
Introduction
Go to step 1 ↓Use this guide to take the 8BitDo NES30 Pro Gamepad apart and replace its face buttons.
You may want to replace old buttons with a new set as they wear out over time, or maybe you just want to give your controller’s existing buttons a new paint job.
This guide may also be useful if the L and R buttons on the shoulders of the controllers become jammed, meaning they become permanently pressed down. Although the shoulder buttons aren’t removable, you can follow the disassembly process of this guide through Step 3 to access the shoulder buttons and pop them back to their original position.
What you need
Tools


-
-
-
Hold the controller with its back facing towards you.
-
Insert an opening pick between the L1 or R1 button and the backplate, and pry the backplate off of the controller.
 Ask FixBot
-
-
-
Place the controller face down on a solid surface.
-
Remove the seven screws with the Phillips #00 screwdriver.
-
-
-
Lift the body of the controller up and away from the controller's face and buttons.
-
-
-
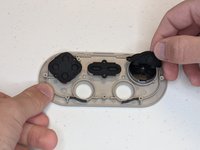
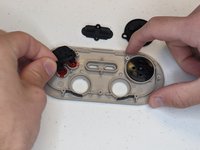
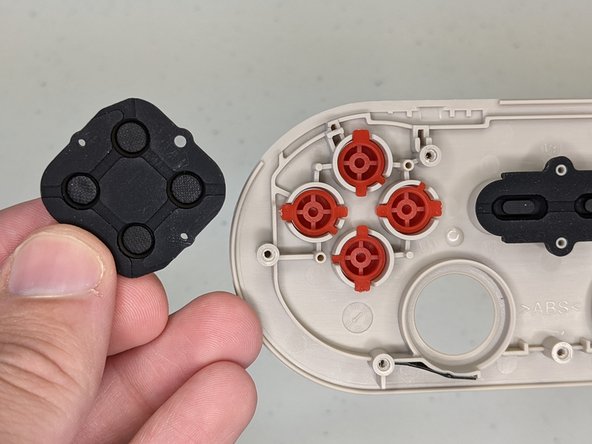
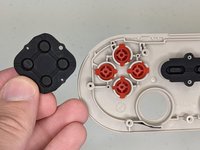
Lift away the black rubber pads that sit between the face buttons and body of the controller.
-
-
-
-
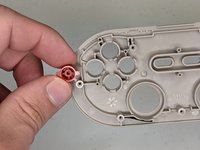
Align the notches of the face buttons to put them back into place.
-
Attach the rubber pads by placing their smaller and larger holes around the matching size pegs.
-
-




To reassemble your device, follow these instructions in reverse order.
Cancel: I did not complete this guide.
2 other people completed this guide.

Team

Grand Valley State University, Team S1-G6, DeVasto Winter 2021 Member of Grand Valley State University, Team S1-G6, DeVasto Winter 2021
GVSU-DEVASTO-W21S1G6
1 Member
12 Guides authored
4 Guide Comments
Hello there, any idea where I can find those black rubber pads for replacement ? mine is torn.
Thx
sorry, i try to search every where, have a tone for other controller, even have for 8bitdo snes, but not for nes 30 pro.
if you find it, answer on that chat. Good luck
I wrote 8BitDo support, and explained the issue. They sent me some pads for the price of postage, but only for the buttons -- they didn't send any for the d-pad, which I feel is probably an error on their part.
The screws in the N30 Pro are #6 Torx now
