Introduction
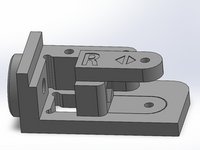
Make sure you pay attention to the parts. When assembling the Left Tensioner make sure to only use parts with L or Left marking. When assembling the Right Tensioner make sure to only use parts with R or Right marking.
Printed parts needed:
None
What you need
-
-
-
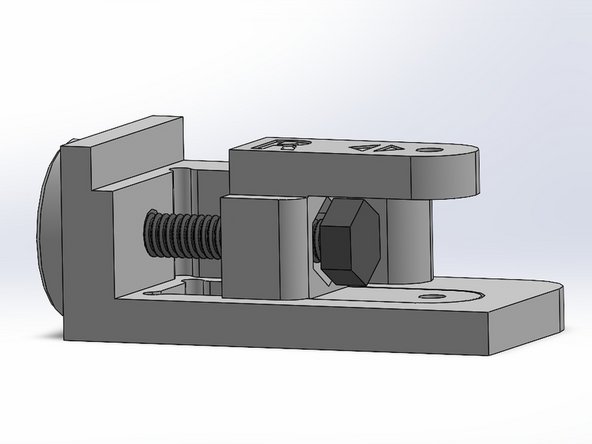
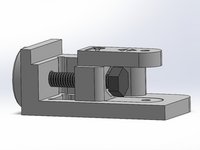
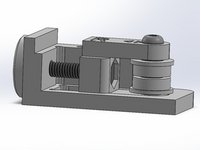
Insert the Left Tensioner slide into the Left Bottom Tensioner mount.
-
Insert M4 hex head screw through the Left Tensioner slide.
-
Make the bearing assembly with 3x M3 washers and 2x F623ZZ bearings.
 Ask FixBot
-
-
-
Insert a M3x18 button head screw to secure the bearing assembly to the tensioner slide.
-
Thread the tensioner knob on to the M4 hex head screw
-
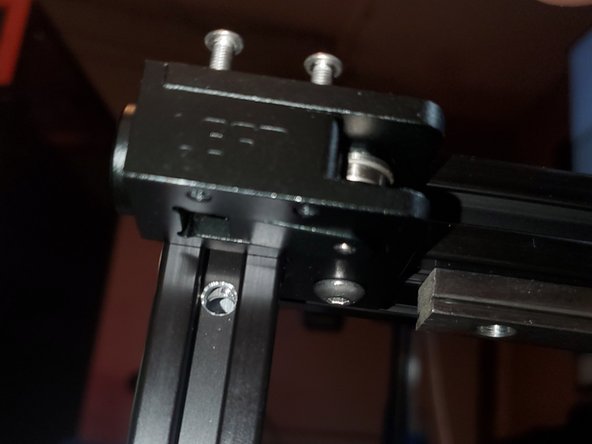
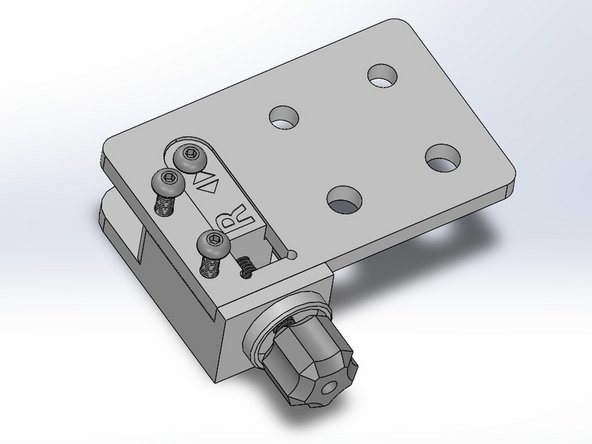
Thread the Left Tensioner Top Plate to the bottom assembly with 2x M3x18 button head screws. Do not tighten completely
-
-
-
-
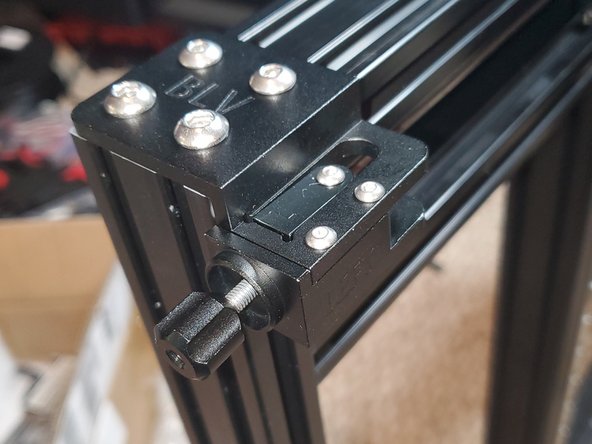
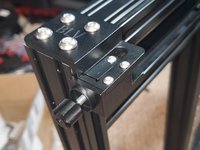
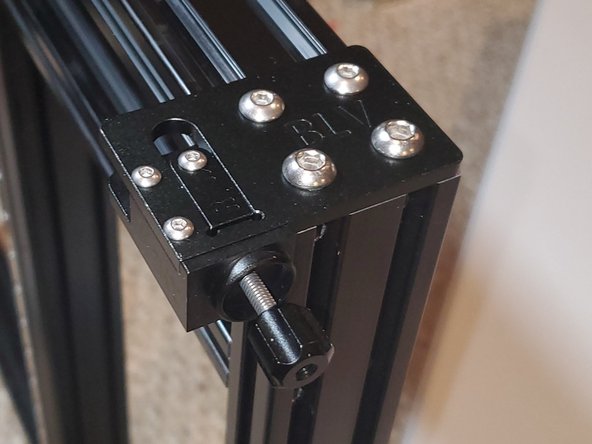
Mount the assembly to the left top of the frame using 2x M5x8 button head screws, 2x M5 T-Nuts and 2x M6x10 button head screws. Once the plate is straight tighten the screws
-
Tighten the M3x18 button head screws
-
Secure the bottom of the tensioner to the underside of the 2040 with a M5x8 button head screw and M5 T-Nut
-
-
-
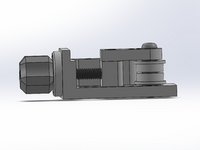
Insert the Right Tensioner slide into the Right Bottom Tensioner mount.
-
Insert M4 hex head screw through the Right Tensioner slide.
-
Make the bearing assembly with 3x M3 washers and 2x F623ZZ bearings.
-
Insert a M3x18 button head screw to secure the bearing assembly to the tensioner slide.
-
-
-
Thread the tensioner knob on to the M4 hex head screw
-
Thread the Right Tensioner Top Plate to the bottom assembly with 2x M3x18 button head screws. Do not tighten completely
-
Mount the assembly to the right top of the frame using 2x M5x8 button head screws, 2x M5 T-Nuts and 2x M6x10 button head screws. Once the plate is straight tighten the screws.
-
Tighten the M3x18 button head screws
-
-





I wasn’t paid to write these guides. Ben asked me to do it as a favor to him. Considering all that he’s done for our community I felt it was the least I could do. To be honest even though it took about 2 months to build and document, I had a lot of fun doing it. It forced me to write guides in a manner that was easy for everyone to understand and cleanup my Github so I could share any files that were used that aren’t part of the original download. You’re not obligated but if you would like, feel free to donate.
Cancel: I did not complete this guide.
8 other people completed this guide.

