
4Sight 9 Battery Replacement

Jack Applegate and 2 other contributors
Last updated on Jun 23, 2015
Views: 2.4K
View statistics:
- Past 24 Hours:
- 2
- Past 7 Days:
- 19
- Past 30 Days:
- 100
- All Time:
- 2,397
Comments: 0
No one has left comments on this guide. Will you be first?
Go to guide commentsCompleted: 7 8
7 people have marked this guide "completed." Will you be next?
8 people have marked this guide "completed." Including you — great job!
Favorites: 0 1
No one has favorited (and subscribed to) this guide. Will you be the first?
1 person has favorited (and subscribed to) this guide — and that's you!
Incorrect Tools
Help make this guide better by using the correct tools in images and/or text.
Introduction
Go to step 1 ↓Use this guide to replace the battery on the 4Sight 9
What you need
Tools


-
-
-
Place the tablet on its side so that the two screws are facing upward.
-
Remove two 1 mm screws from the left side of the tablet using a Phillips #00 screwdriver.
 Ask FixBot
-
-
-
Pry the case away from the device slowly by sliding a plastic opening tool along the device.
-
Once loosened, use your hands to separate the case from the device.
-
-
-
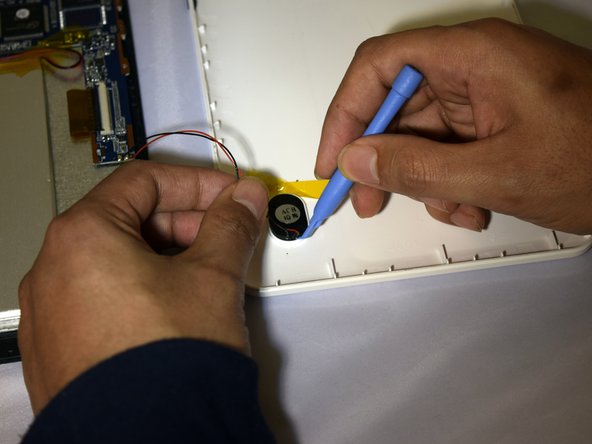
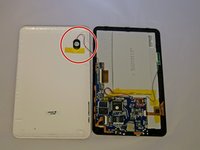
Hold the positive and negative wires as close as possible to the speaker.
-
Use an opening tool and fingers to simultaneously lift the speaker from the cover.
-
-
-
-
-
Use soldering gun to remove the positive and negative wires connecting the battery to the circuit board.
-
-
-
-
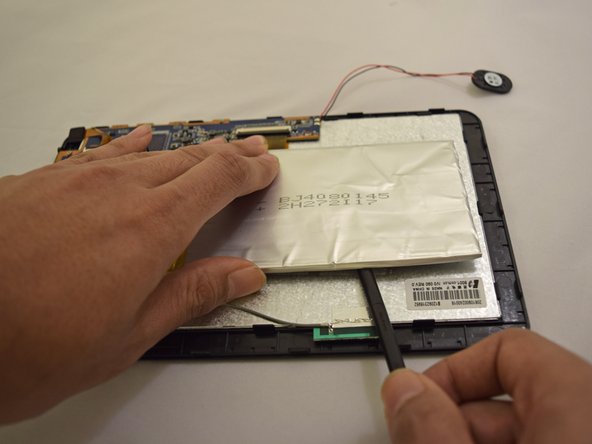
Insert plastic prying tool under upper-hand corner of battery and slide back and forth.
-
Once loosened, insert plastic prying tool under lower-hand corner and repeat sliding action.
-
-




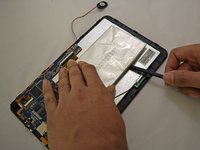
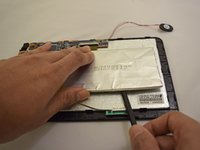
To reassemble your device, follow these instructions in reverse order.
Cancel: I did not complete this guide.
7 other people completed this guide.

Team

Eastern Washington University, Team 1-2, Plummer Spring 2015 Member of Eastern Washington University, Team 1-2, Plummer Spring 2015
EWU-PLUMMER-S15S1G2
4 Members
72 Guides authored
