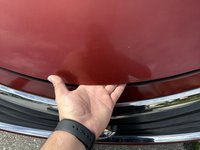
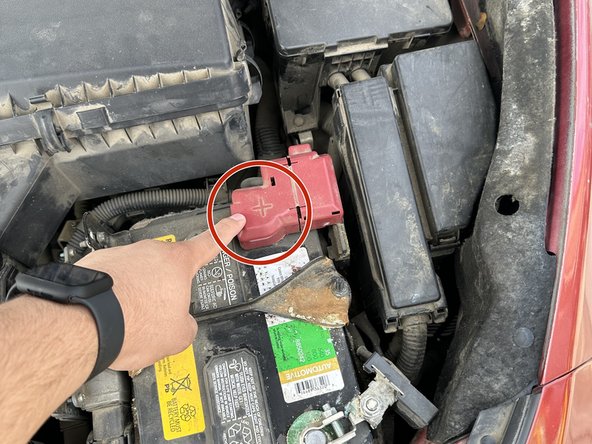
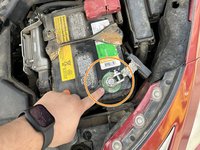
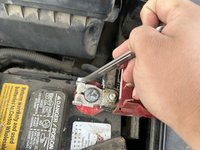
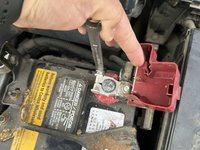
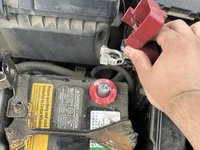
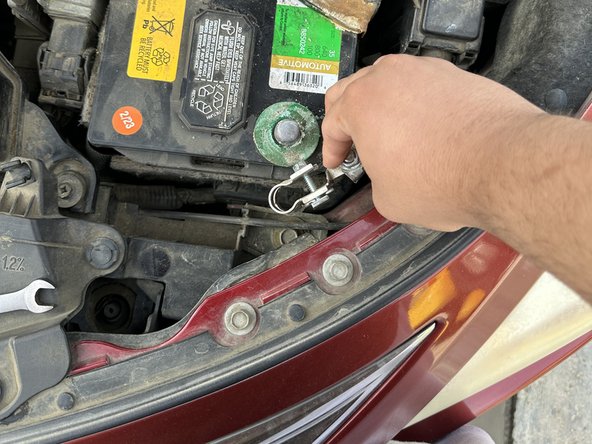
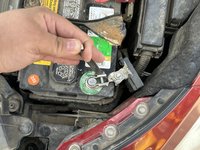
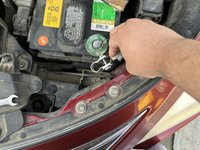
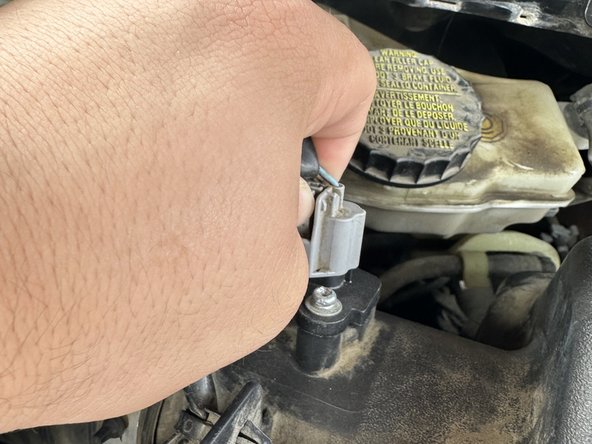
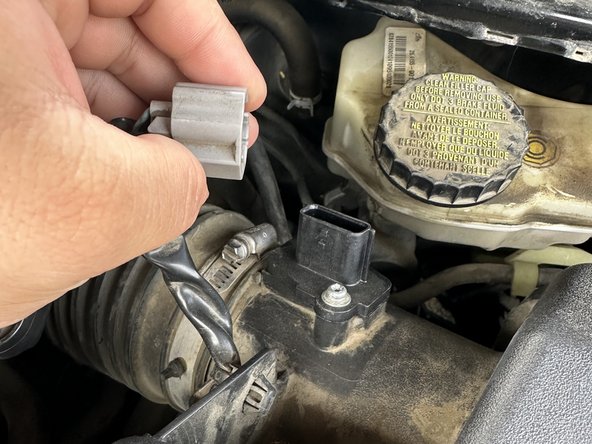
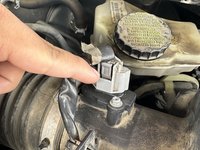
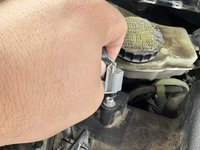
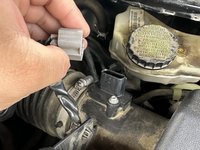
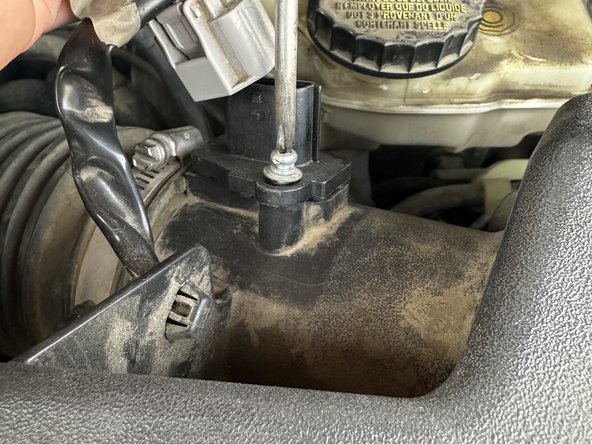
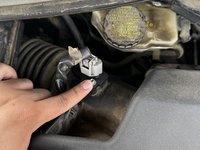
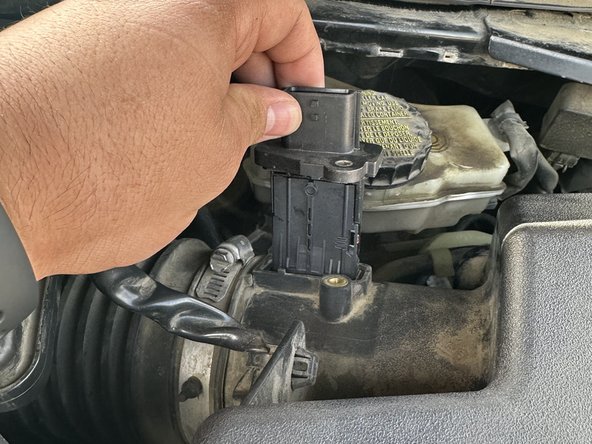
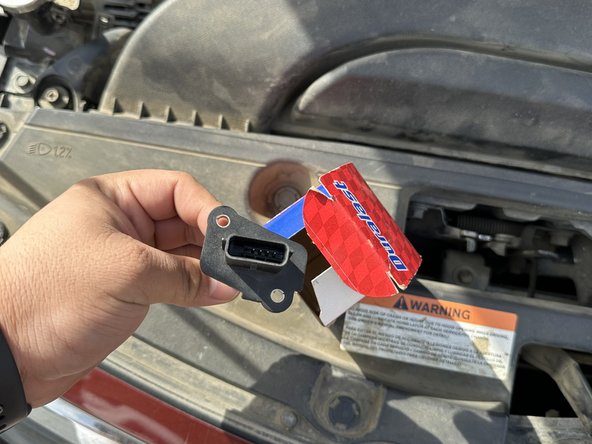
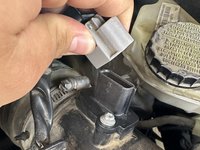
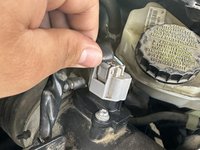
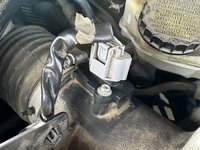
Free Shipping on Domestic Orders $75+

2015 Nissan Altima Mass Air Flow Sensor Replacement

What you need

  1. 2015 Nissan Altima Mass Air Flow Sensor Replacement, Mass Air Flow Sensor: step 1, image 1 of 3 2015 Nissan Altima Mass Air Flow Sensor Replacement, Mass Air Flow Sensor: step 1, image 2 of 3 2015 Nissan Altima Mass Air Flow Sensor Replacement, Mass Air Flow Sensor: step 1, image 3 of 3
    • Open the driver's side door where the hood release is located.

  2. 2015 Nissan Altima Mass Air Flow Sensor Replacement: step 2, image 1 of 3 2015 Nissan Altima Mass Air Flow Sensor Replacement: step 2, image 2 of 3 2015 Nissan Altima Mass Air Flow Sensor Replacement: step 2, image 3 of 3
    • Connect a scanner by clicking it into the obd2 port.

  3. 2015 Nissan Altima Mass Air Flow Sensor Replacement: step 3, image 1 of 3 2015 Nissan Altima Mass Air Flow Sensor Replacement: step 3, image 2 of 3 2015 Nissan Altima Mass Air Flow Sensor Replacement: step 3, image 3 of 3
    • Run the code through the scanner.

  4. 2015 Nissan Altima Mass Air Flow Sensor Replacement: step 4, image 1 of 3 2015 Nissan Altima Mass Air Flow Sensor Replacement: step 4, image 2 of 3 2015 Nissan Altima Mass Air Flow Sensor Replacement: step 4, image 3 of 3
    • Open up the hood latch.

    • Locate front hood holder and lift it up for safety.

  5. 2015 Nissan Altima Mass Air Flow Sensor Replacement: step 5, image 1 of 3 2015 Nissan Altima Mass Air Flow Sensor Replacement: step 5, image 2 of 3 2015 Nissan Altima Mass Air Flow Sensor Replacement: step 5, image 3 of 3
    • Locate the battery and a positive and negative terminal.

    • The Positive terminal.

    • The Negative terminal.

    • Be careful risk of electrical shock

  6. 2015 Nissan Altima Mass Air Flow Sensor Replacement: step 6, image 1 of 3 2015 Nissan Altima Mass Air Flow Sensor Replacement: step 6, image 2 of 3 2015 Nissan Altima Mass Air Flow Sensor Replacement: step 6, image 3 of 3
    • Unscrew the positive terminal with a 10mm wrench by turning it counterclockwise.

  7. 2015 Nissan Altima Mass Air Flow Sensor Replacement: step 7, image 1 of 3 2015 Nissan Altima Mass Air Flow Sensor Replacement: step 7, image 2 of 3 2015 Nissan Altima Mass Air Flow Sensor Replacement: step 7, image 3 of 3
    • Unscrew the negative terminal with a 10mm wrench by turning it counterclockwise.

  8. 2015 Nissan Altima Mass Air Flow Sensor Replacement: step 8, image 1 of 3 2015 Nissan Altima Mass Air Flow Sensor Replacement: step 8, image 2 of 3 2015 Nissan Altima Mass Air Flow Sensor Replacement: step 8, image 3 of 3
    • Unplug the mass air flow sensor by pushing in the pull tabs and pulling upwards.

  9. 2015 Nissan Altima Mass Air Flow Sensor Replacement: step 9, image 1 of 3 2015 Nissan Altima Mass Air Flow Sensor Replacement: step 9, image 2 of 3 2015 Nissan Altima Mass Air Flow Sensor Replacement: step 9, image 3 of 3
    • Remove the screws with a Phillips #1 screwdriver by turning them counterclockwise.

  10. 2015 Nissan Altima Mass Air Flow Sensor Replacement: step 10, image 1 of 3 2015 Nissan Altima Mass Air Flow Sensor Replacement: step 10, image 2 of 3 2015 Nissan Altima Mass Air Flow Sensor Replacement: step 10, image 3 of 3
    • Remove the old sensor by pulling it off and replace with a new one.

  11. 2015 Nissan Altima Mass Air Flow Sensor Replacement: step 11, image 1 of 2 2015 Nissan Altima Mass Air Flow Sensor Replacement: step 11, image 2 of 2
    • Screw back on the screws with a Phillips #1 screwdriver by turning them clockwise.

  12. 2015 Nissan Altima Mass Air Flow Sensor Replacement: step 12, image 1 of 3 2015 Nissan Altima Mass Air Flow Sensor Replacement: step 12, image 2 of 3 2015 Nissan Altima Mass Air Flow Sensor Replacement: step 12, image 3 of 3
    • Click the sensor in place.

    • Plug in the battery by following steps 6 and 7 in reverse order.

  13. 2015 Nissan Altima Mass Air Flow Sensor Replacement: step 13, image 1 of 3 2015 Nissan Altima Mass Air Flow Sensor Replacement: step 13, image 2 of 3 2015 Nissan Altima Mass Air Flow Sensor Replacement: step 13, image 3 of 3
    • Run the scanner again and make sure no check engine light is on and no trouble codes appear.

Finish Line

One other person completed this guide.

0 Guide Comments

Add Comment

View Statistics:

Past 24 Hours: 1

Past 7 Days: 21

Past 30 Days: 96

All Time: 1,775