Free Shipping on Domestic Orders $75+

2001 Audi TT Rear Differential Replacement

What you need

  1. 2001 Audi TT Rear Differential Replacement, Getting Started: step 1, image 1 of 1
    • Lets get started! A car lift is recommended for this task but it can be done with just a jack if required.

    Ask FixBot

    Add Comment

  2. 2001 Audi TT Rear Differential Replacement, Remove the exaust and exaust shield: step 2, image 1 of 1
    • The exhaust is held in with two bolts at the middle of car underneath . It the hangs from 4 rubber mount wich can be unhooked with a small screw driver and some leverage.

    • Be careful not to tear the rubber mounts.

    • Sorry for missing images they were never taken during the exhaust removal.

    Ask FixBot

    Add Comment

  3. 2001 Audi TT Rear Differential Replacement, Axles: step 3, image 1 of 1
    • Dismount both axles from the rear differential.

    Ask FixBot

    Add Comment

  4. 2001 Audi TT Rear Differential Replacement, Ground Strap: step 4, image 1 of 1
    • Dismount the ground strap located to the left of the driver side rear axle hub.

    Ask FixBot

    Add Comment

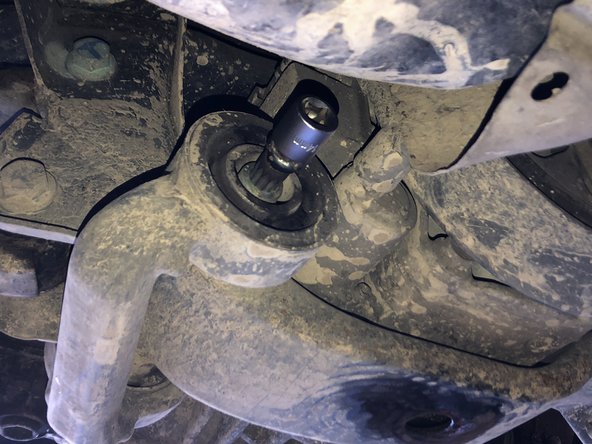
  5. 2001 Audi TT Rear Differential Replacement, Drive Line Hub: step 5, image 1 of 1
    • Dismount the drive line from the rear differential.

    Ask FixBot

    Add Comment

  6. 2001 Audi TT Rear Differential Replacement, Remove Tank Shield: step 6, image 1 of 1
    • Removing the passenger side gas tank shield will make step 7 easier.

    Ask FixBot

    Add Comment

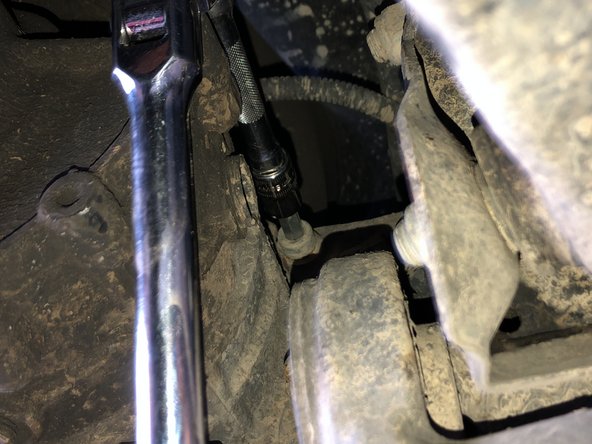
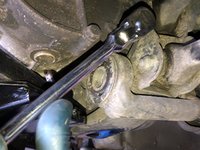
  7. 2001 Audi TT Rear Differential Replacement, Remove Bracket: step 7, image 1 of 2 2001 Audi TT Rear Differential Replacement, Remove Bracket: step 7, image 2 of 2
    • Remover the two main bolts.

    Ask FixBot

    Add Comment

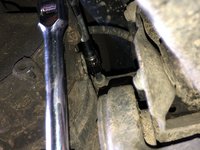
  8. 2001 Audi TT Rear Differential Replacement, Remove Bracket 2: step 8, image 1 of 2 2001 Audi TT Rear Differential Replacement, Remove Bracket 2: step 8, image 2 of 2
    • Remove other smaller bolts.

    Ask FixBot

    Add Comment

  9. 2001 Audi TT Rear Differential Replacement, Unbolt From Car: step 9, image 1 of 1
    • Remove the 4 bolts on both sides that hold the rear differential in the car.

    • Be sure to have some sort of jack or object to hold the rear differential into the car as you continue to work.

    Ask FixBot

    Add Comment

Conclusion

To reassemble your device, follow these instructions in reverse order.

Cancel: I did not complete this guide.

2 other people completed this guide.

Brenden Mitchell

Member since: 02/25/18

223 Reputation

1 Guide authored

0 Guide Comments

Add Comment

View Statistics:

Past 24 Hours: 2

Past 7 Days: 34

Past 30 Days: 113

All Time: 5,334